Stikkord: gifts

CROCHET SCARF – Free crochet pattern (US terms)

CROCHET SCARF – Free crochet pattern (US terms)

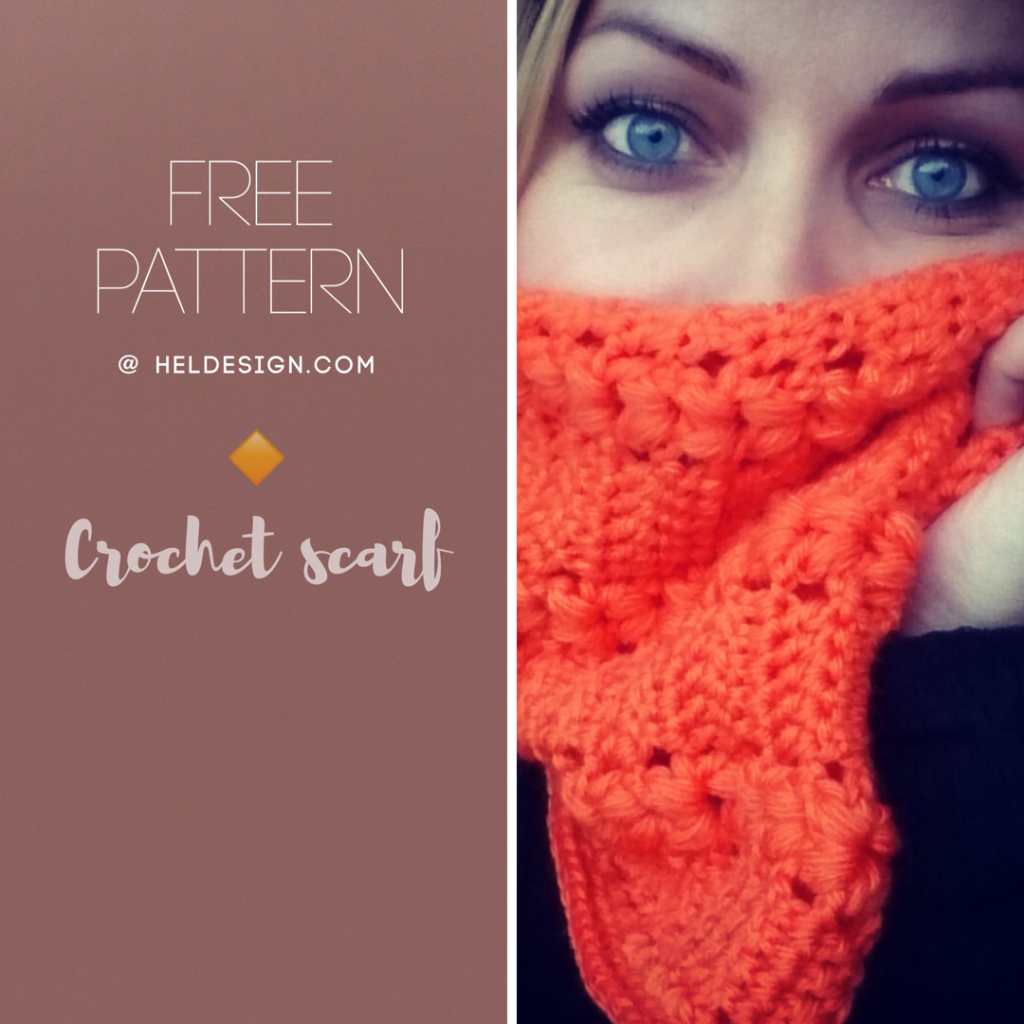
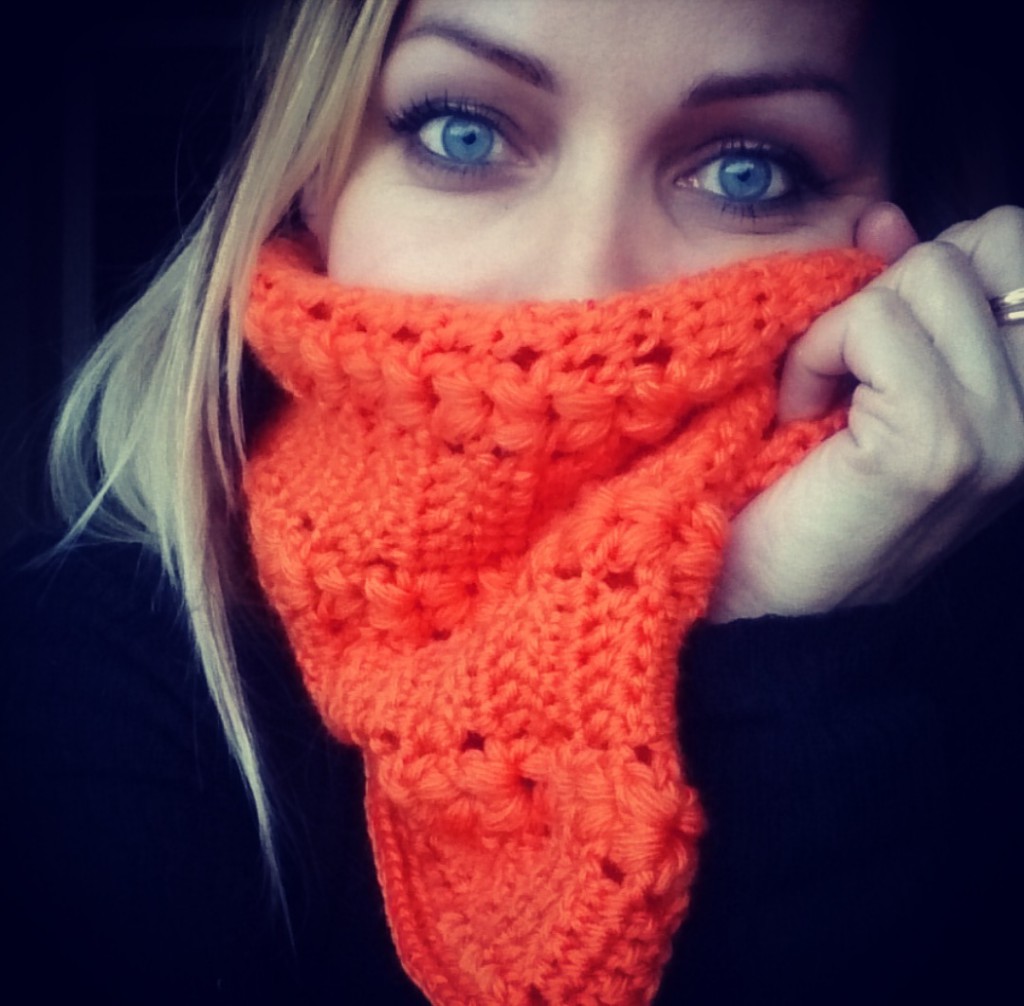
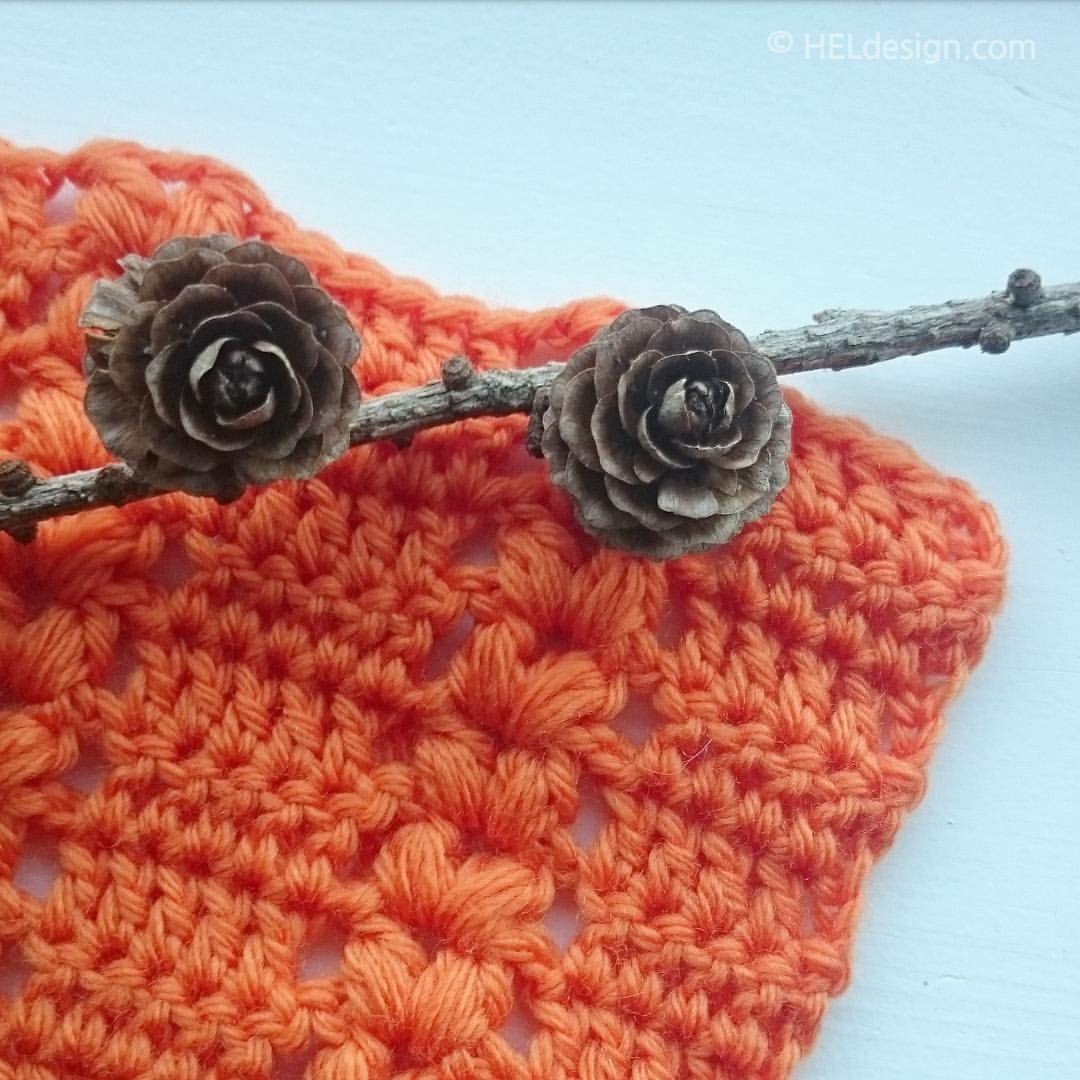
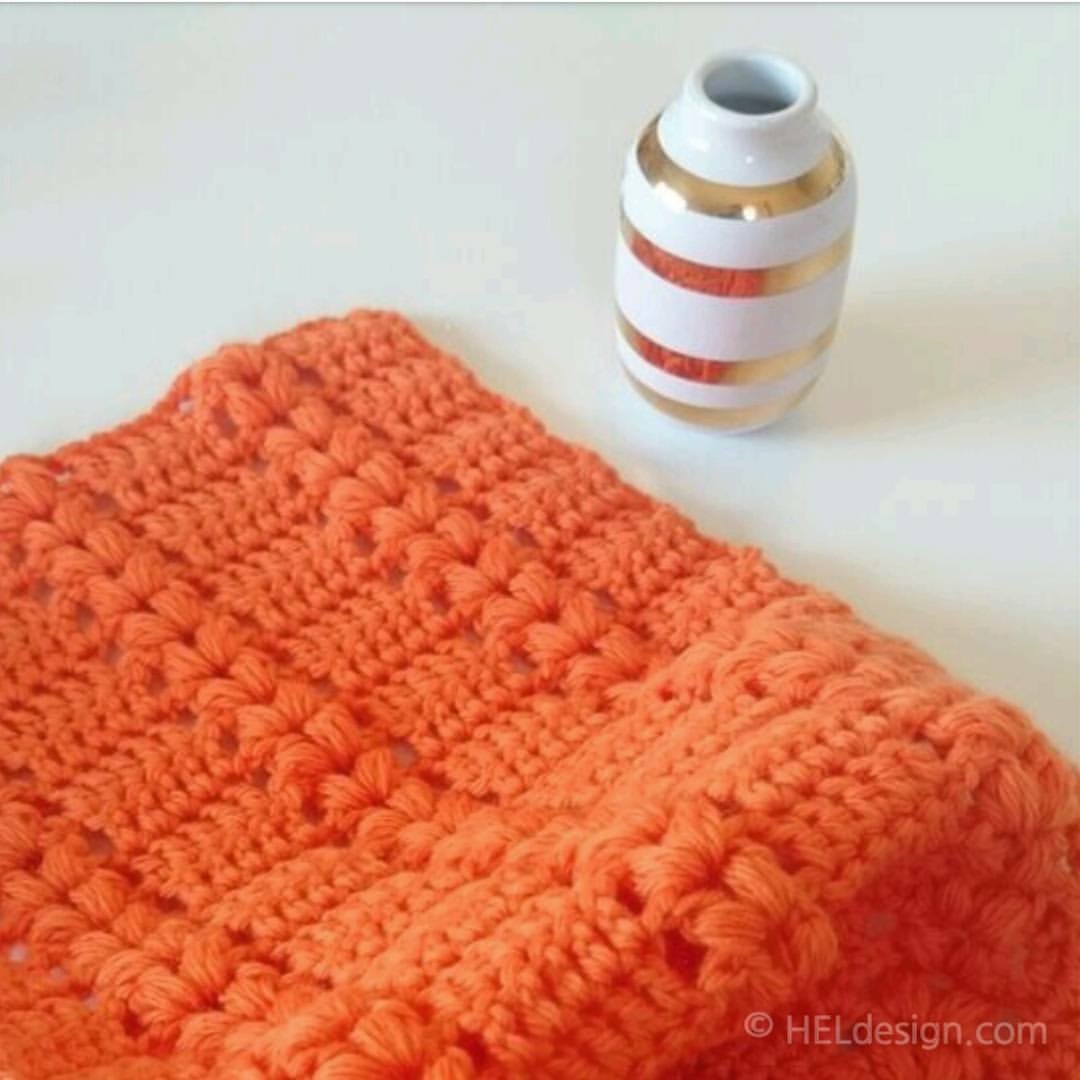
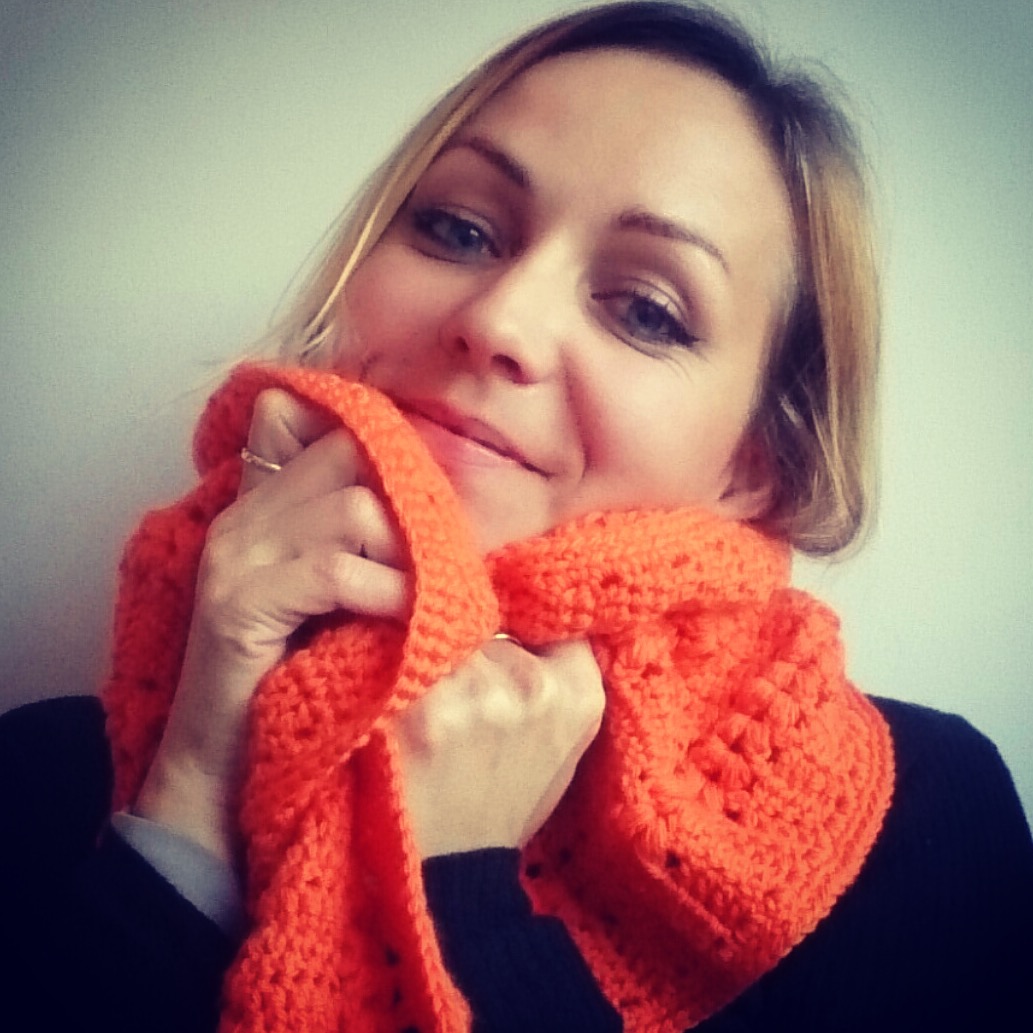
I designed this pattern last year, when I was asked by Tusen Ideer to participate in an annual charity case here in Norway, hosted by Kirkens Bymisjon. Each year thousands of people across our country knit or crochet homemade orange scarves, which are being handed out to homeless people on November 1st.

Use my pattern to make a crochet scarf for someone who really needs it, for someone you care about, for someone you don´t care about or just for yourself. Either way I hope you enjoy it 🙂


DESIGN AND PATTERN:  Hege Espeland Lygre
Please read the Terms of use for my crochet patterns.


What you´ll need

  • Wool yarn – compatible with crochet hook 5 mm (H/8).
  • Crochet Hook – 7 mm (two sizes up to make the scarf softer and looser)

Stitches/Abbreviations (US terms):

  • ch (chain/slip knot) – Watch video
  • sl st (slip stitch) – Watch video
  • sc (single crochet) – Watch video
  • dc (double crochet) – Watch video
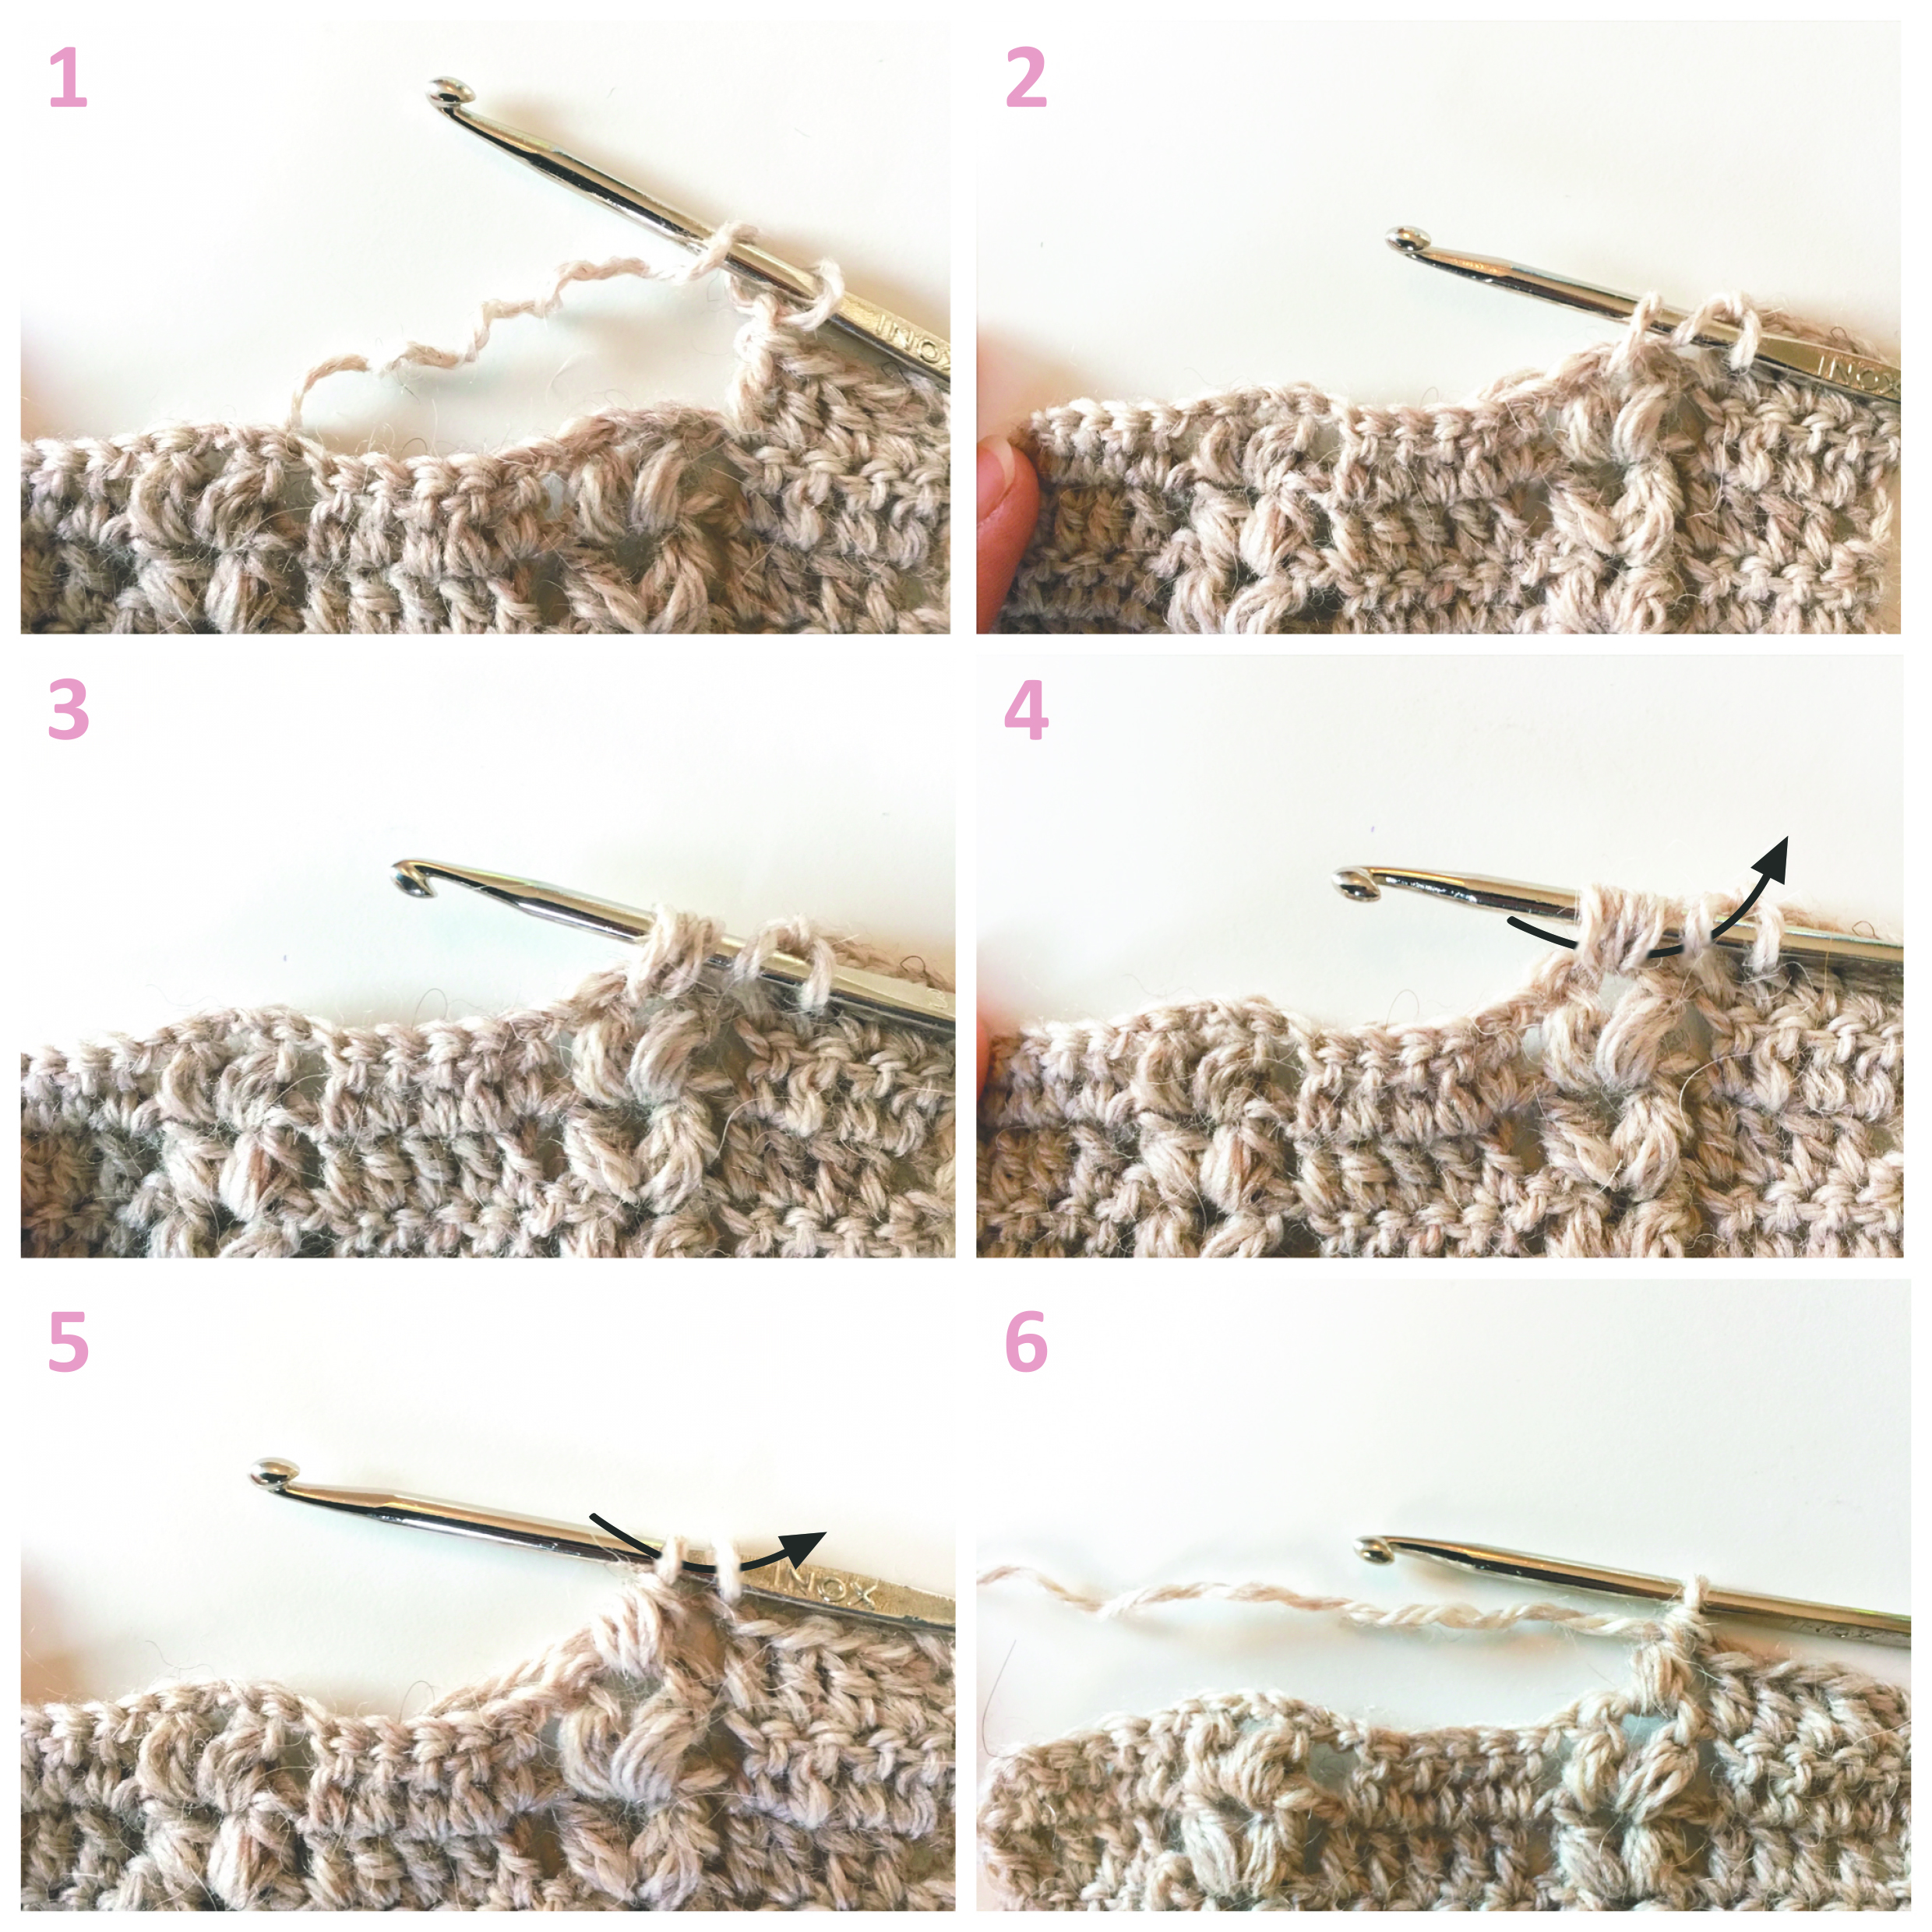
  • puff stitch (ps) – step by step photo below
  • YO (yarn over)
  • st (stitch)
  • ch sp (chain space)
  • R (row/round)

Special stitch:

  • Puff stitch: YO (photo 1), insert hook in ch sp and pull up loop (photo 2) = 3 st, YO, insert hook in same ch sp, pull up loop (photo 3) = 5 st. YO, insert hook in same ch sp, pull up loop (3) = 7 st. YO, pull through 6 st on hook (photo 4) = 2 st remaining, YO, pull through last 2 st (photo 5) = 1 puff stitch (photo 6).

Note!

  • Turn your work at the end of each row and start every new row with 3 ch (counts as the first dc).
    Watch video – how to start a new row.

PATTERN

Ch 37

R1: 1 dc in 4th ch from hook, 1 dc in each of next 3 ch, * 1 ch, skip 2 ch, (1 ps, 2 ch, 1 ps) in next ch, 1 ch, skip 2 ch, 1 dc in each of next 5 ch * Repeat from * 2 more times.

R2: 3 ch (counts as first dc), 1 dc in each of next 4 dc, * 1 ch, (1 ps, 2 ch, 1 ps) in ch sp between ps, 1 ch, 1 dc in each of next 5 dc * Repeat from * 2 more times.

R3-99 (or as many rows as you need to get the desired length)Repeat R2.
Fasten off.


Edge

R1: Sc all the way around, with 2 sc in each corner. (On the long sides you make 2 sc in each row of dc and on the short sides you make 1 sc in each dc + 5 sc over each puff stitch group (2 sc in first ch sp, 1 sc in middle ch sp, 2 sc in last ch sp).
R2: Sc in back loop all the way around, with 2 sc in each of the two corner sc from last row.
Fasten off.

Tip1: If you want a longer scarf you just add as many rows as you need to get the desired length.

Tip2: Sew some buttons on one of the short sides to turn the scarf into an infinity scarf.


Good luck! 🙂 

If you use my patterns please link back to www.HELdesign.com.
And if you need any help just leave me a comment in the comment box below or e-mail me at: hege@heldesign.com.


Would you like to learn how to crochet? Visit my YouTube channel, there you´ll find videos of the basic stitches and with time there will also be special stitches, various projects and requests.

Contact me if you have any questions 🙂

CROCHET HEART 3 in 1 pattern – Free crochet pattern (US terms)

CROCHET HEART 3 in 1 pattern – Free crochet pattern (US terms)

3 hearts in 1 pattern!
Make one as an application, make two as a stuffed heart or make a cute crochet heart pocket for the wine bottle, with room for a heart shaped card. Just as perfect for your loved one on Valentines day as it is for a friend´s birthday!


DESIGN AND PATTERN: HEGE ESPELAND LYGRE

Please read the Terms of use for my crochet patterns.


hjerte_hegeespelandlygre

What you´ll need:

  • Yarn (I used cotton)
  • Crochet Hook – Size D

Stitches/Abbreviations:

  • ch(s) (chain(s)
  • sl st (slip stitch)
  • sc (single crochet)
  • hdc (half double crochet)
  • dc (double crochet)
  • ch sp (chain space)
  • st(s) (stitch(es)
  • rnd (round)
  • tog (together)
  • Here you can watch my videos on how to crochet the different stitches.

Special stitches

  • Magic ring
  • Here you can watch my video on how you crochet a magic ring.

PATTERN

IMG_20150201_161915PART 1
Rnd 1: 
Make 10 sc in a magic ring, join with sl st in the first st. Tip: don´t tighten the ring until you´re done with the second rnd.

Rnd 2: 1 sc, 1 sc in the same st that you made the sl st, (hdc, dc) in the next, 2 dc in the next 2 sts, hdc in the next, (hdc, dc, hdc) in the next, hdc in the next, 2 dc in the next 2 sts, (dc, hdc) in the next, join with sl st in the first st.

Rnd 3: On this round you´re not doing anything in the first st so you´ll start with (sc, hdc) in the second st, 2 dc in the next 5 sts, hdc in the next 2 sts, (hdc, sc) in the next, join with sl st in the first st.

4. omg: Start like you did on rnd 3 with sc in the second st, (sc, hdc) in the next, 2 dc in the next 6 sts, hdc in the next 7 sts, 3 sc in the next, hdc in the next 7 sts, 2 dc in the next 6 sts, (hdc, sc) in the next, sc in the next, join with sl st in the first st.

5. omg: Don´t make this round until you´ve finished part 2!
*Ch 3, skip 1 st, sl st in the next* – repeat from * til * all the way around. When you come down to part 2 (after approx. 6 ch sp) you crochet through both parts/layers at the same time. Join with sl st in the first st, ch 30 (loop), sl st in the same st. Cut the yarn and weave in the ends.

PART 2 

Rnd 1: Ch 3, 2 dc in the first st, turn = 3 dc

Rnd 2: Ch 1, 2 sc in the first st, sc in the next, 2 sc in the last st, turn = 5 sc

Rnd 3: Ch 1, sc in the first st, (ch 3, skip 1 st, sc in the next) x 2, turn.

Rnd 4: Ch 1, sc in the first st, (ch 3, sc in the next ch sp) x 2, ch 3, sc in the last st, turn.

Rnd 5: Ch 1, sc in the first st, (ch 3, sc in the next ch sp) x 3, ch 3, sc in the last st, turn.

Rnd. 6: Ch 1, sc in the first st, (ch 1, dc) in the next ch sp x 5, skip the next ch sp, sl st in sc between the 2nd and 3rd ch sp on rnd 5, skip the next ch sp, (dc, ch 1) in the next ch sp x 5, sc in the last st, don´t turn!

Rnd 7: Edge around part 2
Ch 1, 6 sc down the side, 3 sc in the bottom/point, 6 sc up the side, sc i the first sc on rnd 6, (ch 2, skip the next st, sc in the next) x 5, sl st in the next, sc in the next, (ch 2, skip the next st, sc in the next) x 4, ch 2, skip the next st, join with sl st in the first sc on rnd 6.

Rnd 8: Put the wrong side of part 2 facing the right side of part 1 with the bottom part of the heart (the points) joining each other. Crochet the two parts together as explained on part 1, rnd 5.

Cut out a heart in paper or card board that fits the heart pocket. Write something nice on the card, put it in the pocket and hang it on the wine bottle, bear bottle or whatever you want, then give it to a loved one!

hjerte_hegeespelandlygre

SAMSUNG CSC


A few variations!

SAMSUNG CSC

Stuffed heart
Make two pieces of part 1, but only rnd 1-4 (don´t make rnd 5). Put one on top of the other with wrong sides facing each other. Now you make rnd 5, but you crochet through both parts at the same time. When you have about 10 sts left you fill it with some sort of stuffing before you finish the last 10 sts. After joining with sl st in the first st, ch 30 (loop) and join again with sl st in the same st.

SAMSUNG CSC

Card with crochet heart
Cut out a rectangle in paper or card board, fold it in half and glue a heart (part 1) on the front.


Good luck! 🙂 

If you use my patterns please link back to www.HELdesign.com.
And if you need any help just leave me a comment in the comment box below or e-mail me at: hege@heldesign.com.


Would you like to learn how to crochet? Visit my YouTube channel, there you´ll find videos of the basic stitches and with time there will also be special stitches, various projects and requests.

Contact me if you have any questions 🙂