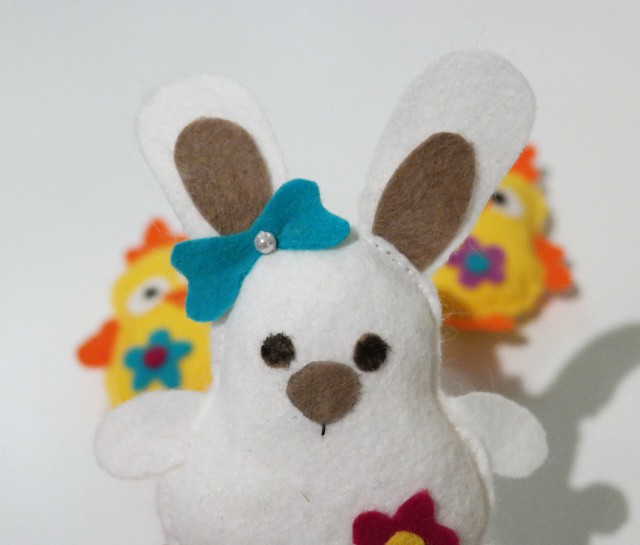
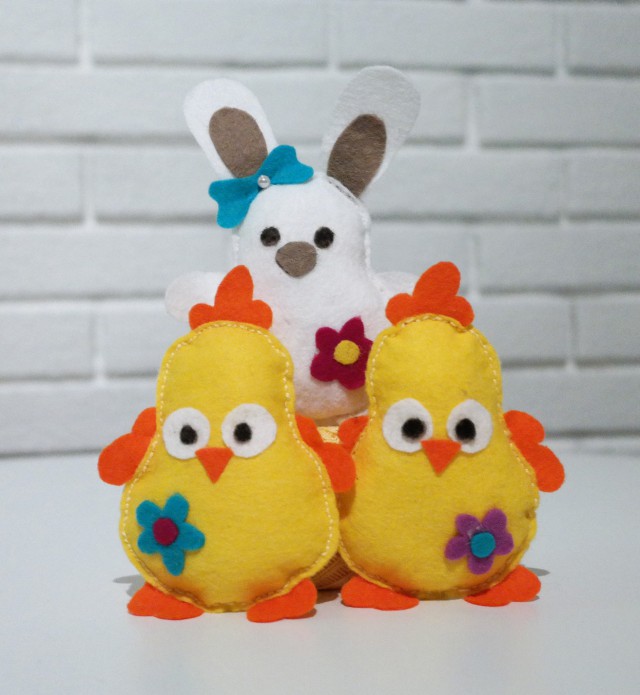
MAKE CUTE EASTER FELTIES WITH YOUR CHILDREN – COMES WITH A PRINTABLE TEMPLATE
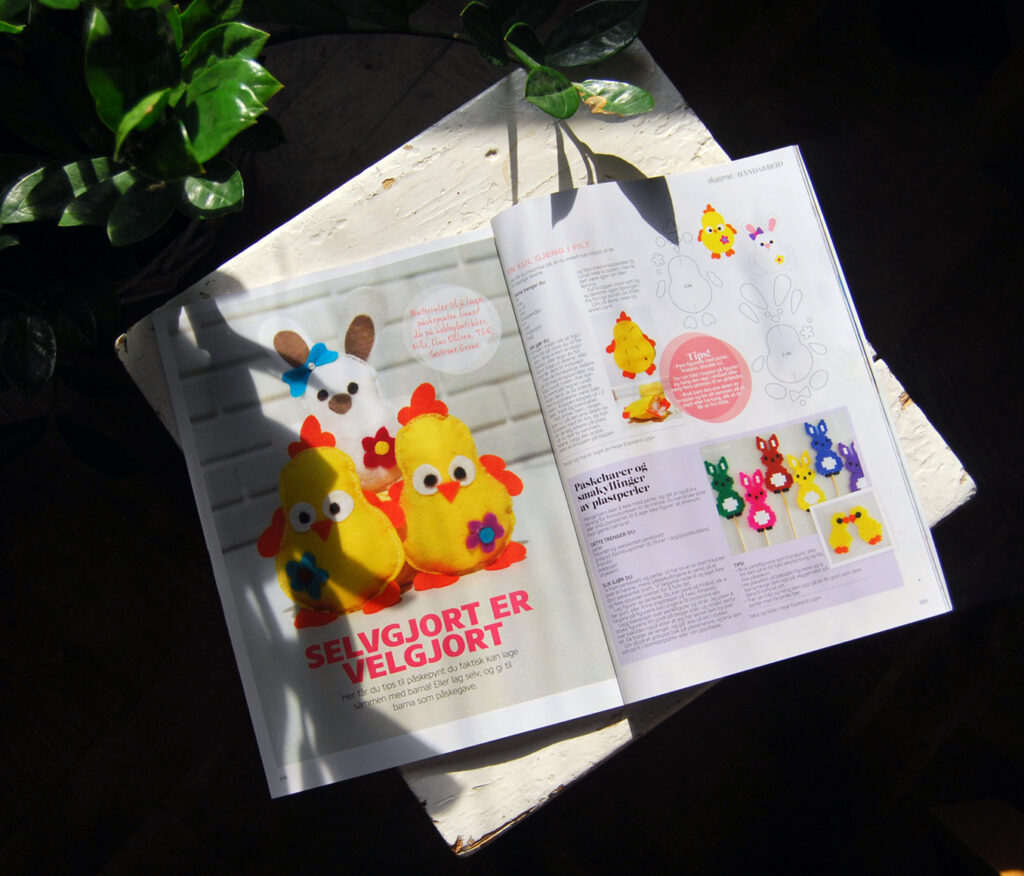
PUBLISHED IN A NORWEGIAN MAGAZINE
In 2016 I designed these easter felties for a Norwegian magazine called «Foreldre & Barn» (meaning «Parents & Children»). Every year since then I’ve always remembered them after Easter has already passed, but finally I managed to got them out prior to Easter.
Maybe they can become a fun project for you and your kids this Easter? 🙂


To help you make these cute easter bunnies and chickens I made you a free template which makes it easy for you to cut out the different parts. Eyes, nose and other decor is then glued on, before you sew the body together. A fun easter activity for children and adults to do together.
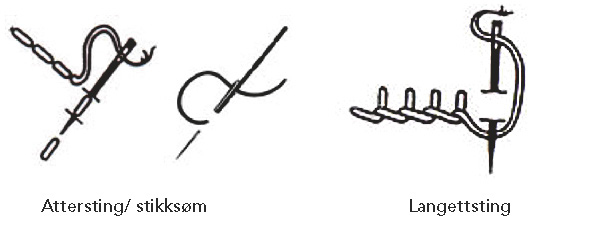
The assembling of the body can be done on a sewing machine by an adult, or it can be sewed together by hand with back stitch or blanket stitch (scroll down for illustrations on how to sew the different stitches).
Older children can do this on their own, and it doesn’t matter if the stitches are a bit wobbly, cause these felt figures look charming either way. Both the cutting and sewing are also good exercises for developing the childrens fine movements, and with a little bit of help from an adult this project is suitable for children from the age of 4 and up.
YOU’LL NEED:
• Felt
• Scissors
• Sewing needle
• Sewing thread
• Pins
• Glue
• Stuffing / Polyester filling
• Greeseproof paper
• Marker
INSTRUCTIONS:
1. Print out the template on paper size A3 (297×420 mm) and cut out the parts or transfer them to a greeseproof paper.
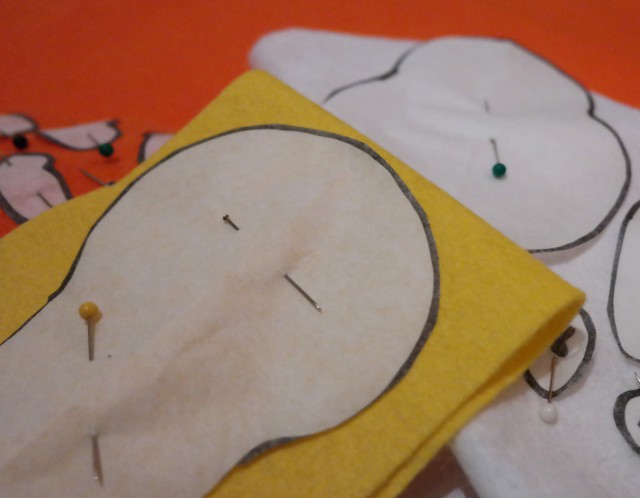
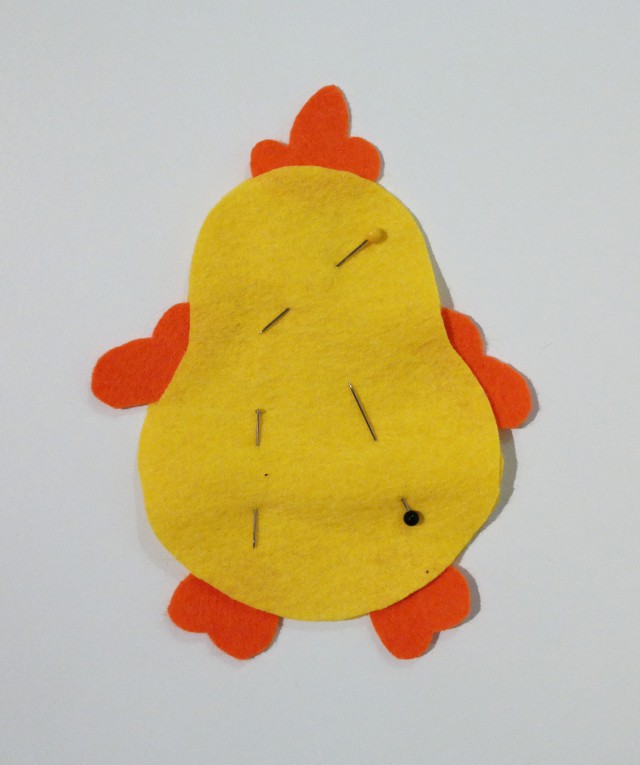
2. Fasten the cut out templates with pins on the felt and use the scissors to cut around them (you can also draw around the template straight onto the felt, but remember then to not use the sides with the marker lines as the front). The body is cut out in 2 parts, front and back.
3. Fasten arms, legs, wings, ears etc. with some glue on one part of the body, then they will more easily stay in place when you sew the parts together.
4. Put the other part of the body on top and fasten with pins (look at photo below).
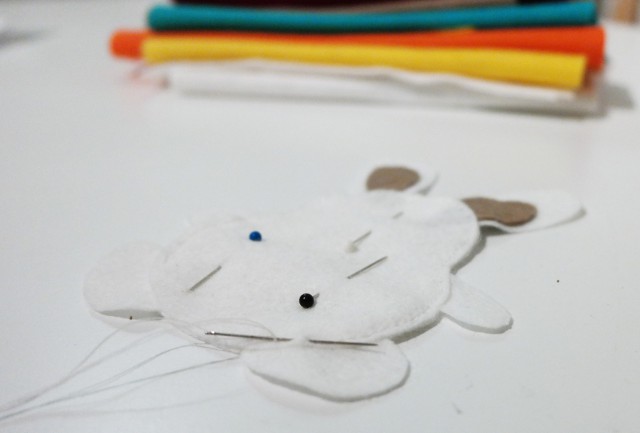
5. Sew around the whole body with back stitch or blanket stitch (or any stitch of your choosing). You can also use a sewing machine, but either way remember to leave a small opening to make room to stuff it with filling.
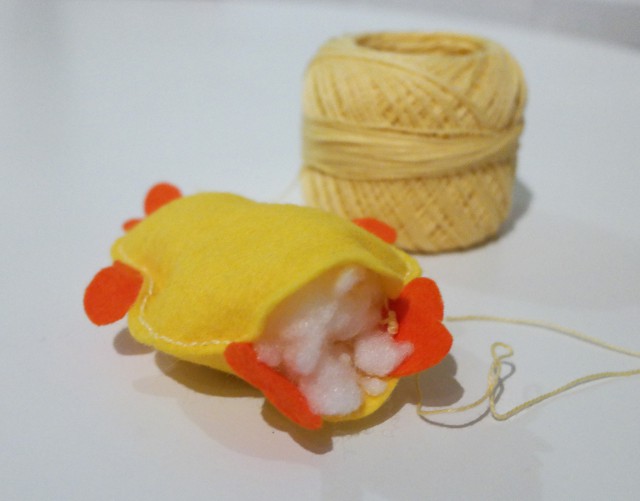
6. Stuff the body with filling and sew together the little opening from the previous step.
7. Attach eyes, nose and other decorations with glue.
TIPS!
• Decorate the felties with beads, buttons, lace etc.
• If you don’t have black felt for the eyes you can draw them directly onto the felt with a black marker.
• Fasten a thread from the top of the head and hang them in the window or hang several together in a garland.
• Use only one part of the body and glue it onto a piece of paper or cardboard and turn it into a nice picture, or maybe an easter postcard that you can send to someone you love.
TEMPLATES IN SIZE A3 – CLICK ON THE PICTURES TO OPEN UP THE PDF
(The instructions on the template is in Norwegian but it’s the same as described in this post).


YOU CAN TRY ONE OF THESE STITCHES TO HANDSEW THE BODY TOGETHER (back stitch on the left and blanket stitch on the right)