
DESIGN AND PATTERN: Hege Espeland Lygre – www.HELdesign.com
Please read the Terms of use for my crochet patterns.
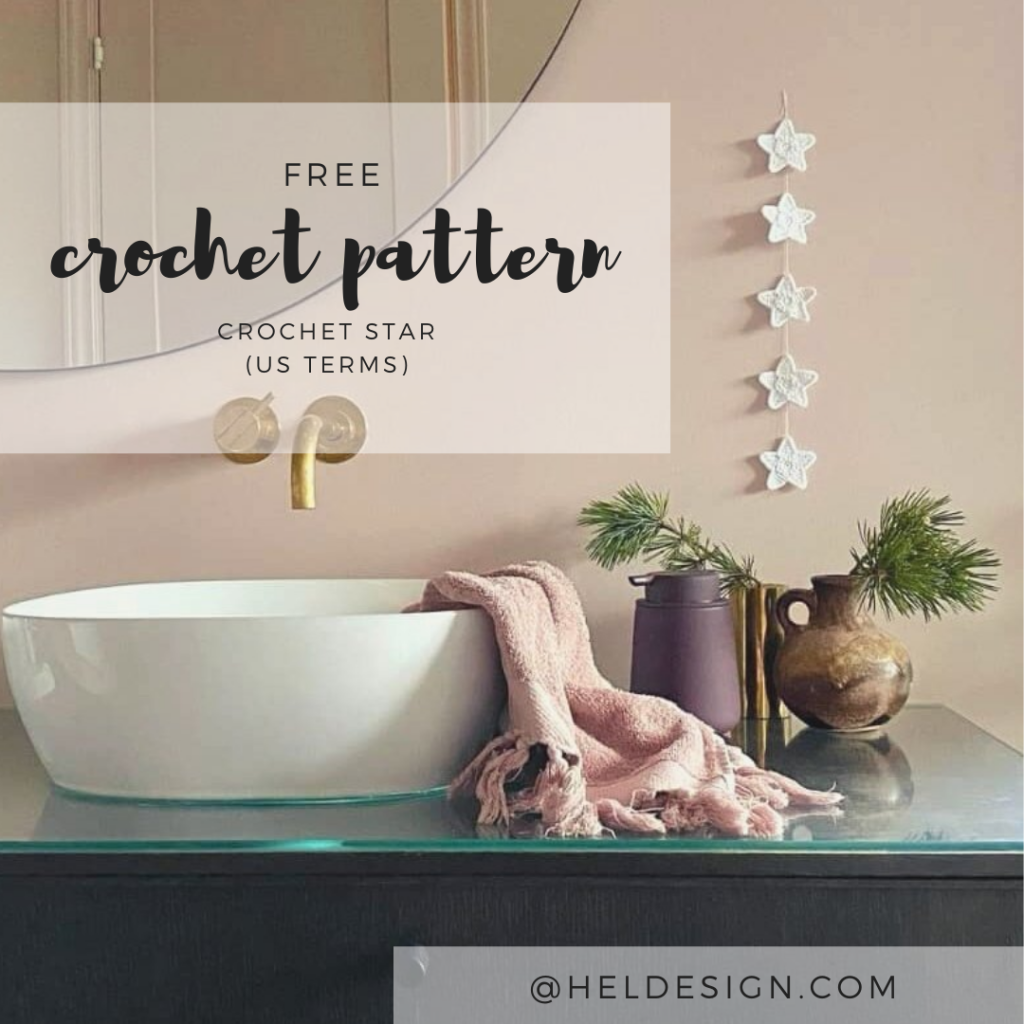
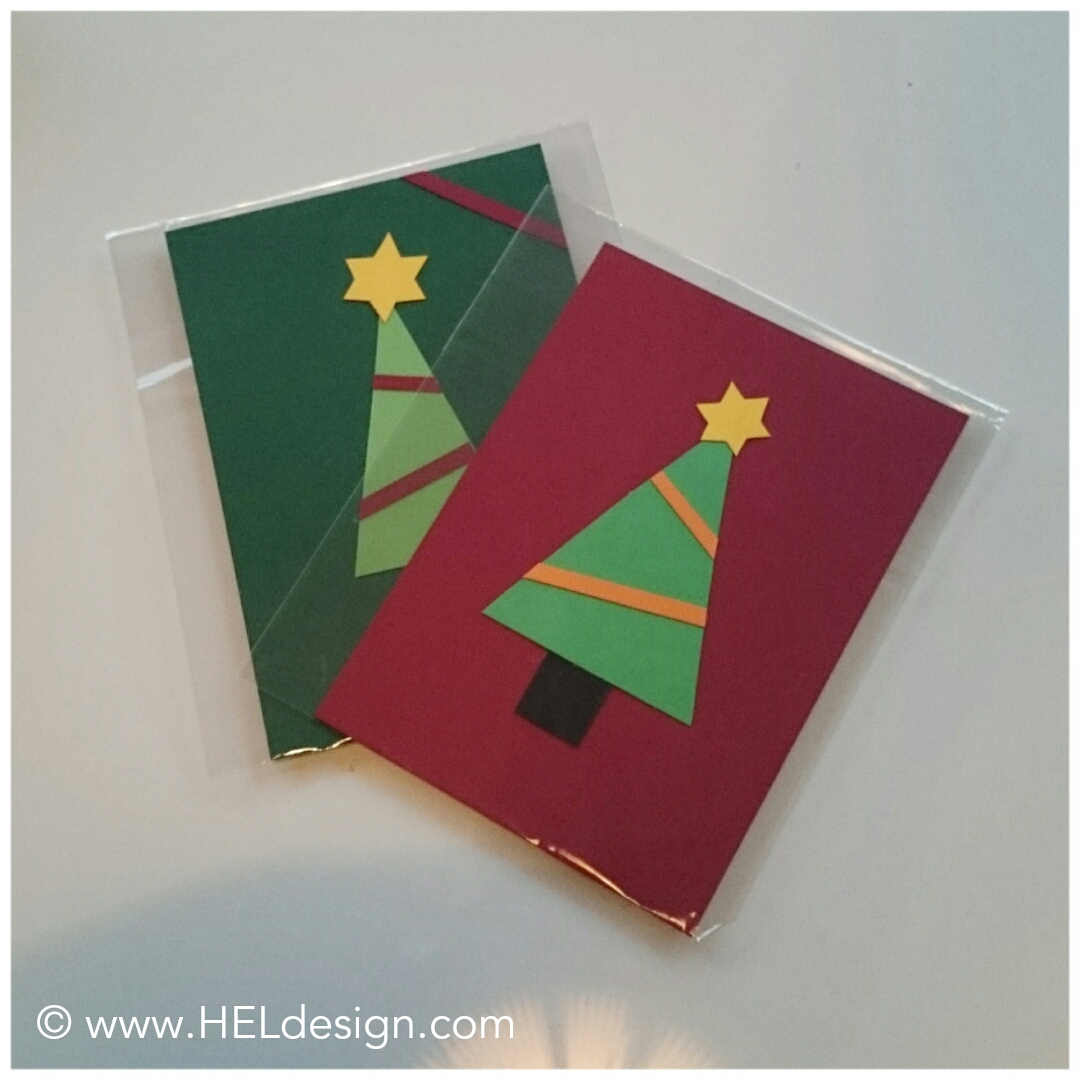
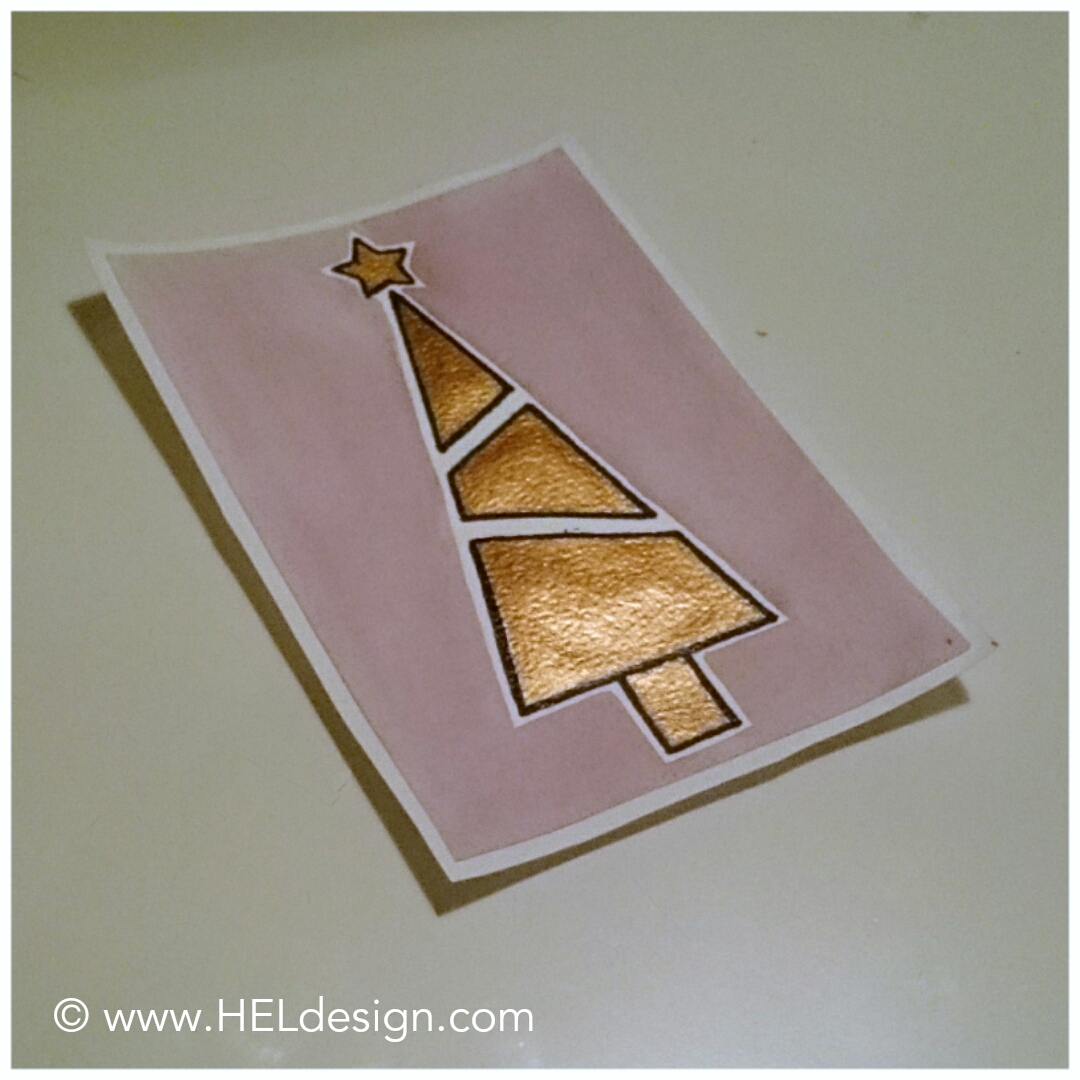
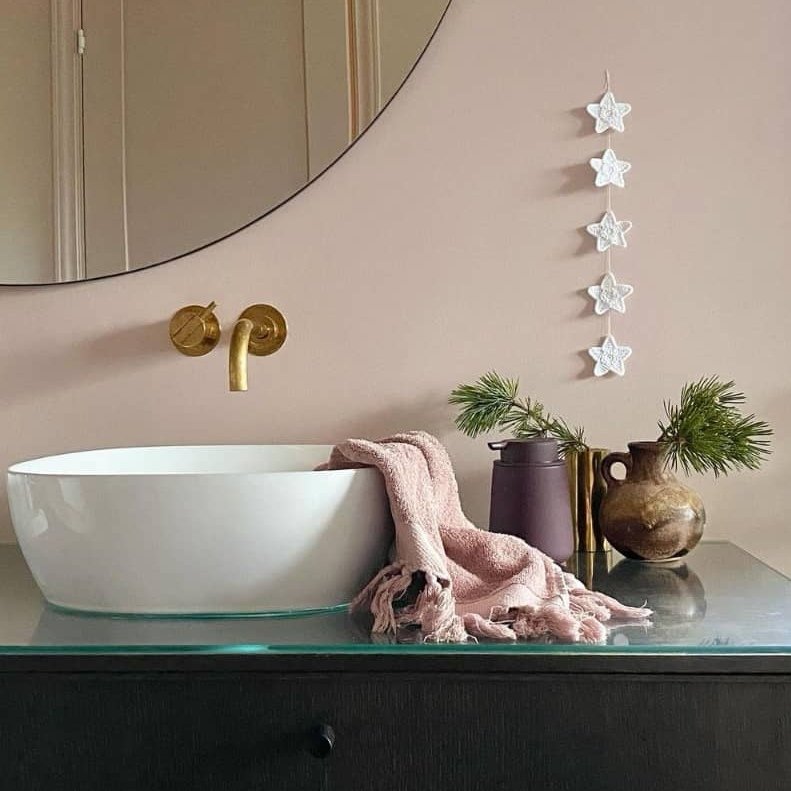
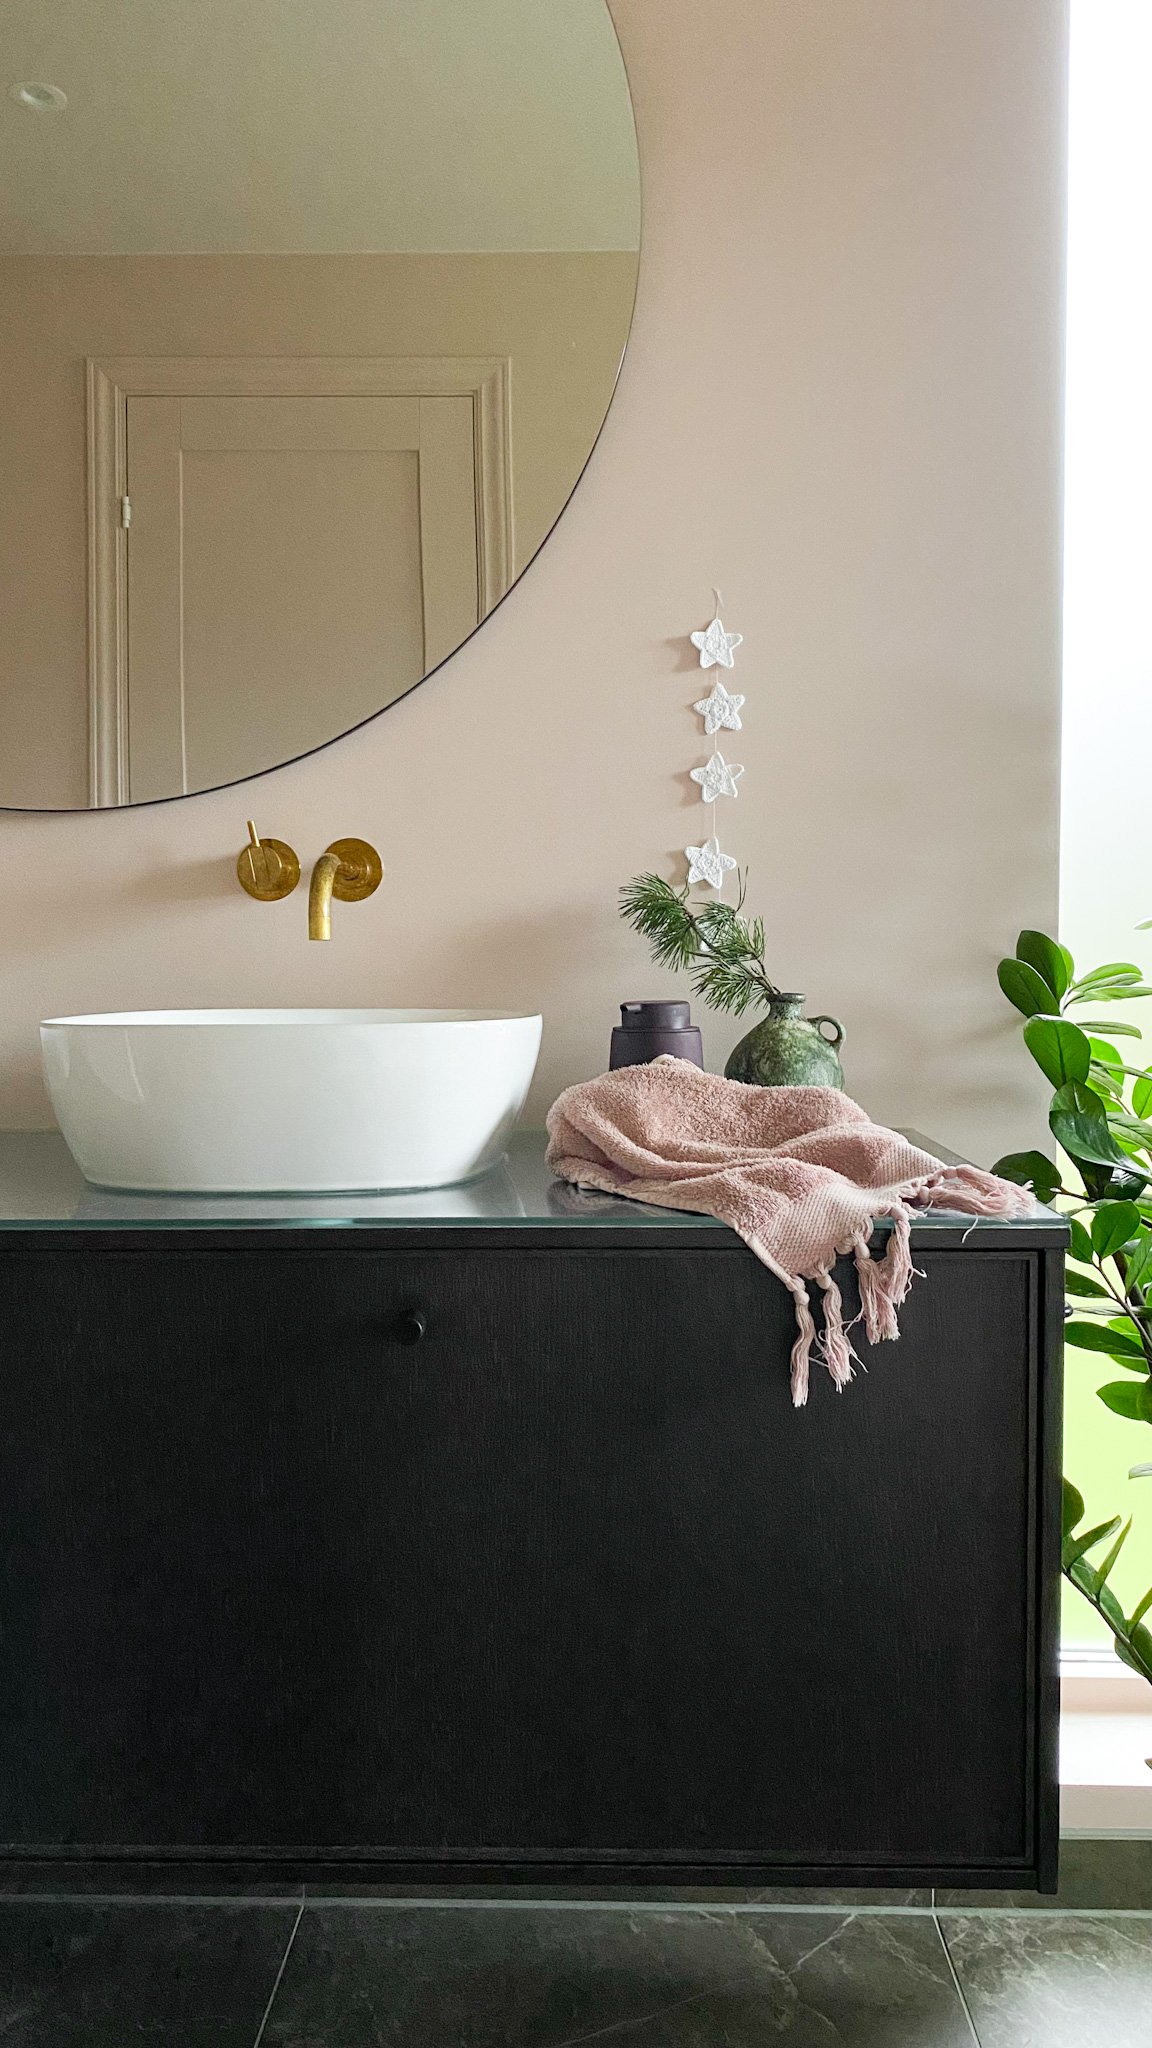
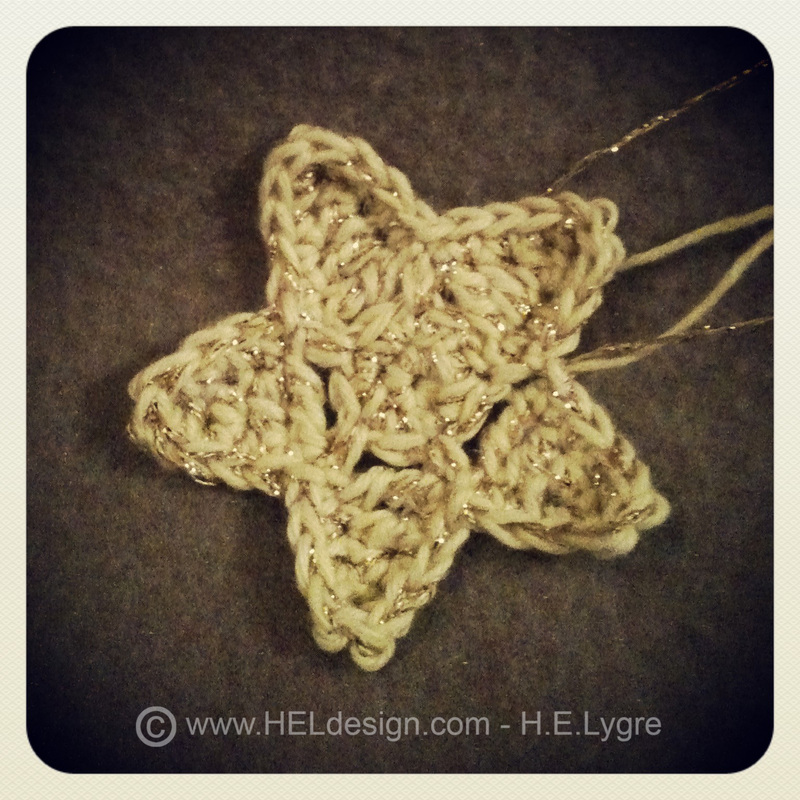
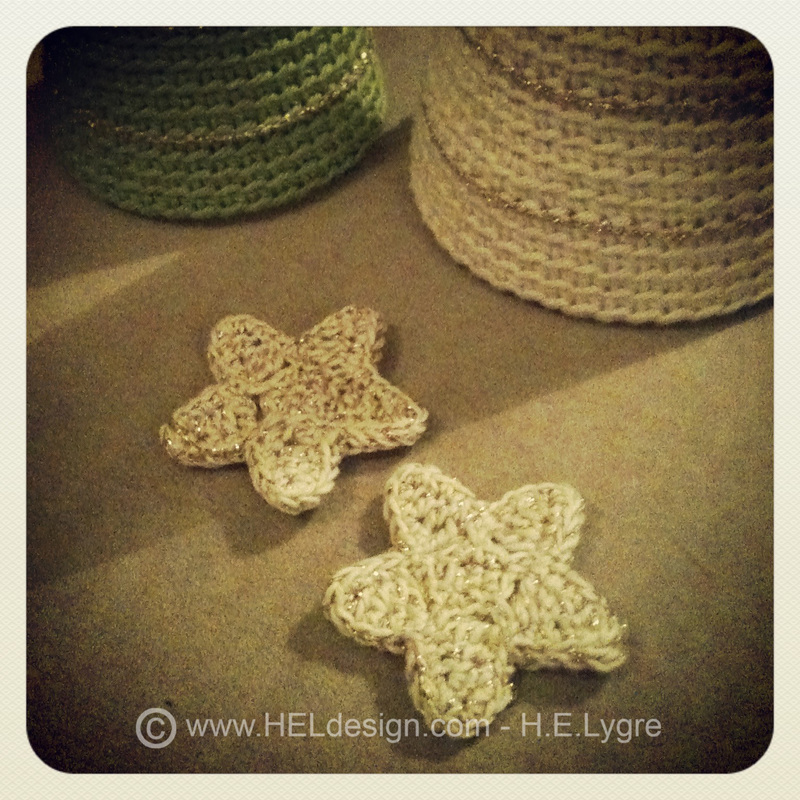
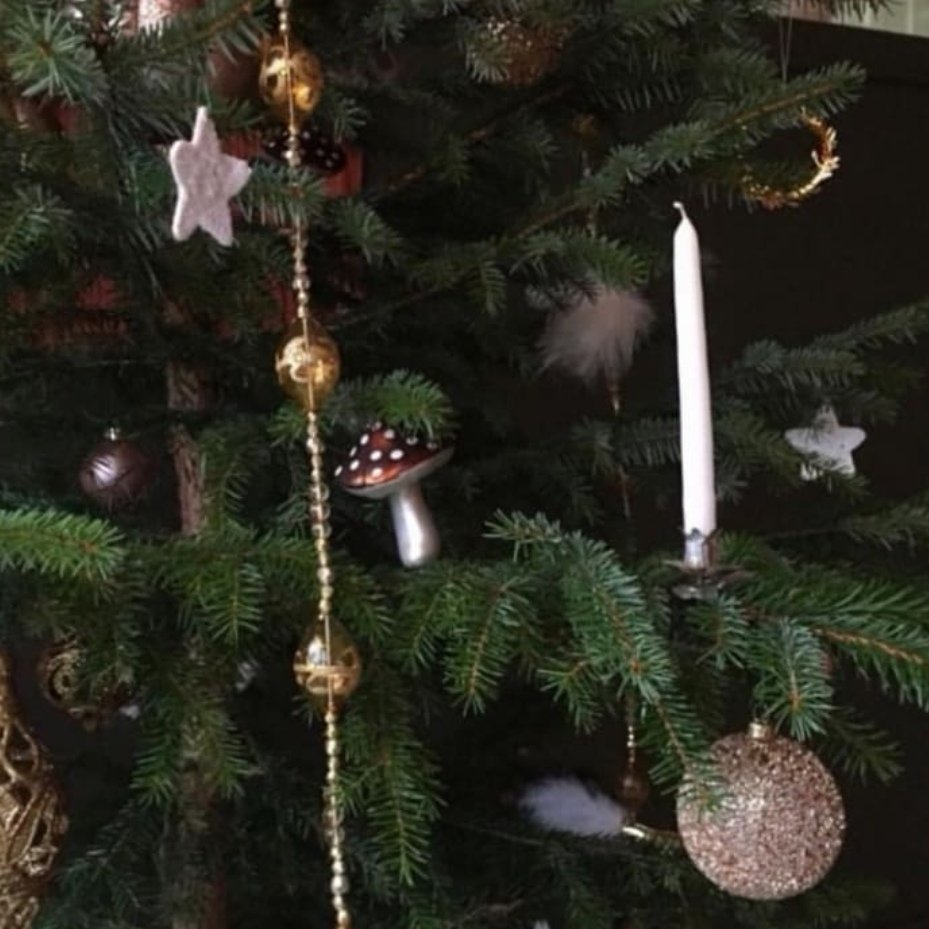
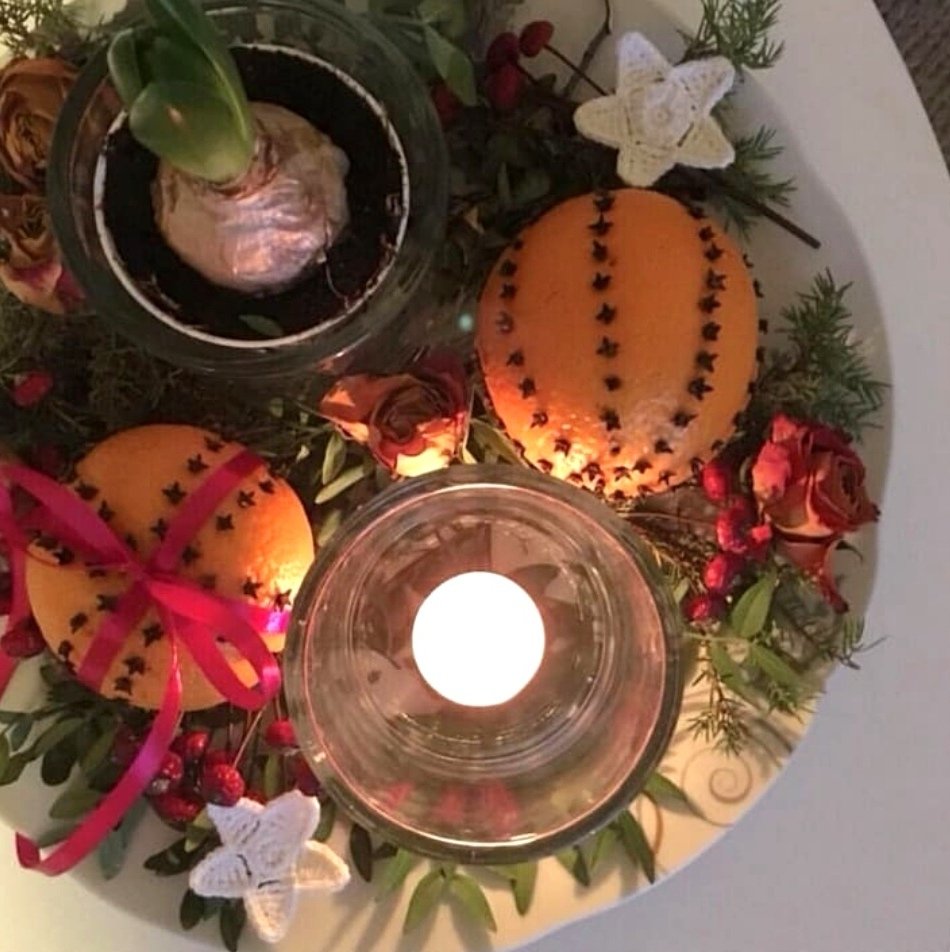
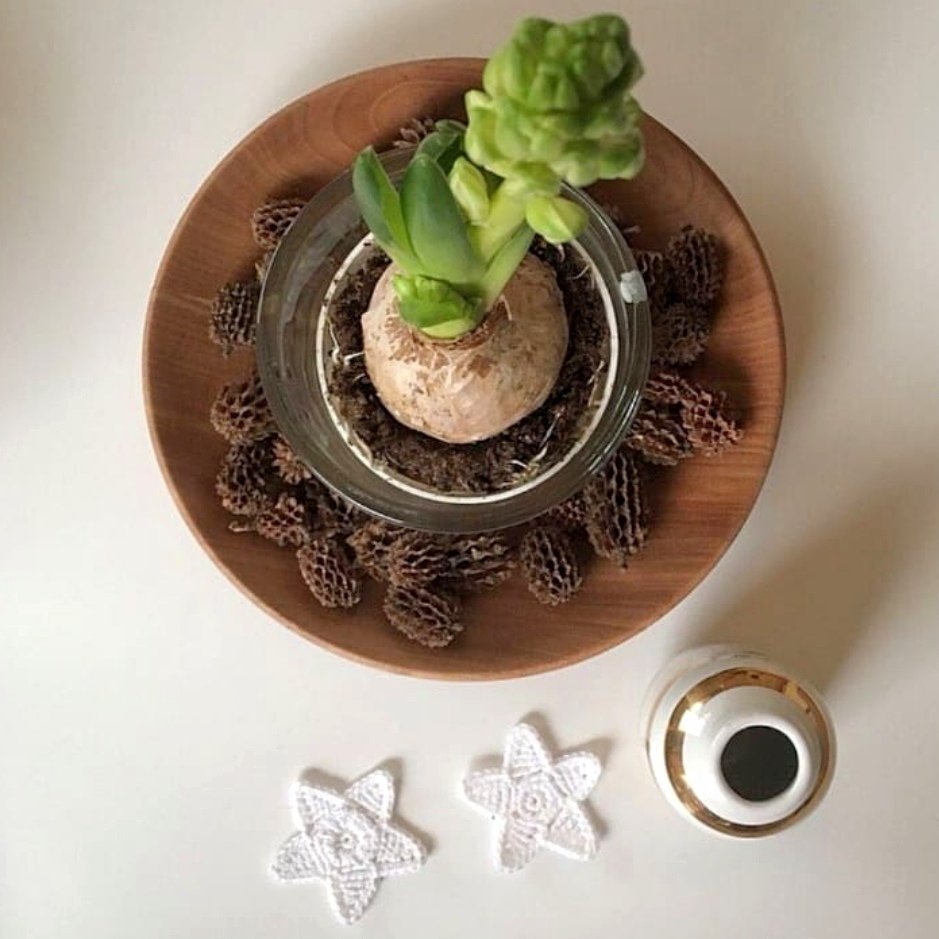
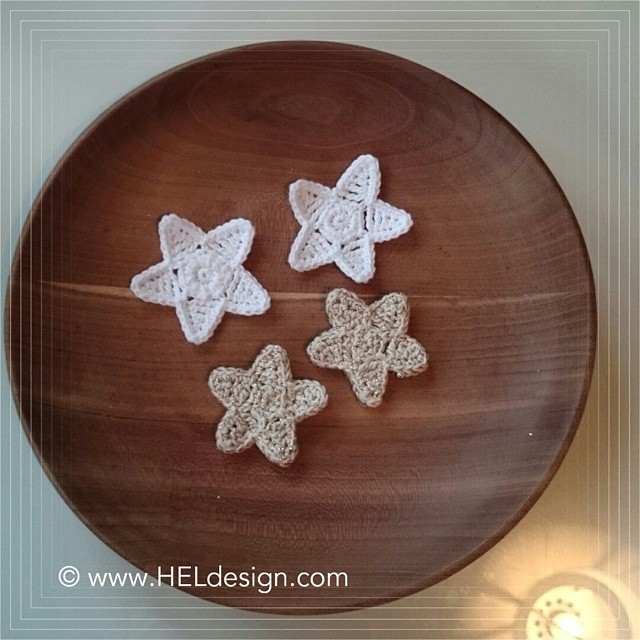
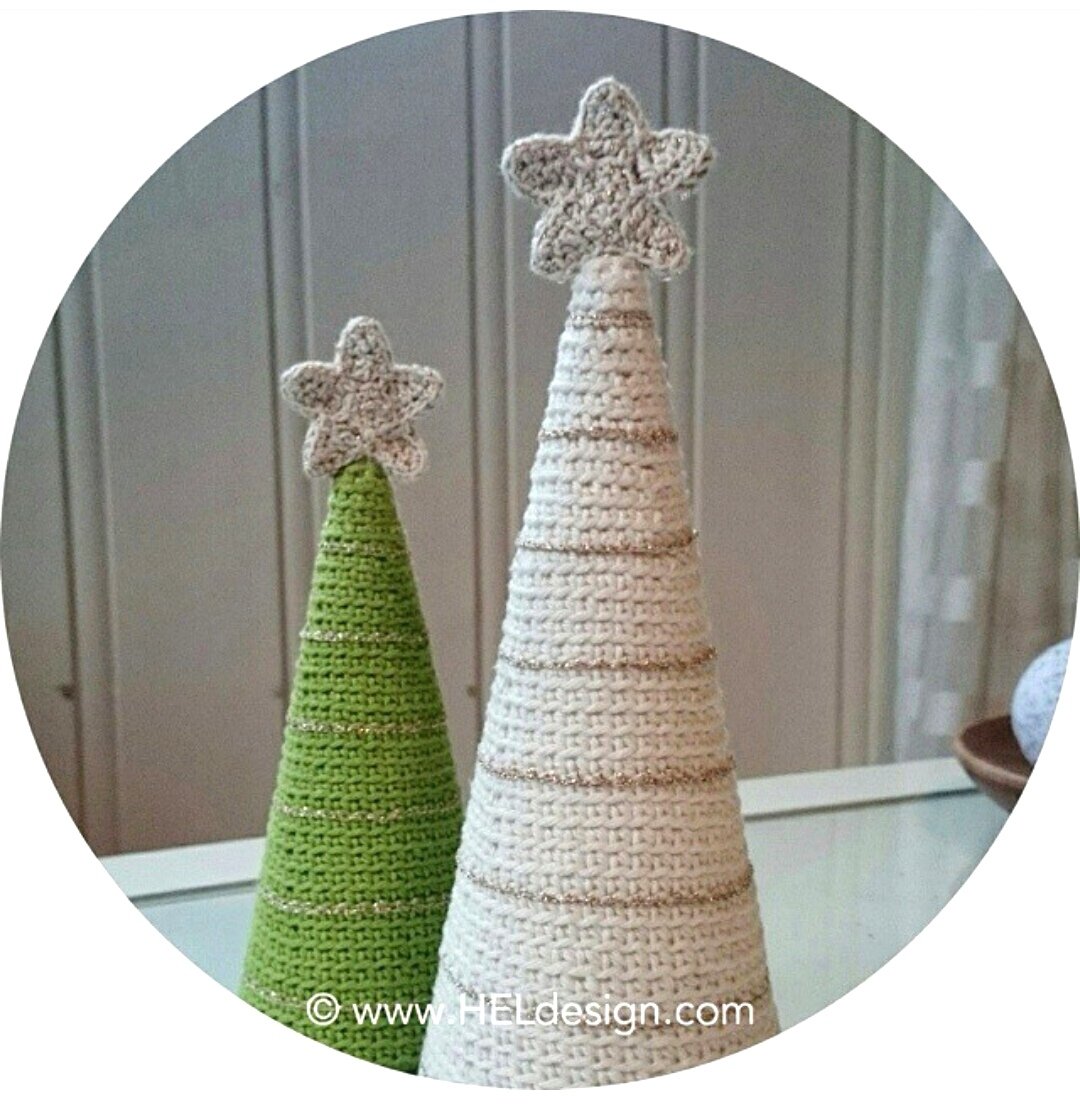
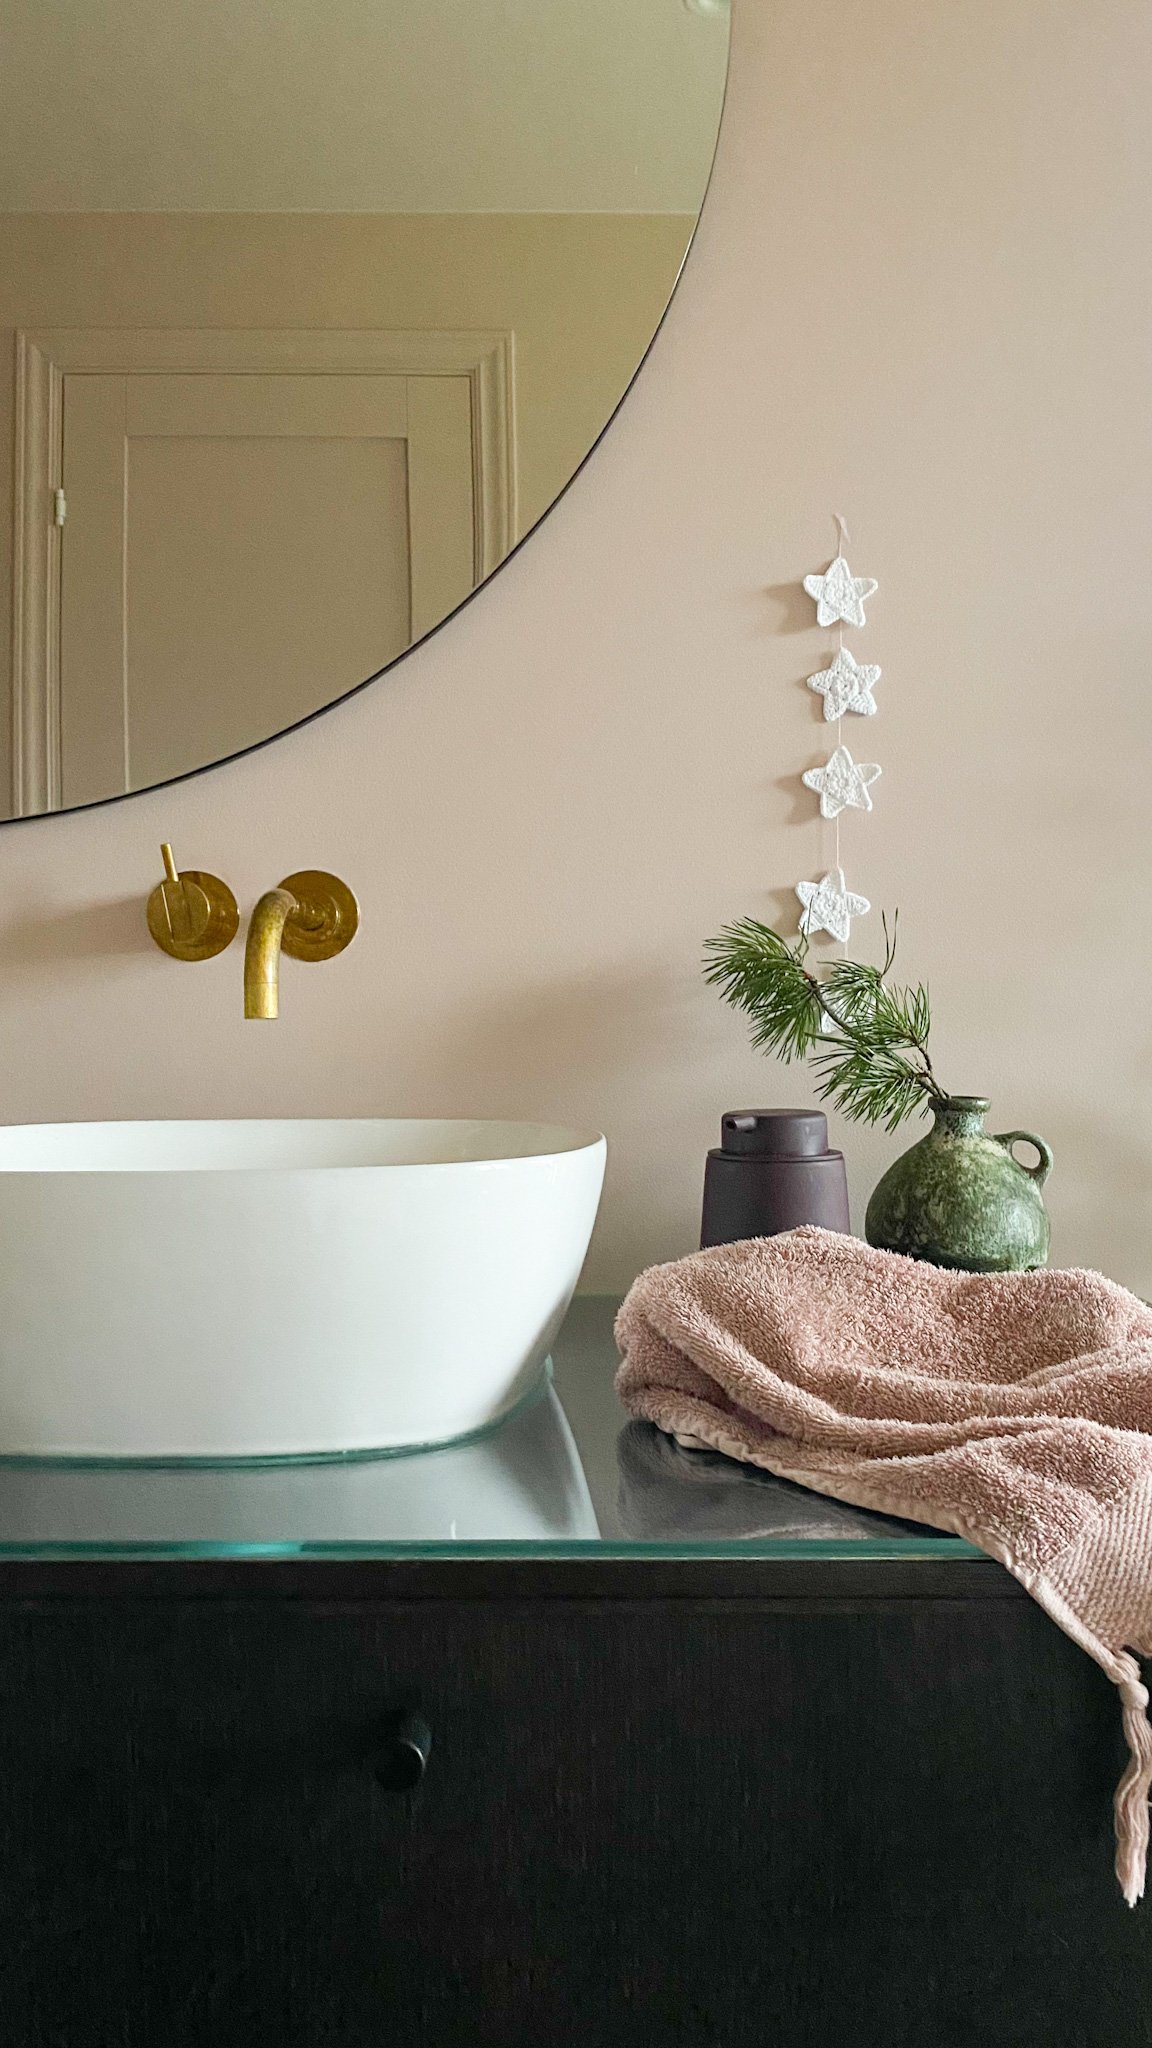
Crochet a little star to put on your Christmas cards or attach it on top of a cute little Christmas tree. Make several together as a garland, hang them on the Christmas tree or use them as table decorations. Your imagination is the only thing stopping you.
MATERIALS:
- Yarn – Thin cotton
- Crochet Hook – 1,75 mm (or the hook that goes with the yarn you´re using)
STITCHES / ABBREVIATIONS (UK terms)
- ch (chain/slip knot) – Watch video
- sl st (slip stitch) – Watch video
- dc (double crochet) – Watch video (video title shows US terms – sc (single crochet)
- htr (half treble) – Watch video (video title shows US terms – hdc (half double crochet)
- tr (treble) – Watch video (video title shows US terms – dc (double crochet)
- trtr (triple treble) – Watch video (video title shows US terms – tr (treble/triple crochet)
- MR (magic ring) – Watch video
- YO (yarn over)
- st (stitch)
- R (row/round)
CROCHET PATTERN
R1: Start with 5 sc in MR,
R1: 2 sc in each of 5 st = 10 sc
R3: *5 sc, (the following st is crocheted back on the 5 ch you just made), 1 sc in second ch from hook, 1 hdc, 1 dc, 1 tr. Skip 1 st, 1 sc in next st*.
Repeat from * to * 4 times. Fasten with sl st.
R4: *3 sc going up the star tip, 3 sc in the top, 3 sc going down the tip, 1 sl st in sc*.
Repeat from * to * on all the star tips. Fasten with sl st in first st. Cut off yarn.
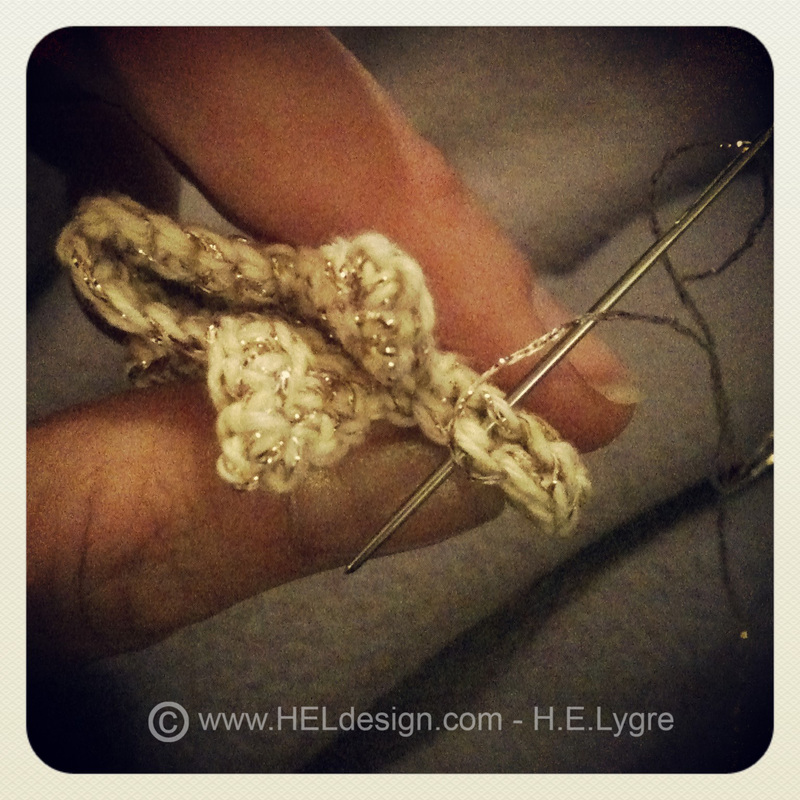
ASSEMBLING / SEWING
You can choose to keep the star as it is, or you can make it double as shown below. Put two stars together with wrong sides facing each other and sew them together.

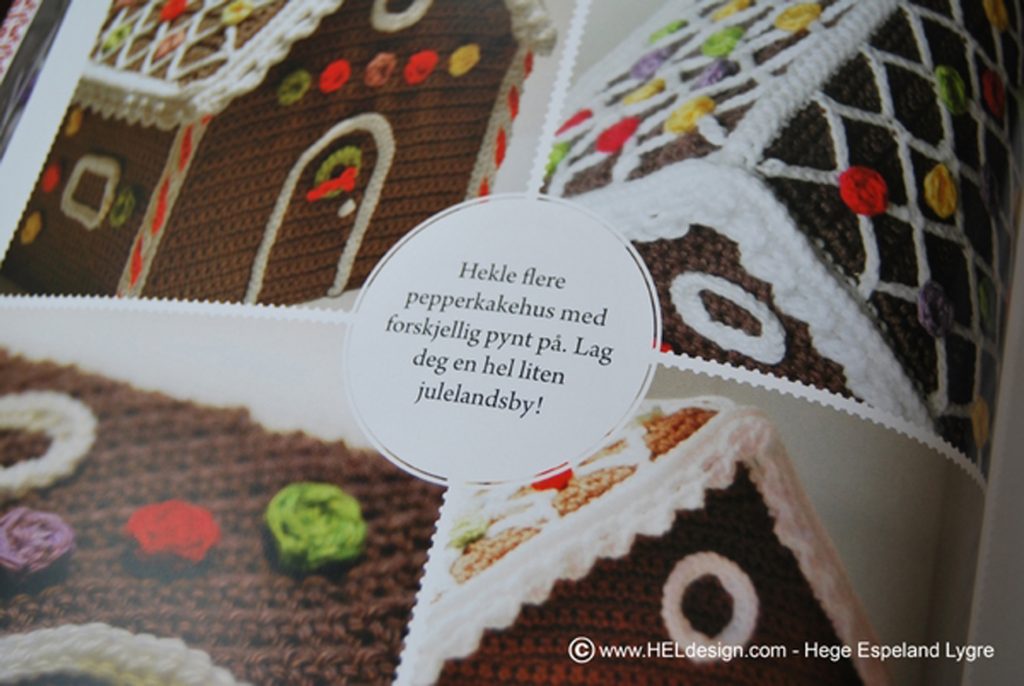
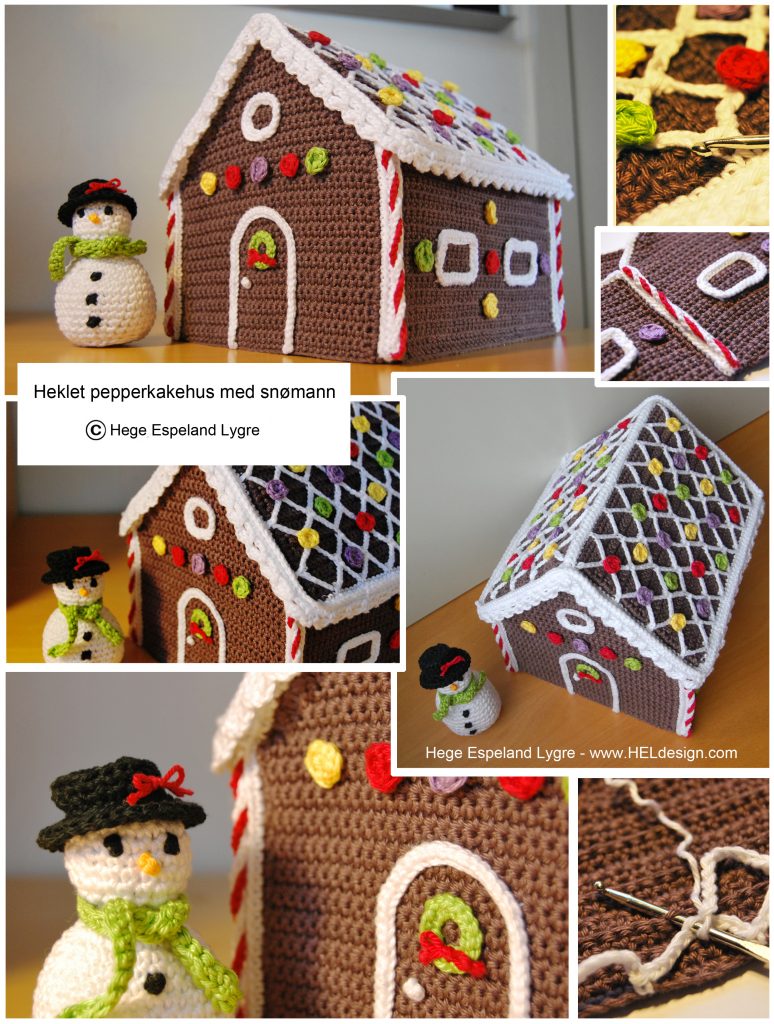
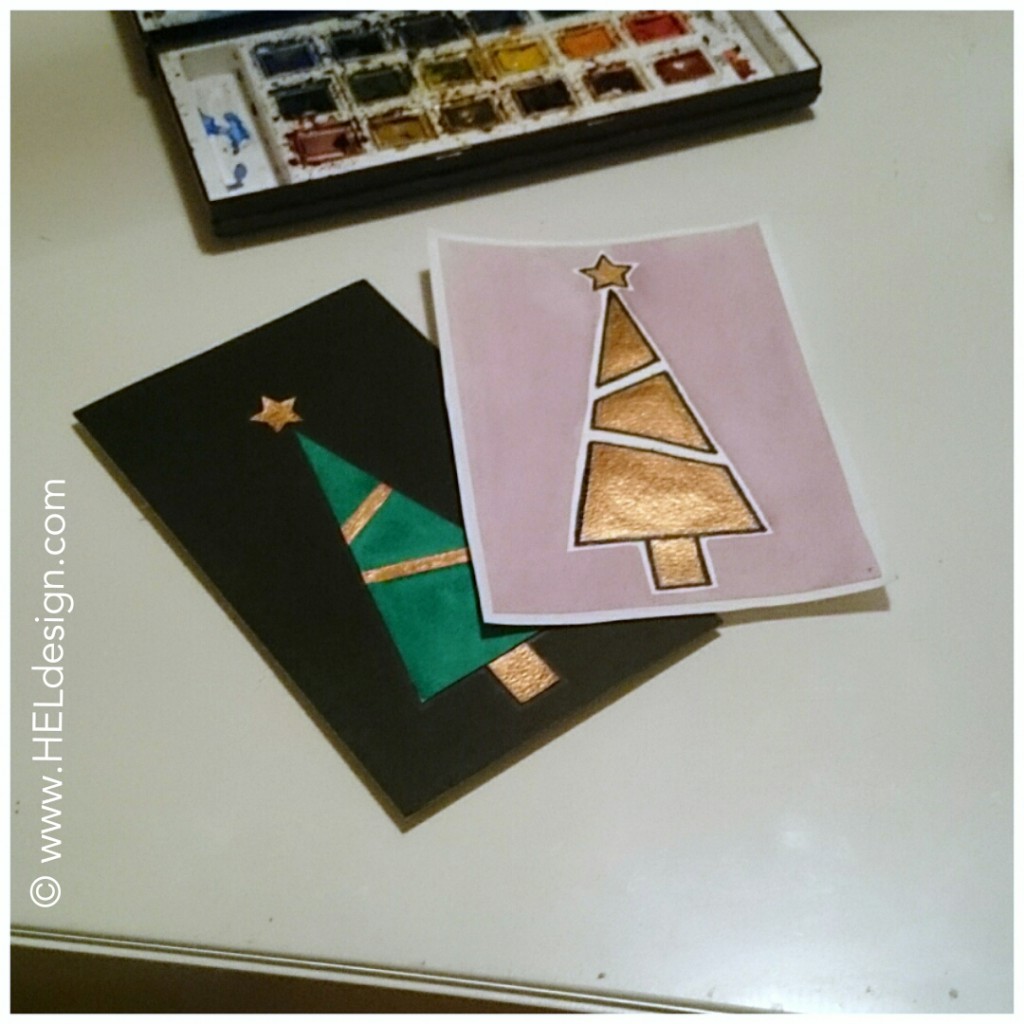
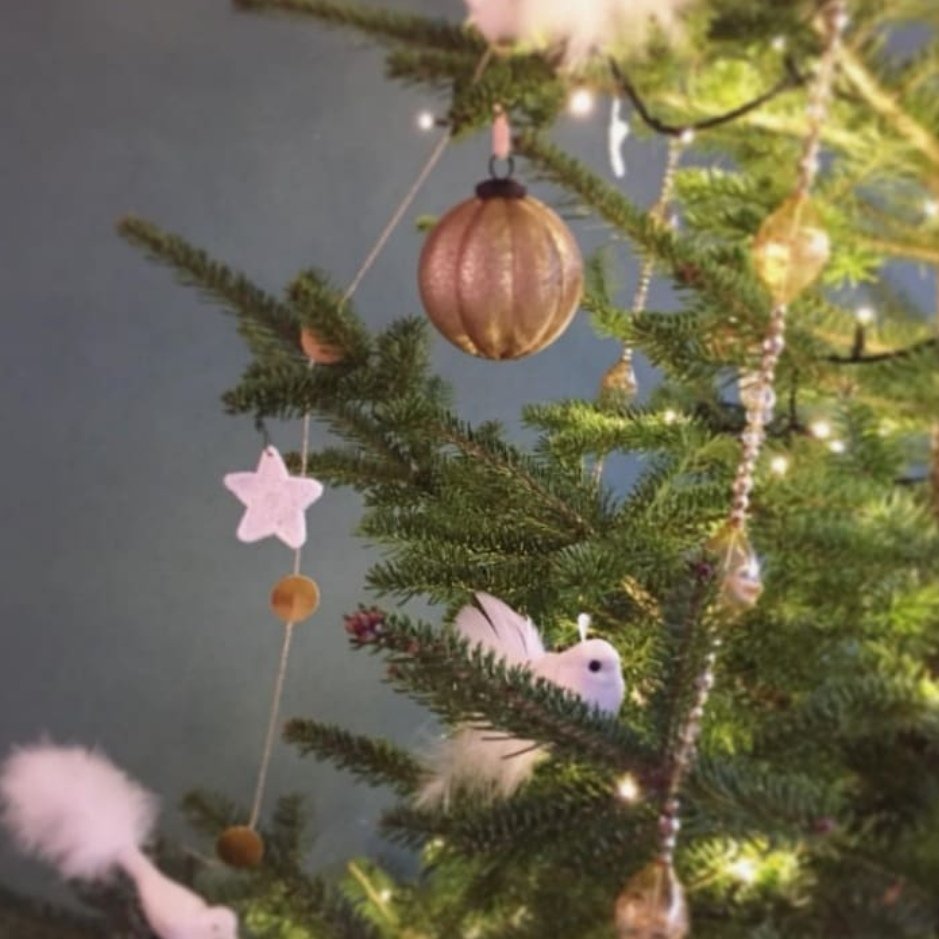
INSPIRATION
If you use my patterns please link back to www.HELdesign.com.
And if you post on Instagram please tag photos with #heldesign_pattern and @heldesign_crochet (that way I can find you and see what you made) 🙂
Please contact me if you have any questions.
Enjoy your crocheting! 🙂

Would you like to learn how to crochet?
Visit my YouTube channel, there you will find videos of the basic stitches and in time there will also come special stitches, various projects and requests.