Stikkord: decor

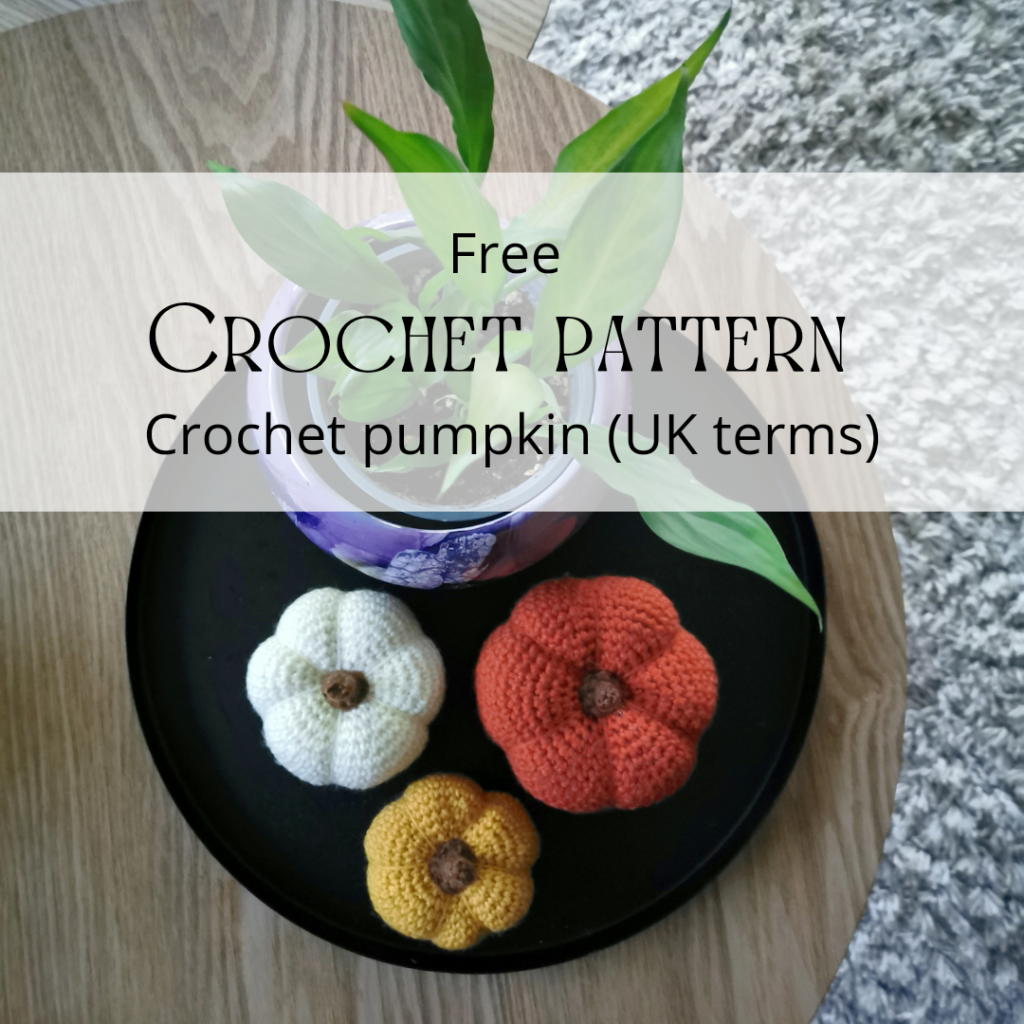
CROCHET PUMPKIN – Free crochet pattern (UK terms)

CROCHET PUMPKIN – Free crochet pattern (UK terms)


DESIGN AND PATTERN:  Hege Espeland Lygrewww.HELdesign.com
Please read the Terms of use for my crochet patterns.


CROCHET PUMPKIN- big, medium and small

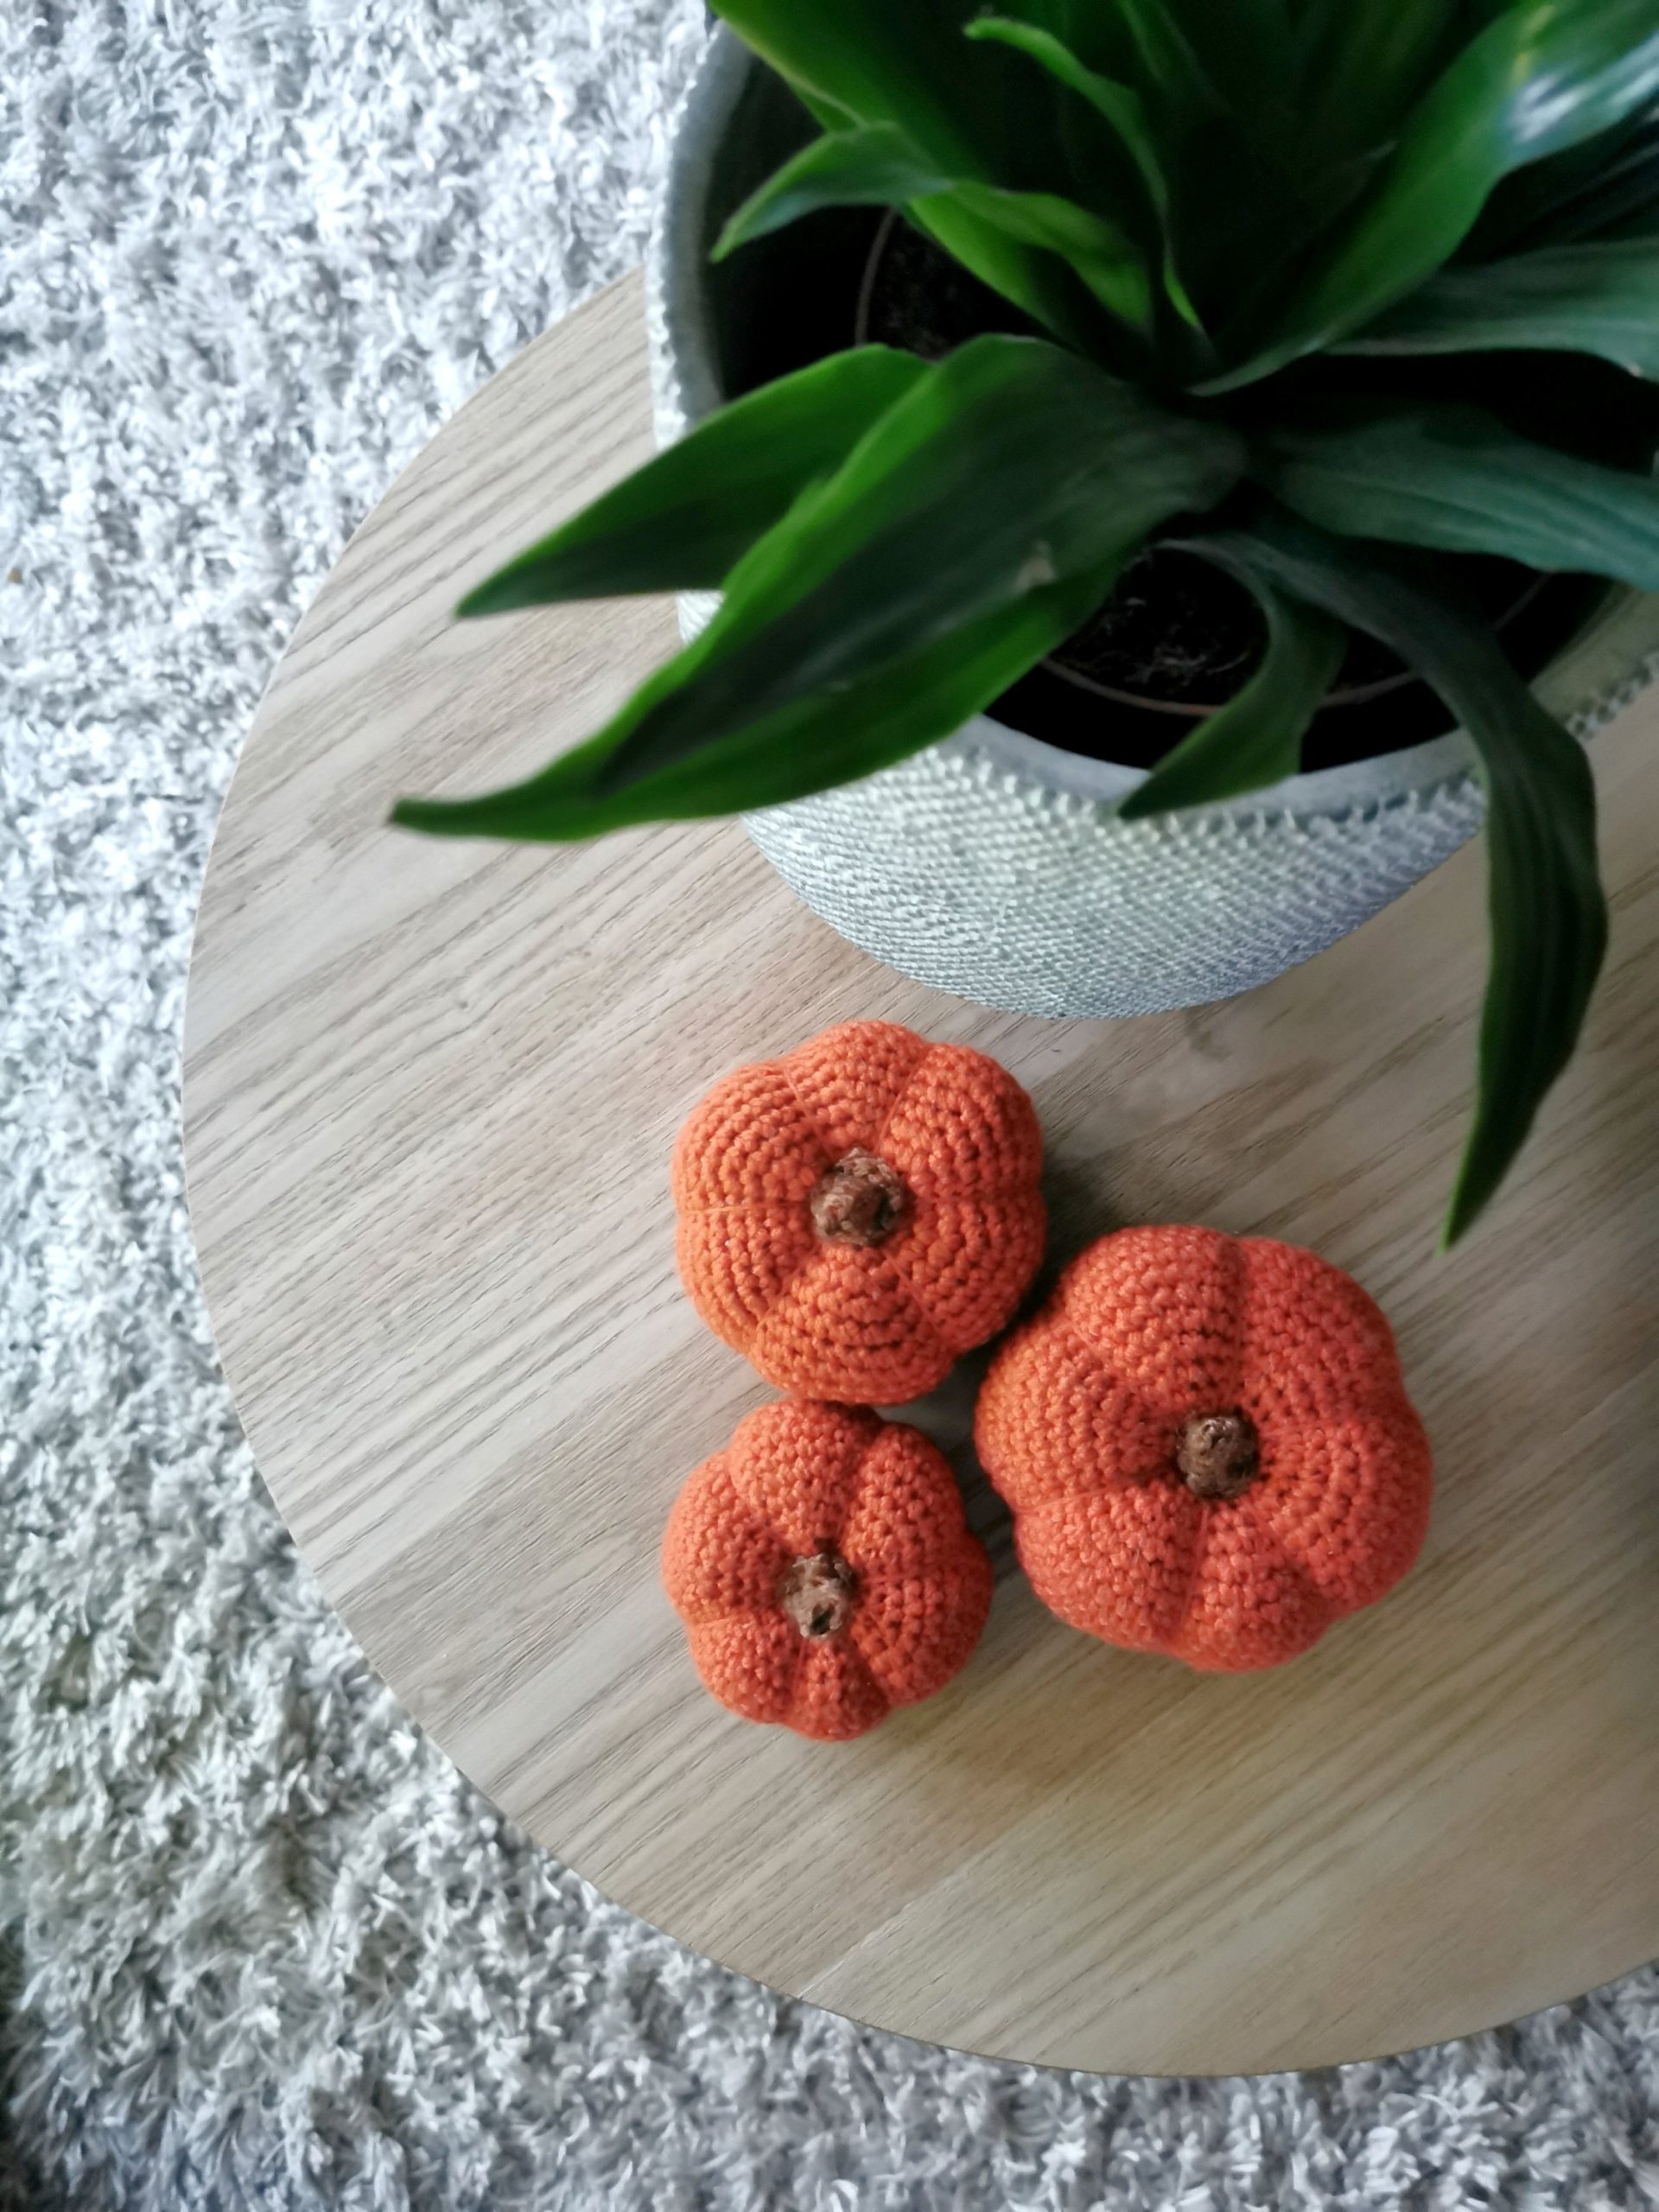
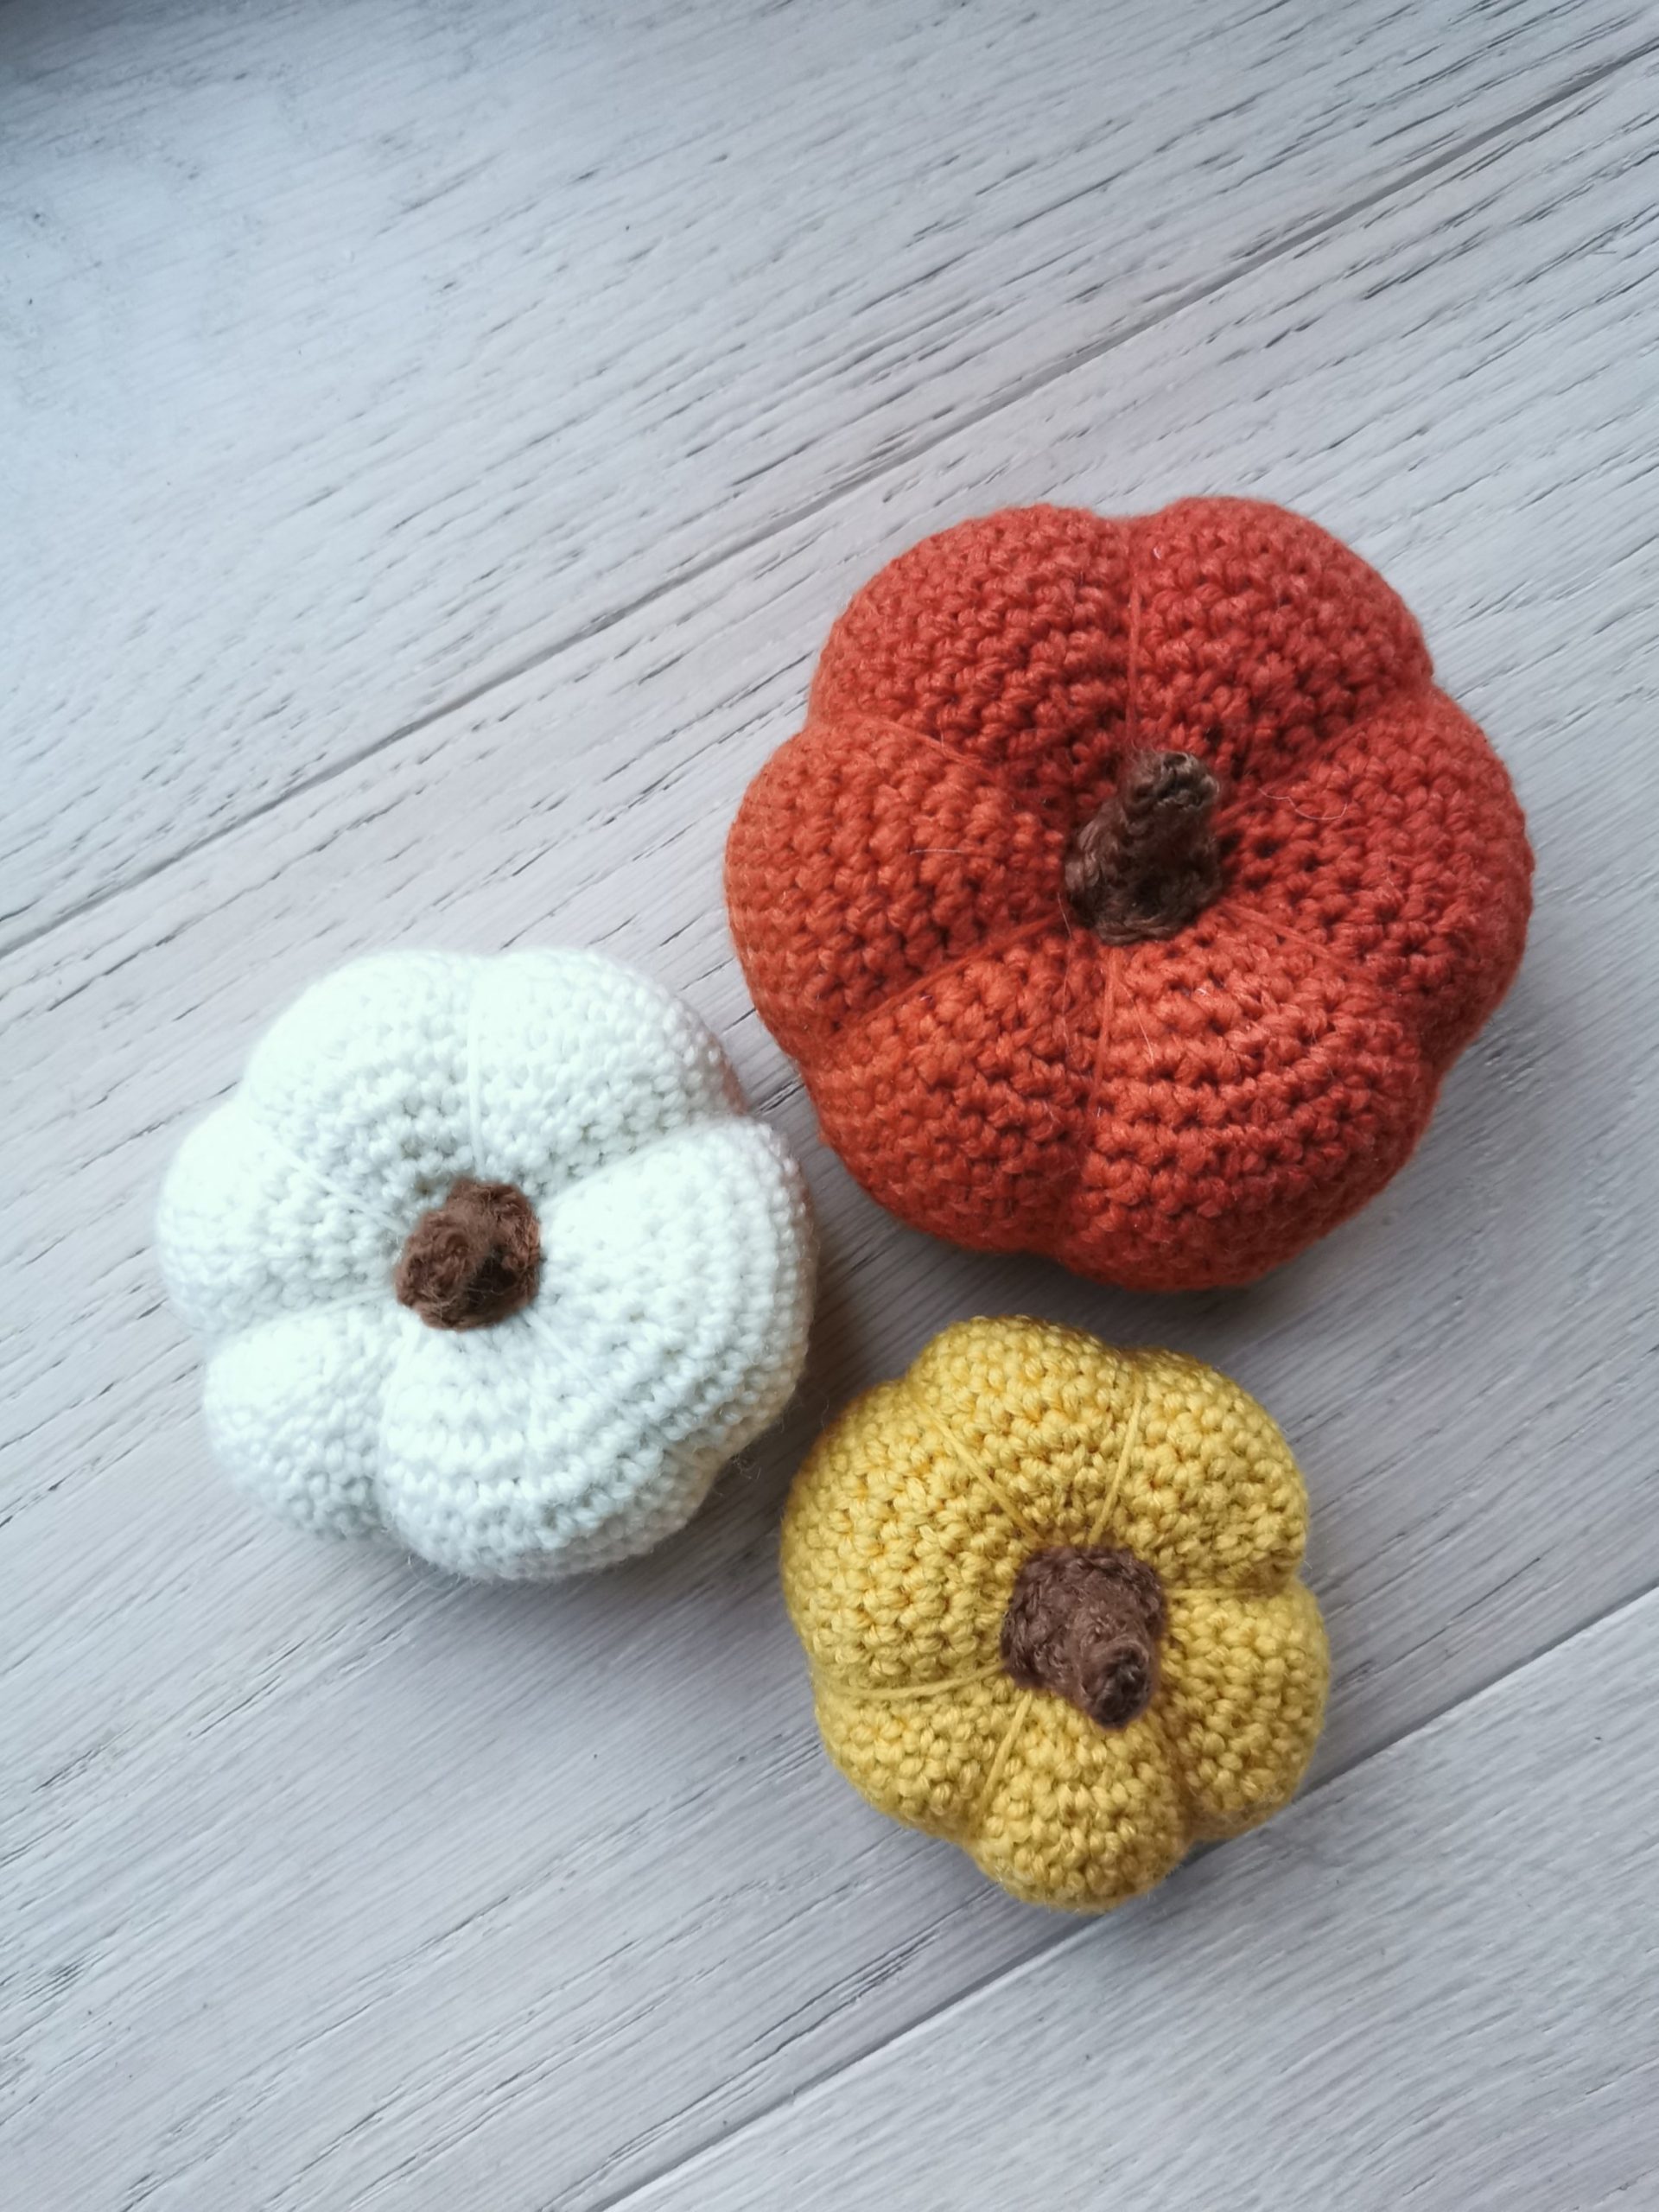
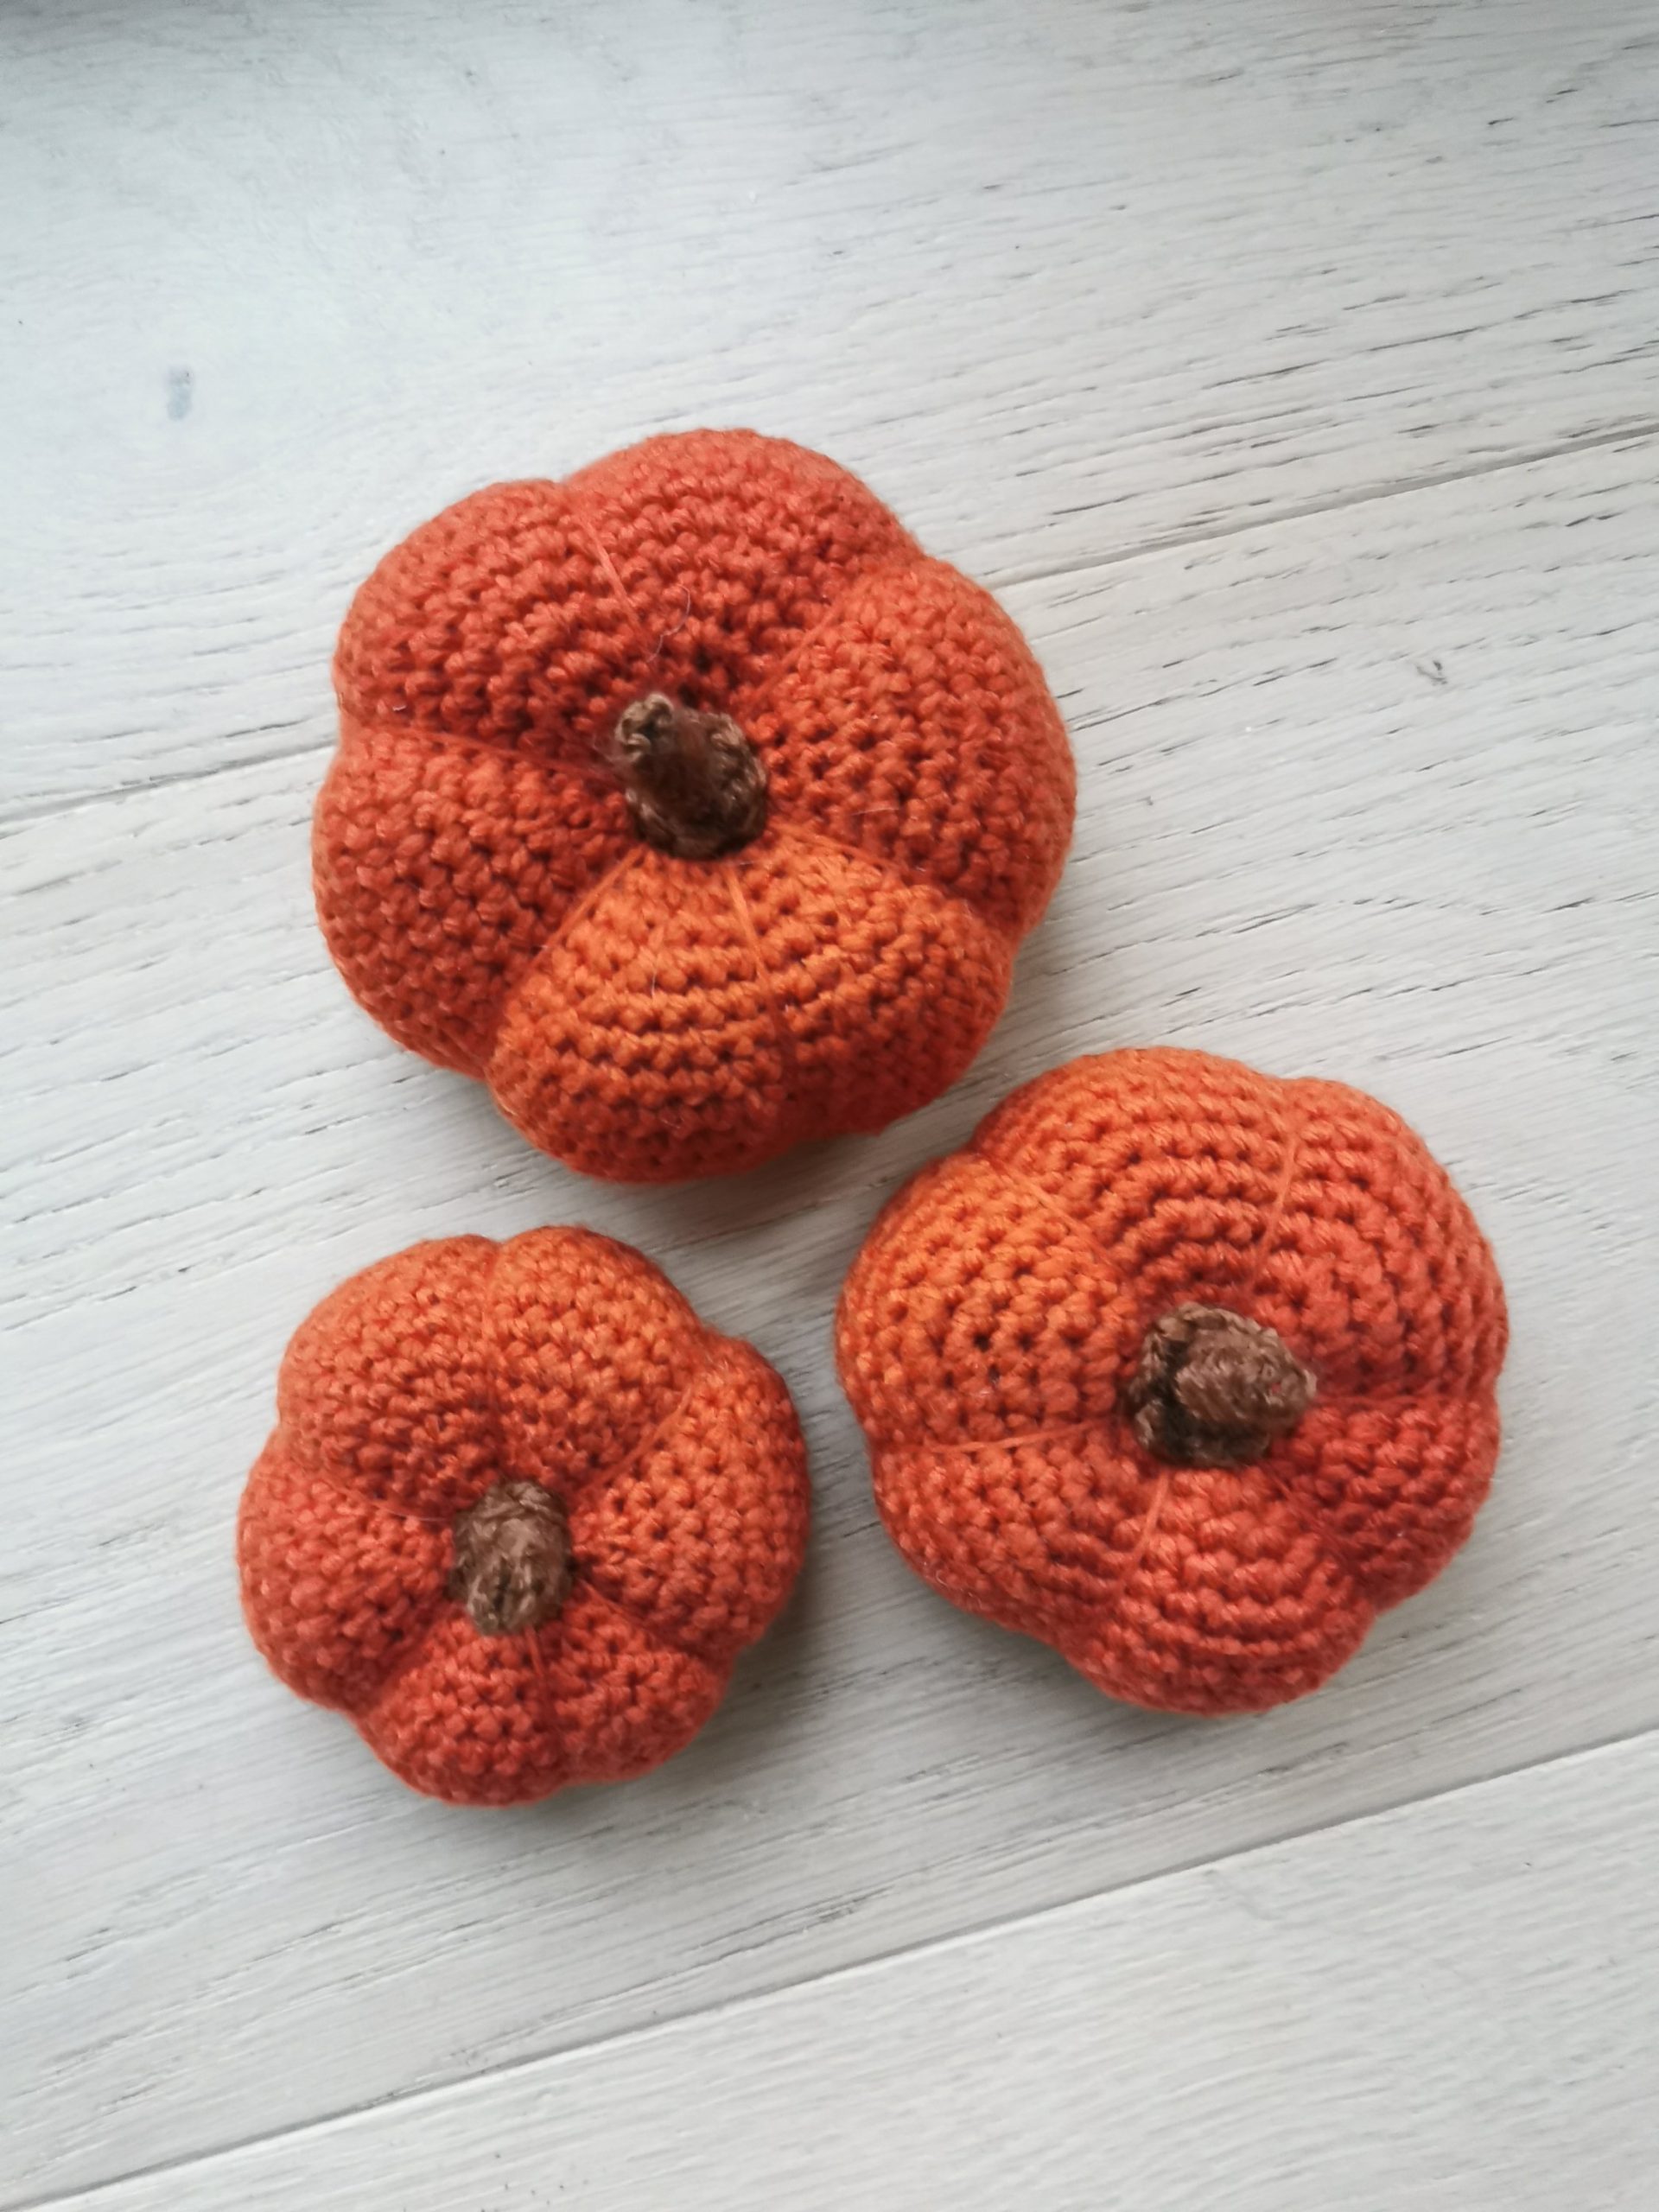
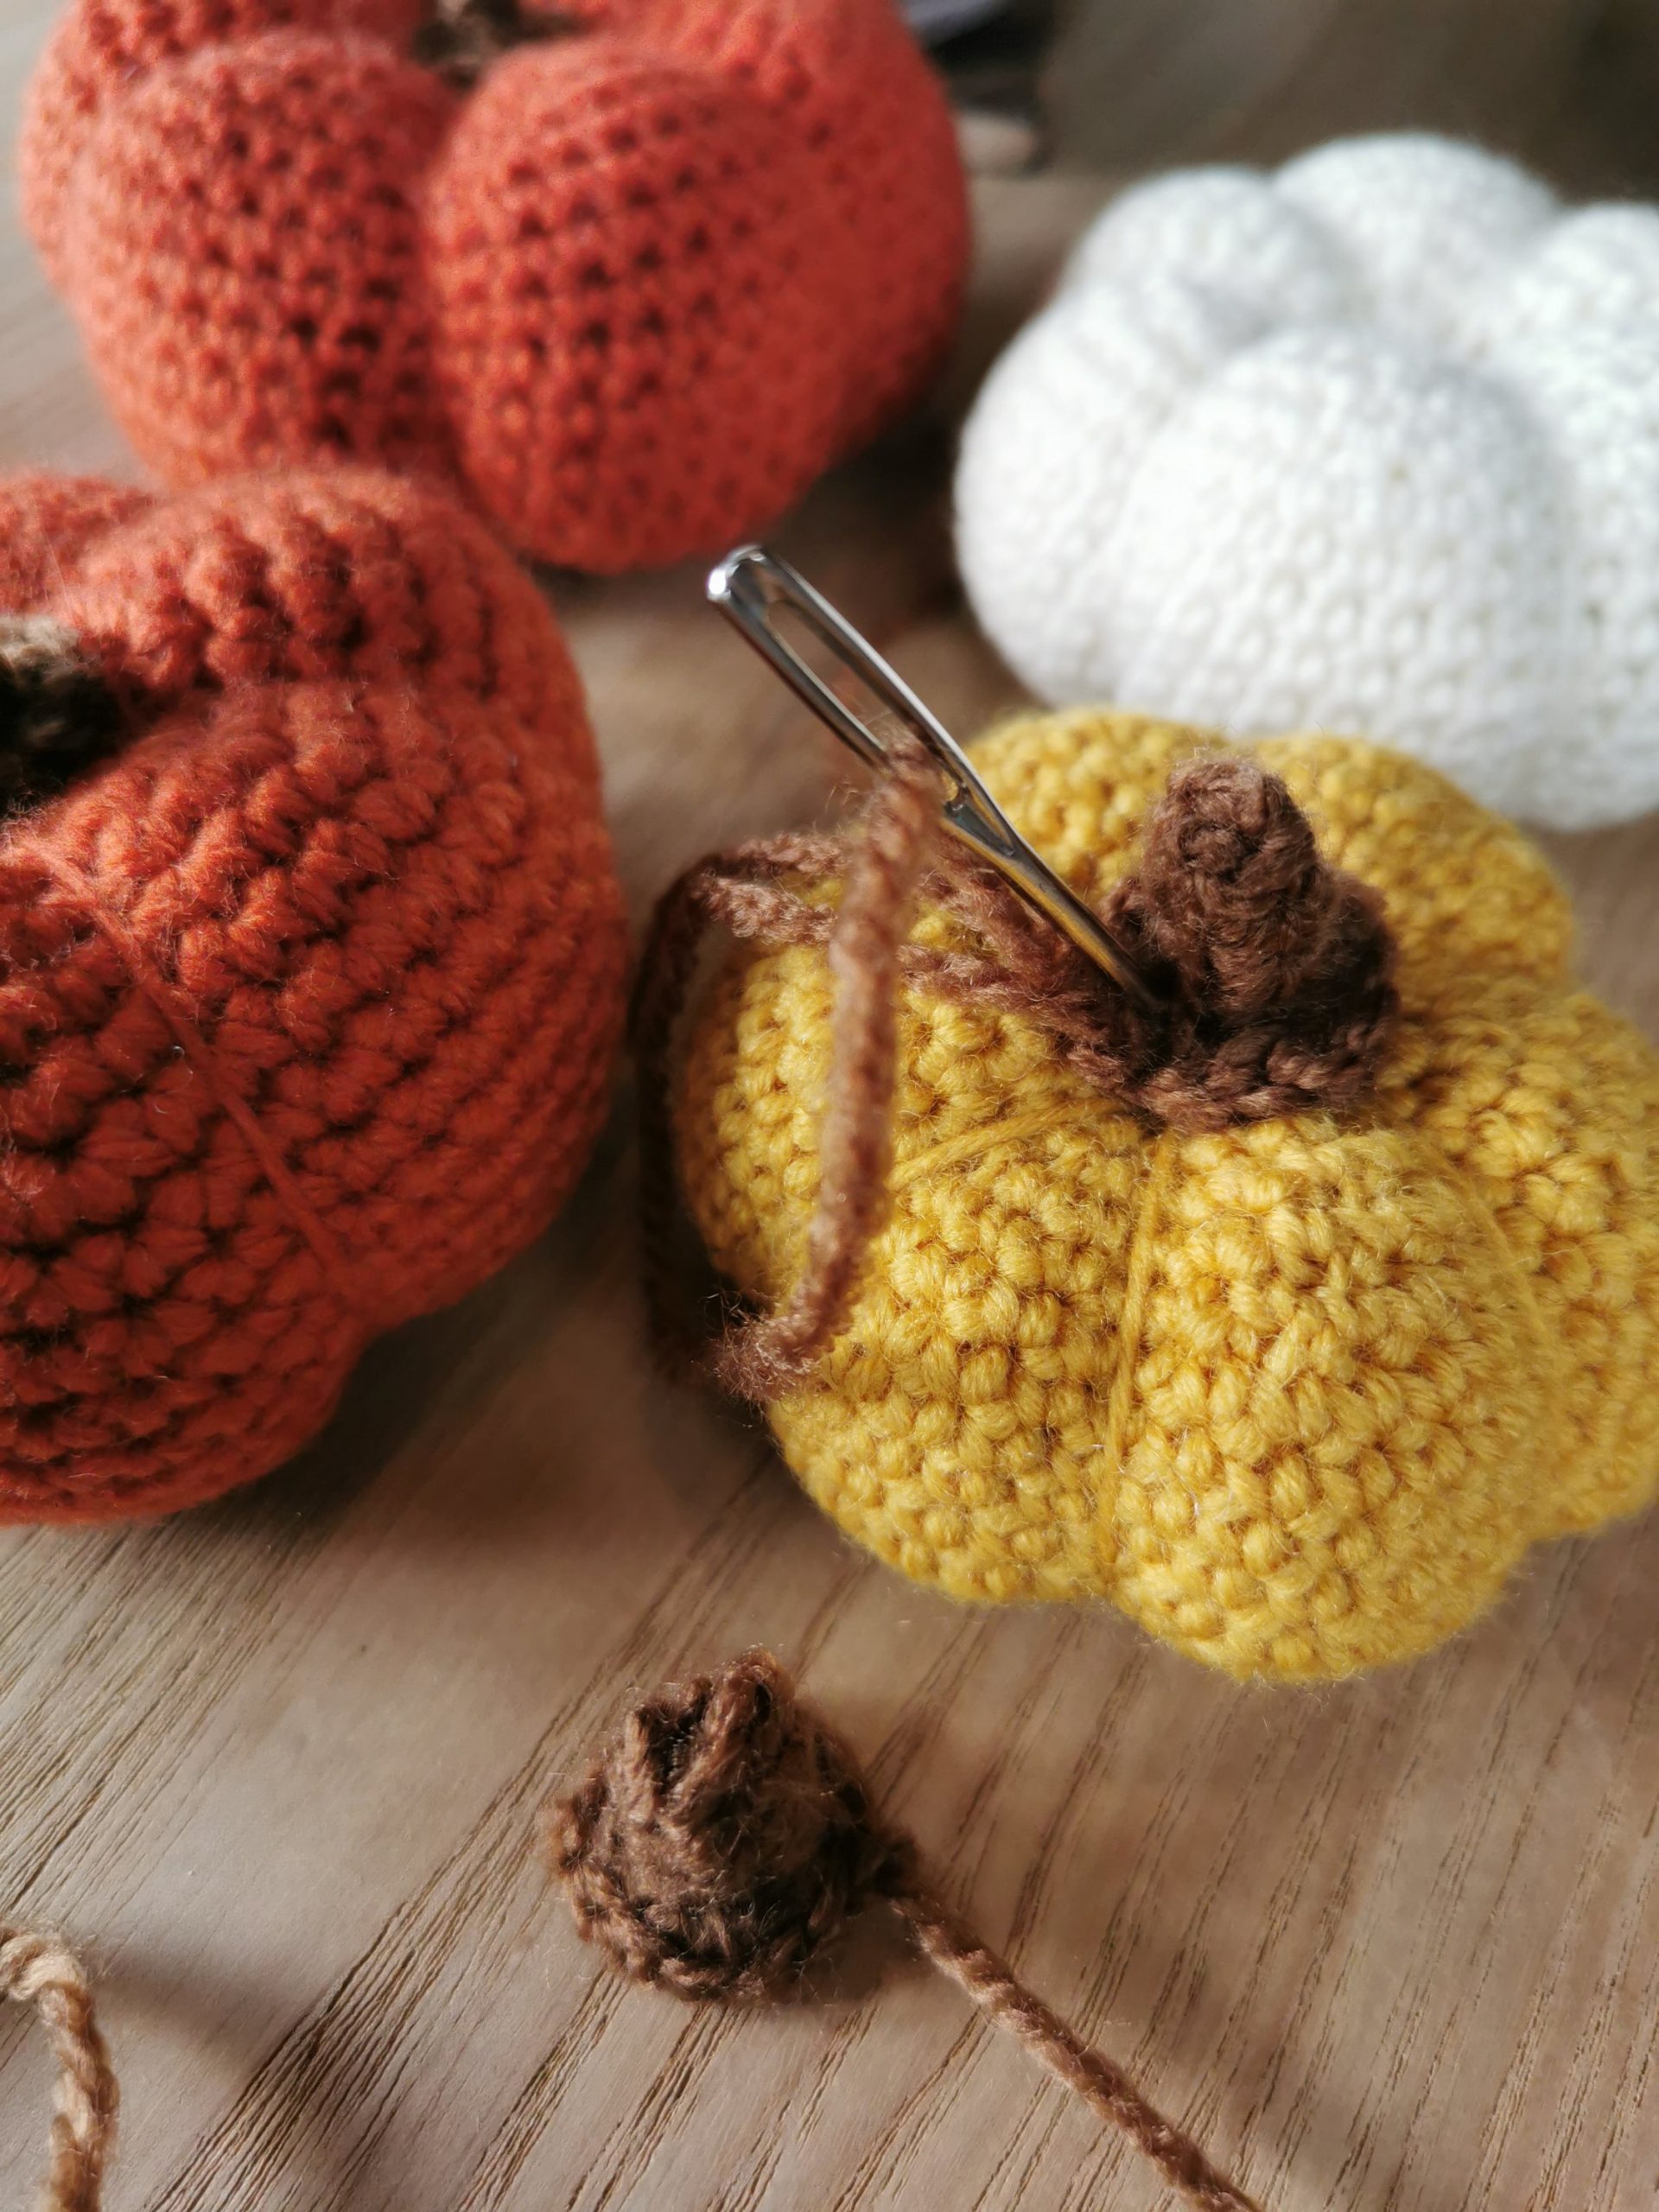
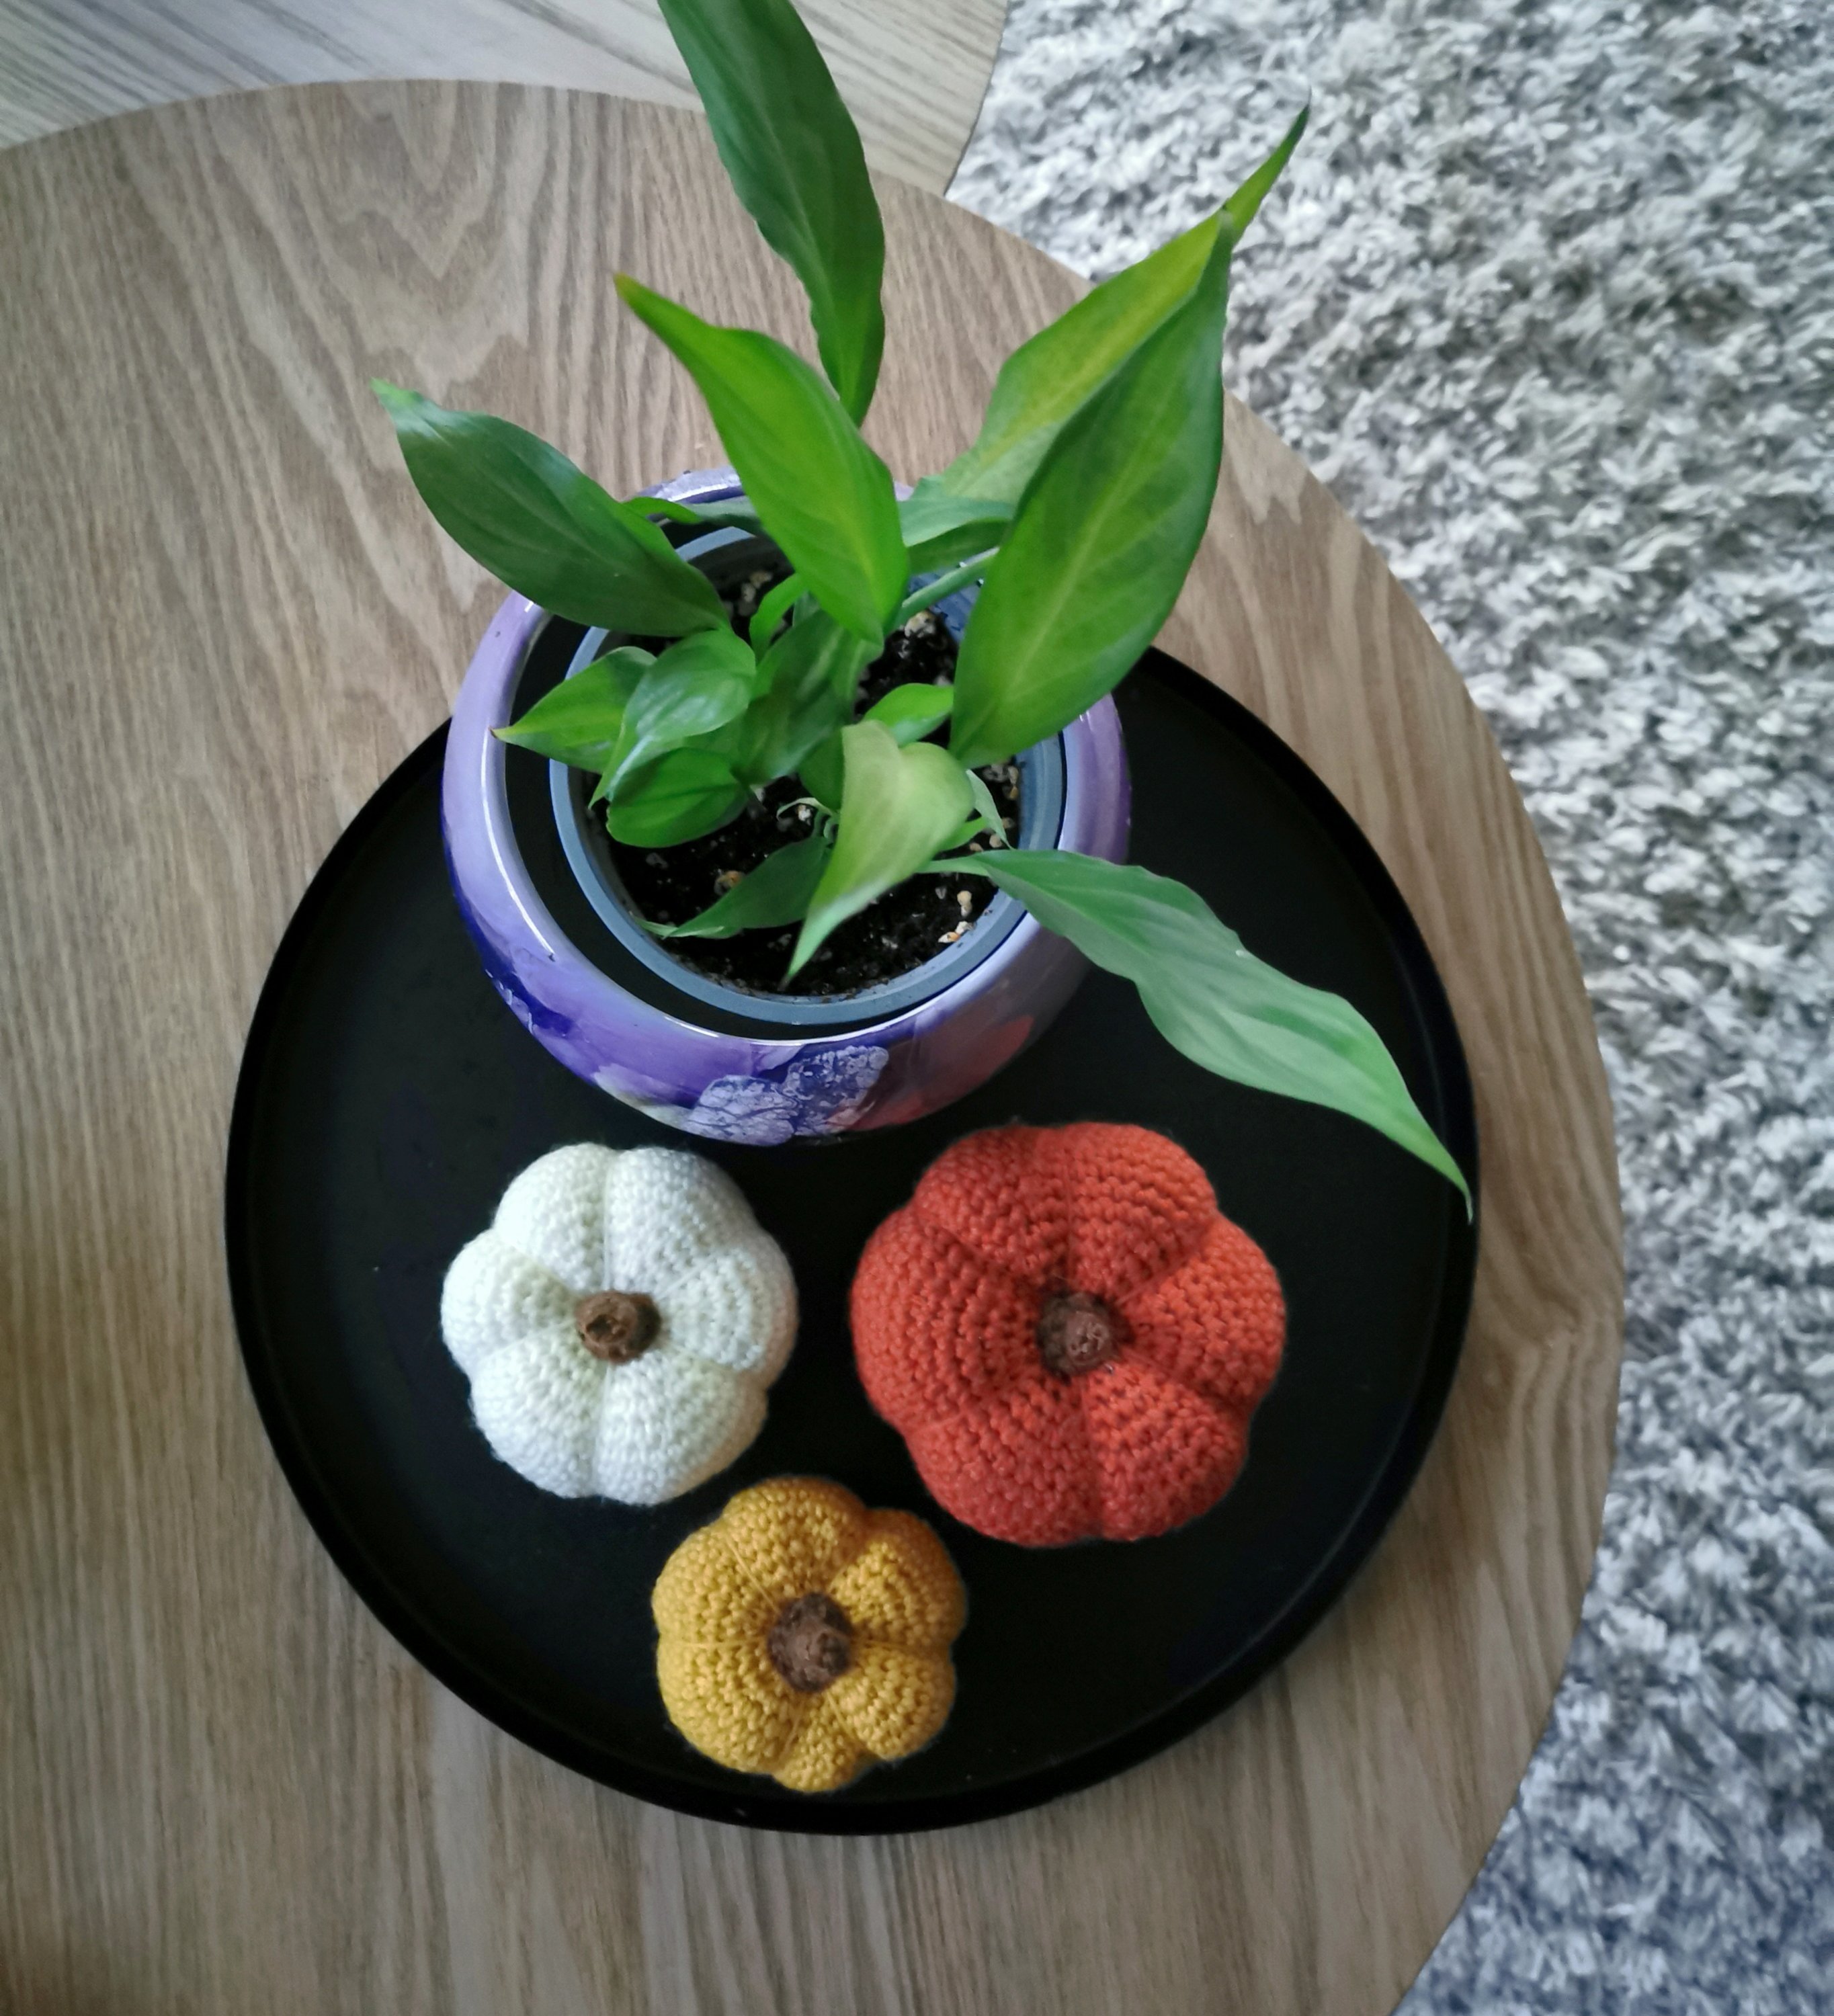
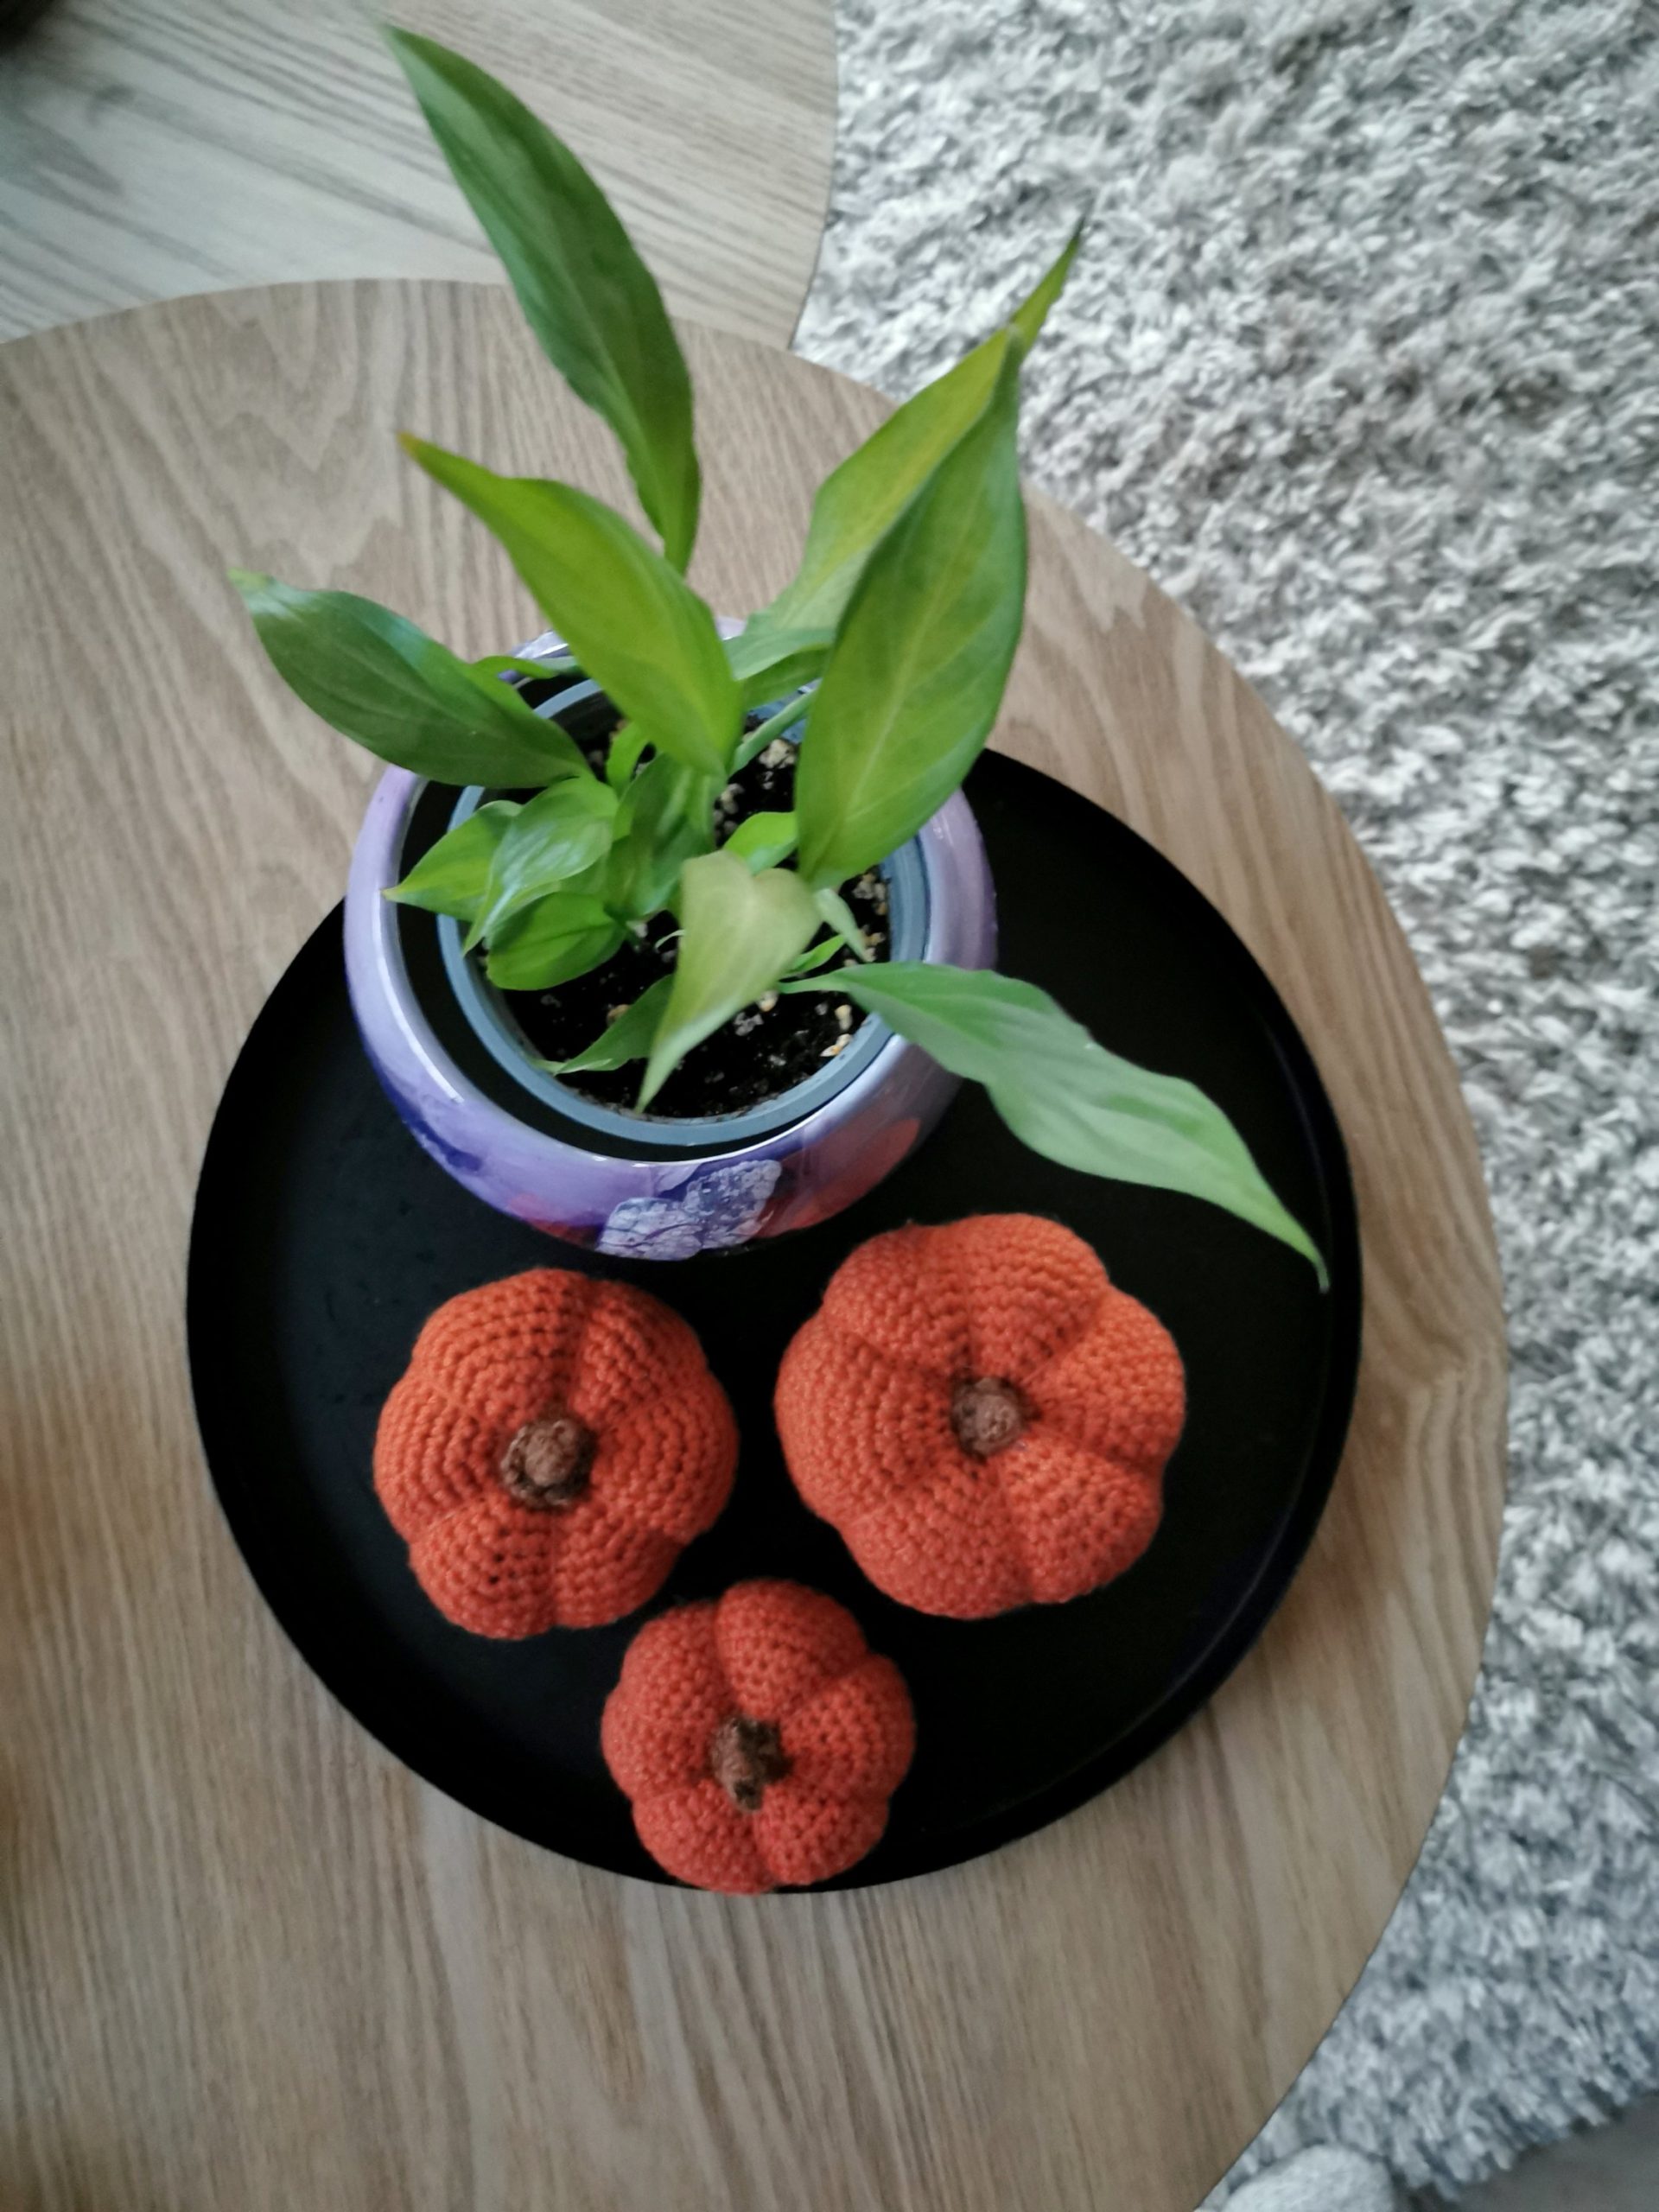
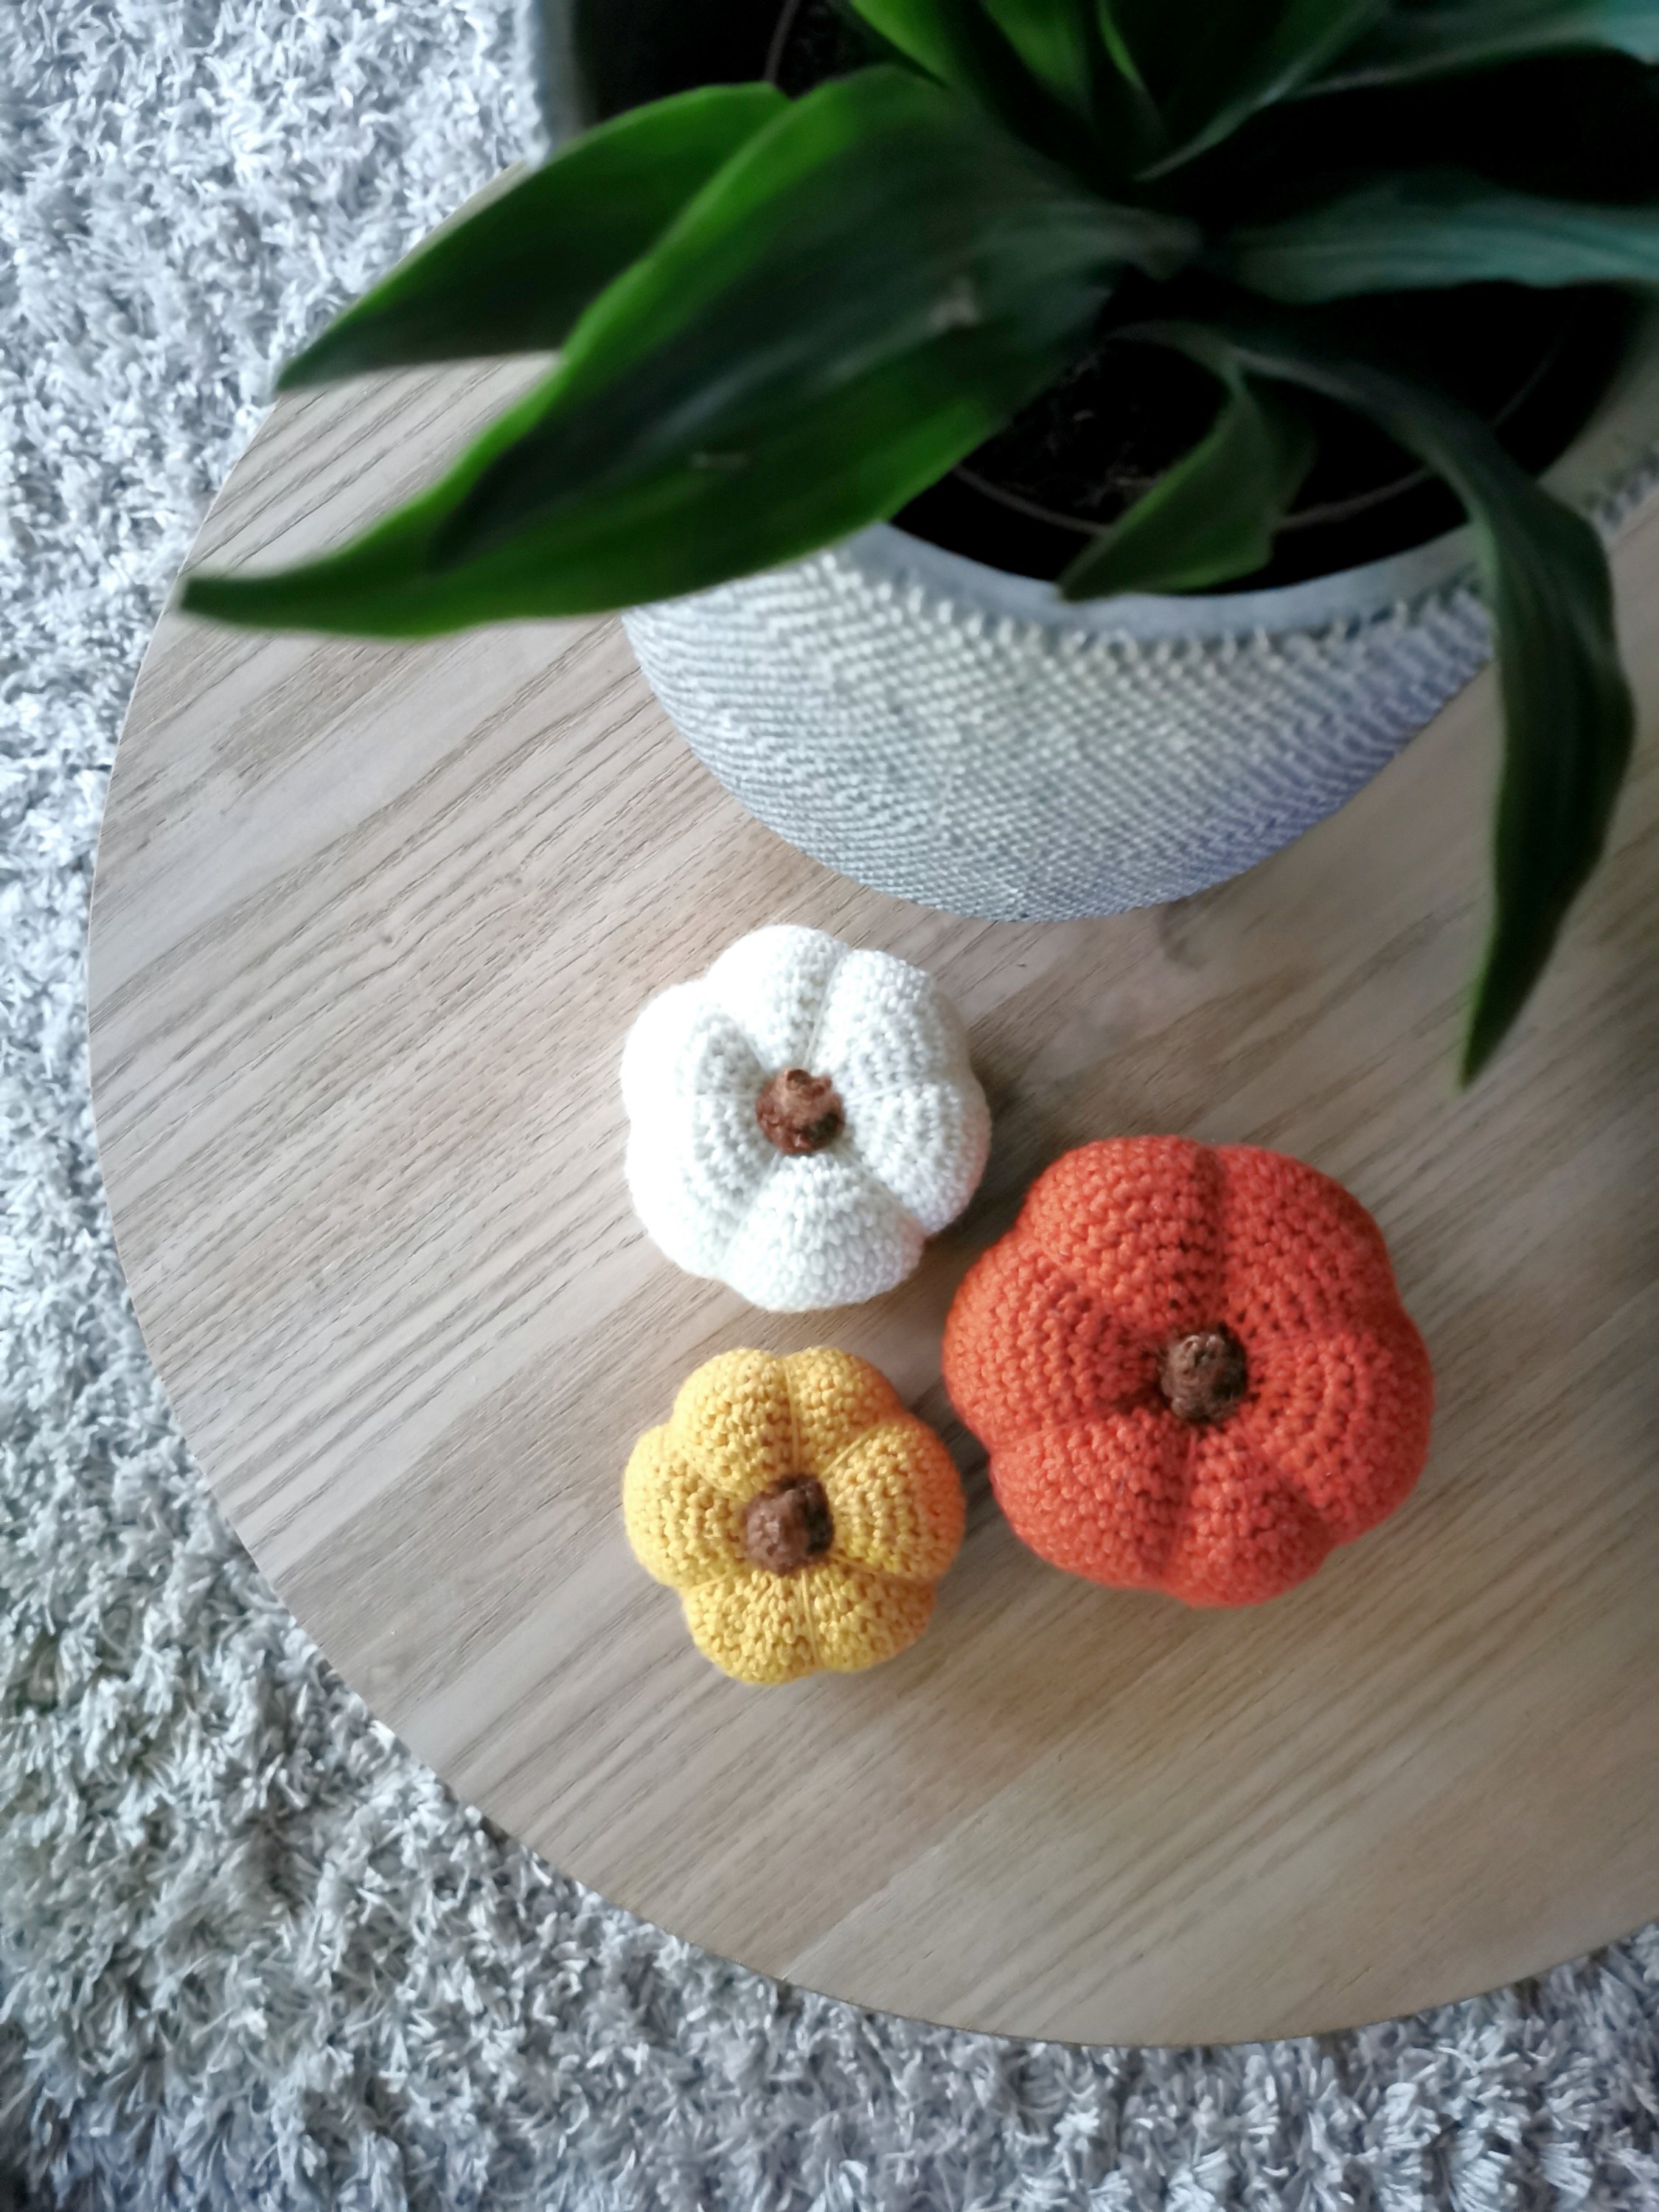
When autumn arrives I like to decorate my home with pumpkins, and last year I made a simple crochet pattern for a crochet pumpkin in three different sizes. There are numerous patterns like this on the internet, but I thought I’d share my pattern with you anyways. The pumpkins can be made in any type of yarn, so play around with different colours, sizes and also thickness of the yarn. And instead of making a stem you can also use a tiny branch (as shown in photos further down on the page).

MATERIALS

  • Yarn – The pumpkin can be made in any type of yarn, so choose the yarn that suits you best
  • Crochet Hook – The size that goes with the yarn you’re using, and one in a smaller size
  • Filling / Wadding to stuff the pumpkins
  • Needle
  • Scissors

STITCHES / ABBREVIATIONS (UK terms)

  • R (row/round)
  • ch (chain/slip knot) – Watch video
  • sl st (slip stitch) – Watch video
  • dc (double crochet) – Watch video (video title shows US terms – sc (single crochet)
  • MR (magic ring) – Watch video
  • st (stitch)
  • tog (together)

GAUGE

No gauge is necessary for this pattern, as it’s not a piece of clothing or something that requires exact measurments.

INFORMATION

  • Read through the whole pattern before you start.
  • Increase (example): When it says «2 sc, 2 sc in next st», it means that you make 1 sc in each of the two next stitches, and then 2 sc in the next stitch (you have then worked into 3 stitches in this example, ending up with 4 stitches).
  • Decrease (example): When it says «2 sc, 2sc tog», it means that you make 1 sc in each of the next two stitches, and then you decrease the next two stitches by crocheting them together (you have then worked into 4 stitches in this example, ending up with 3 stitches).
  • When you crochet in rounds it’s hard to see where the round ends and starts, so use a stitch marker or a piece of yarn to put a mark after each round.
  • ** – Repeat everything written between * to * as many times as the pattern says, or to the end of the round.

CROCHET PATTERN

Crochet hook: Use the size that fits the yarn you’ve chosen.

CROCHET PUMPKIN – big size

R1: 6 dc in MR (6 dc).
Tip: hold off tightening the ring until you’re done with R2.
R2: 2 dc in each st (12 dc)
R3: *1 dc, 2 dc in next st* Repeat from * to * til the end of the round (18 dc)
R4
: *2 dc, 2 dc in next st* (24 dc)
R5:
*3 dc, 2 dc in next st* (30 dc)
R6:
*4 dc, 2 dc in next st* (36 dc)
R7: *5 dc, 2 dc in next st* (42 dc)
R8: *6 dc, 2 dc in next st* (48 dc)
R9: *7 dc, 2 dc in next st* (54 dc)
R10-R18: 1 dc in each st (54 dc) 
R19: *7 dc, 2 dc tog* (48 dc)
R20:
 *6 dc, 2 dc tog* (42 dc)
R21: *5 dc, 2 dc tog* (36 dc)
R22: *4 dc, 2 dc tog* (30 dc)
R23: *3 dc, 2 dc tog* (24 dc)
R24: *2 dc, 2 dc tog* (18 dc). Stuff the pumpkin.
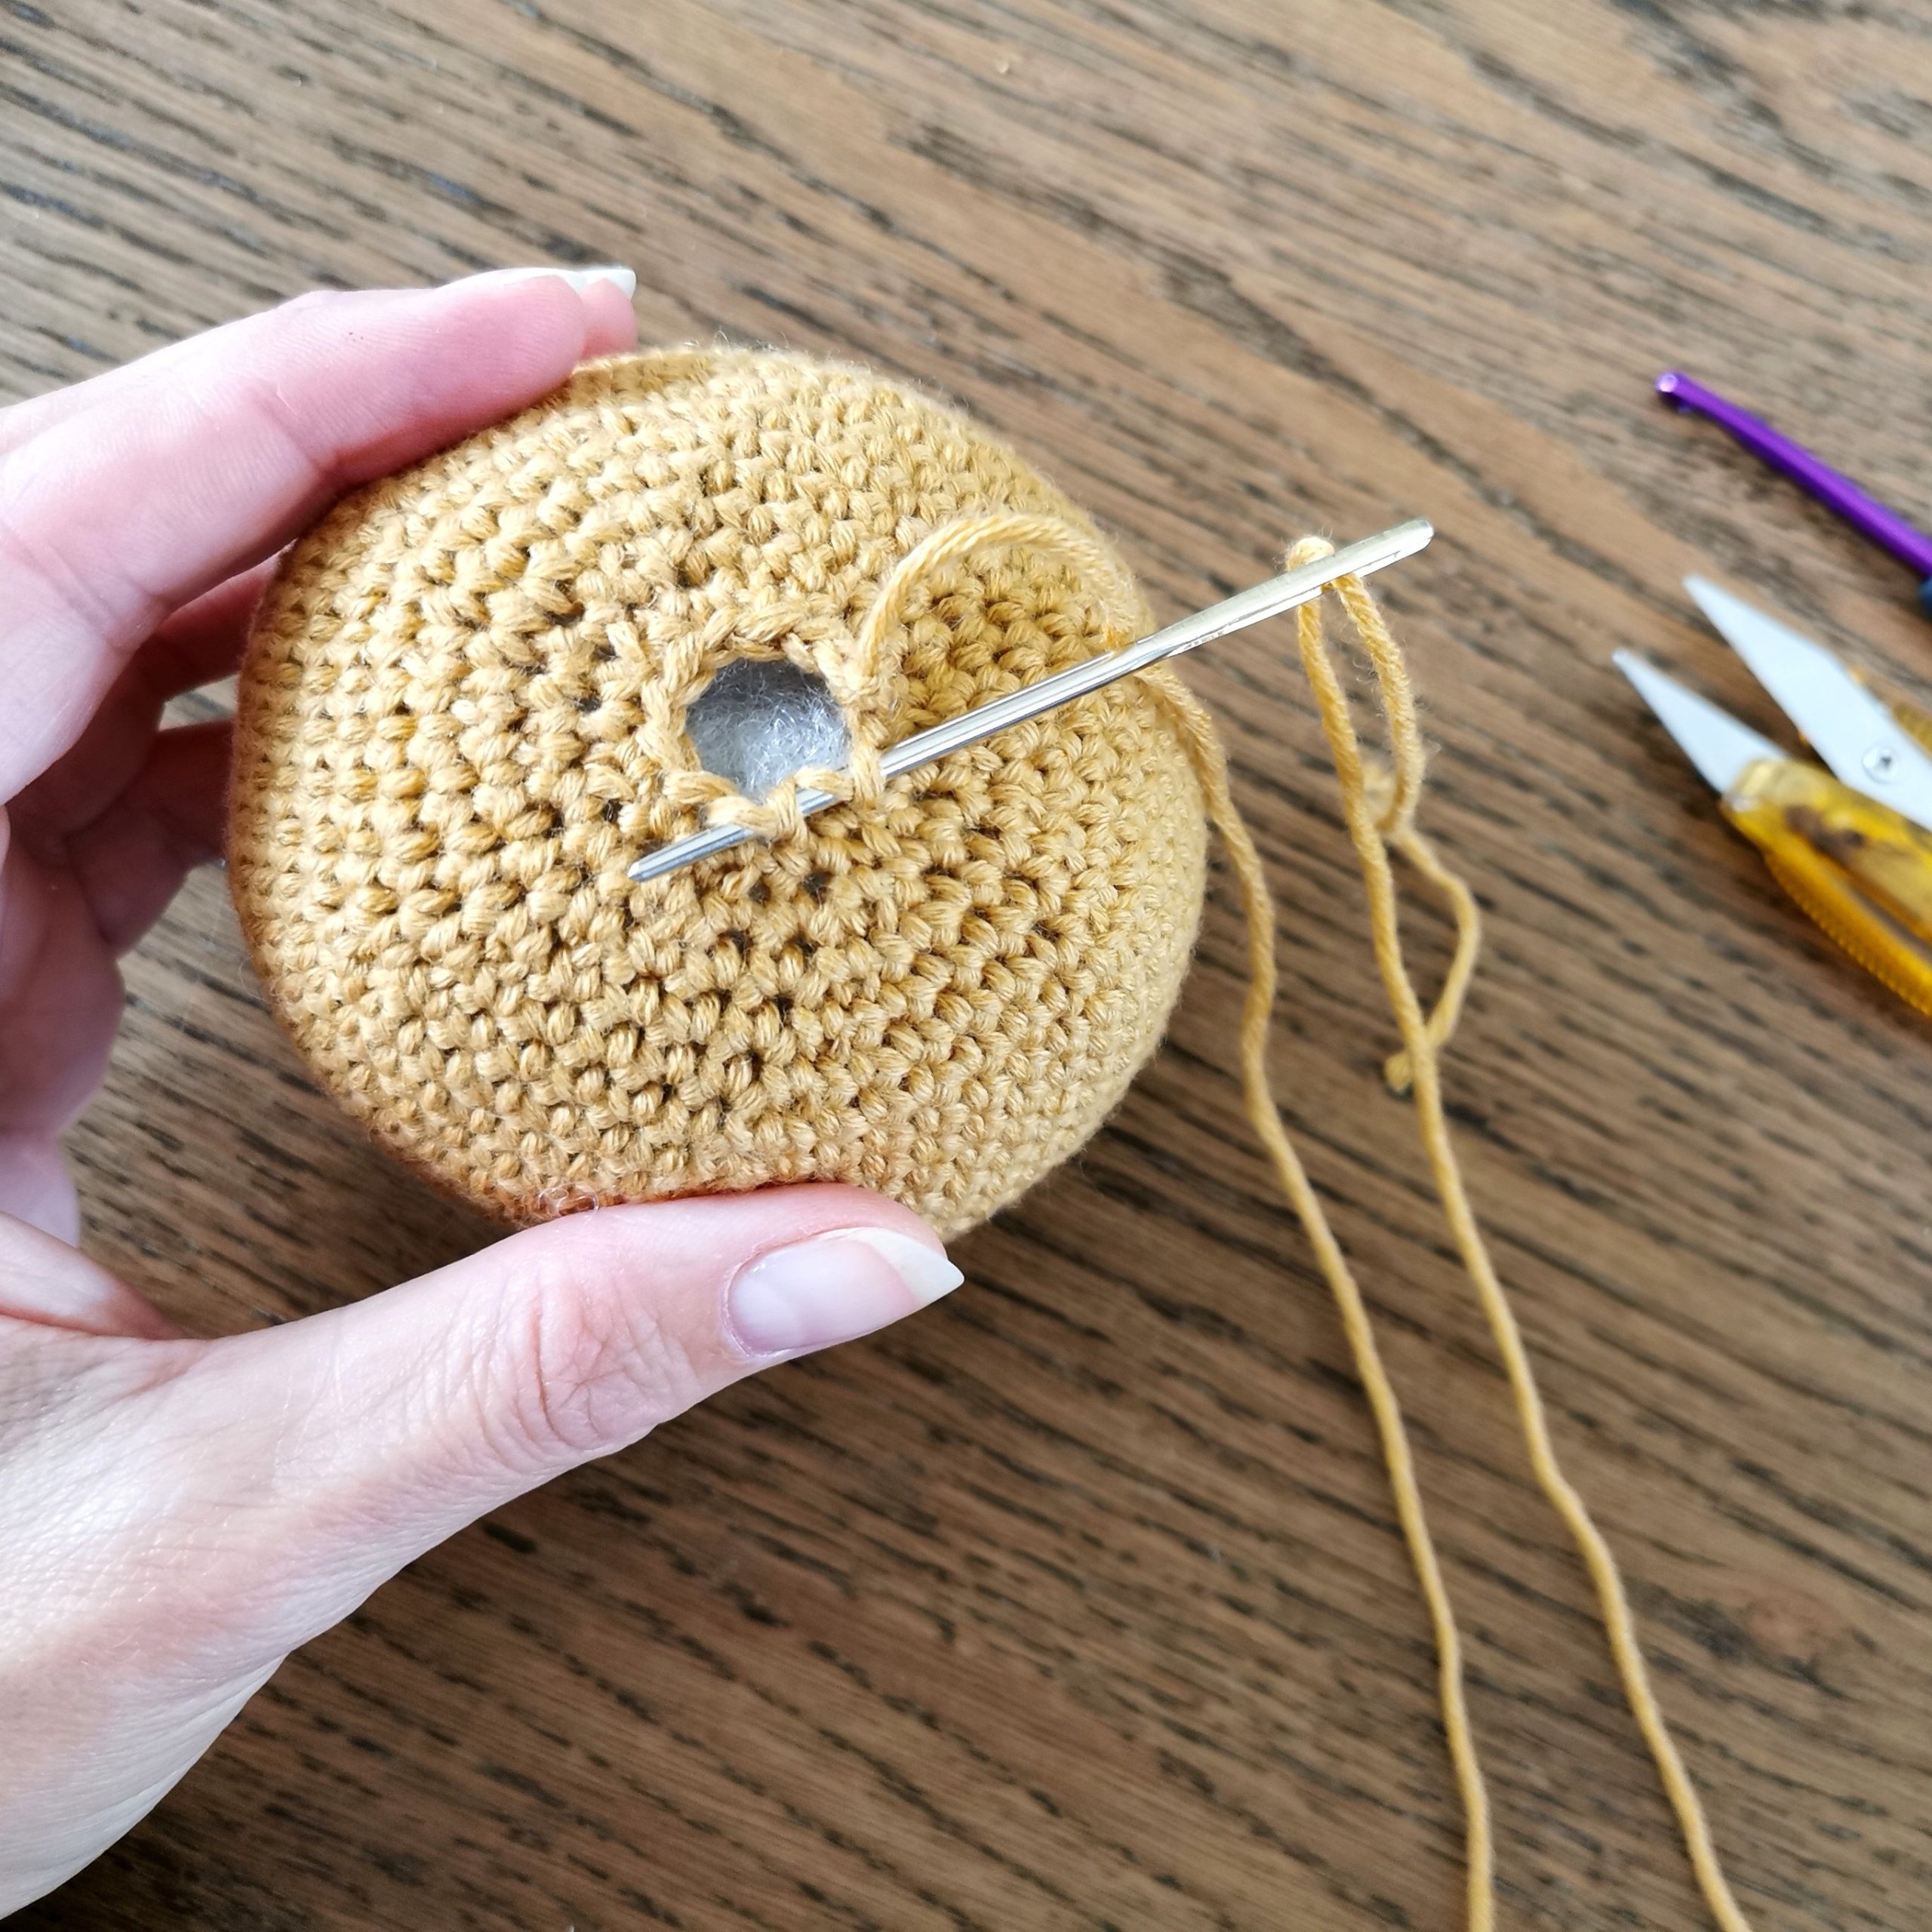
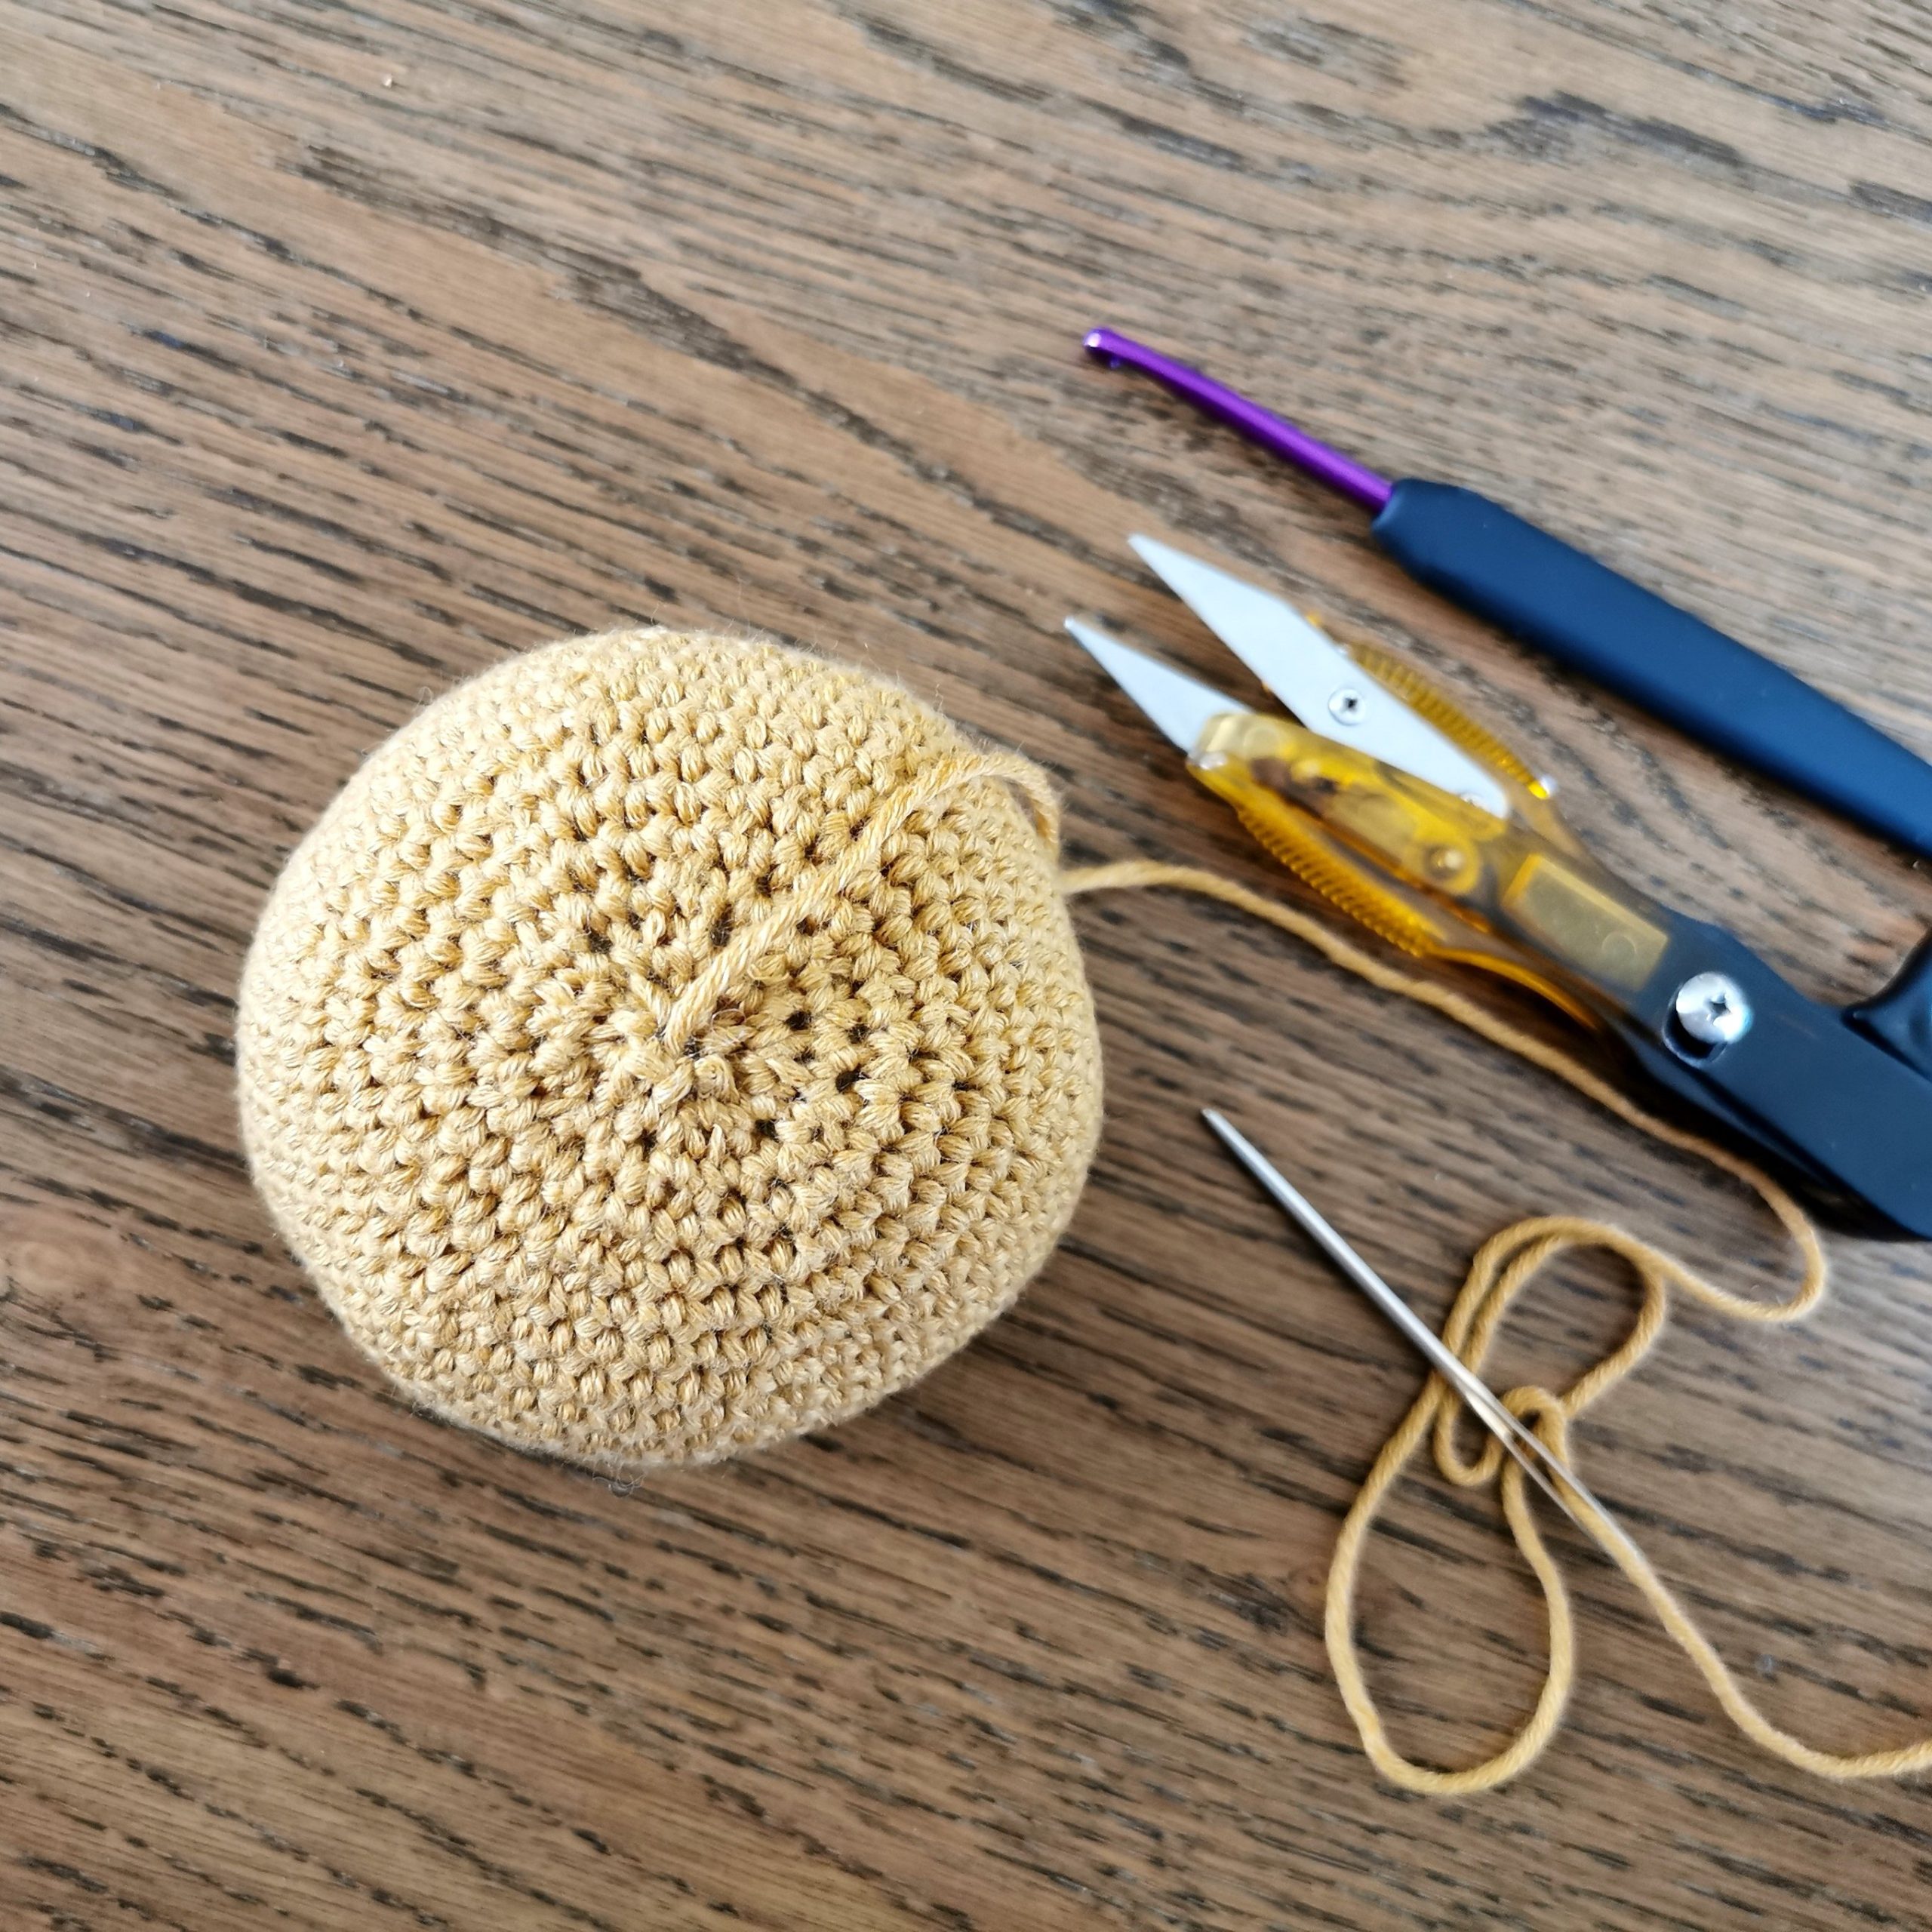
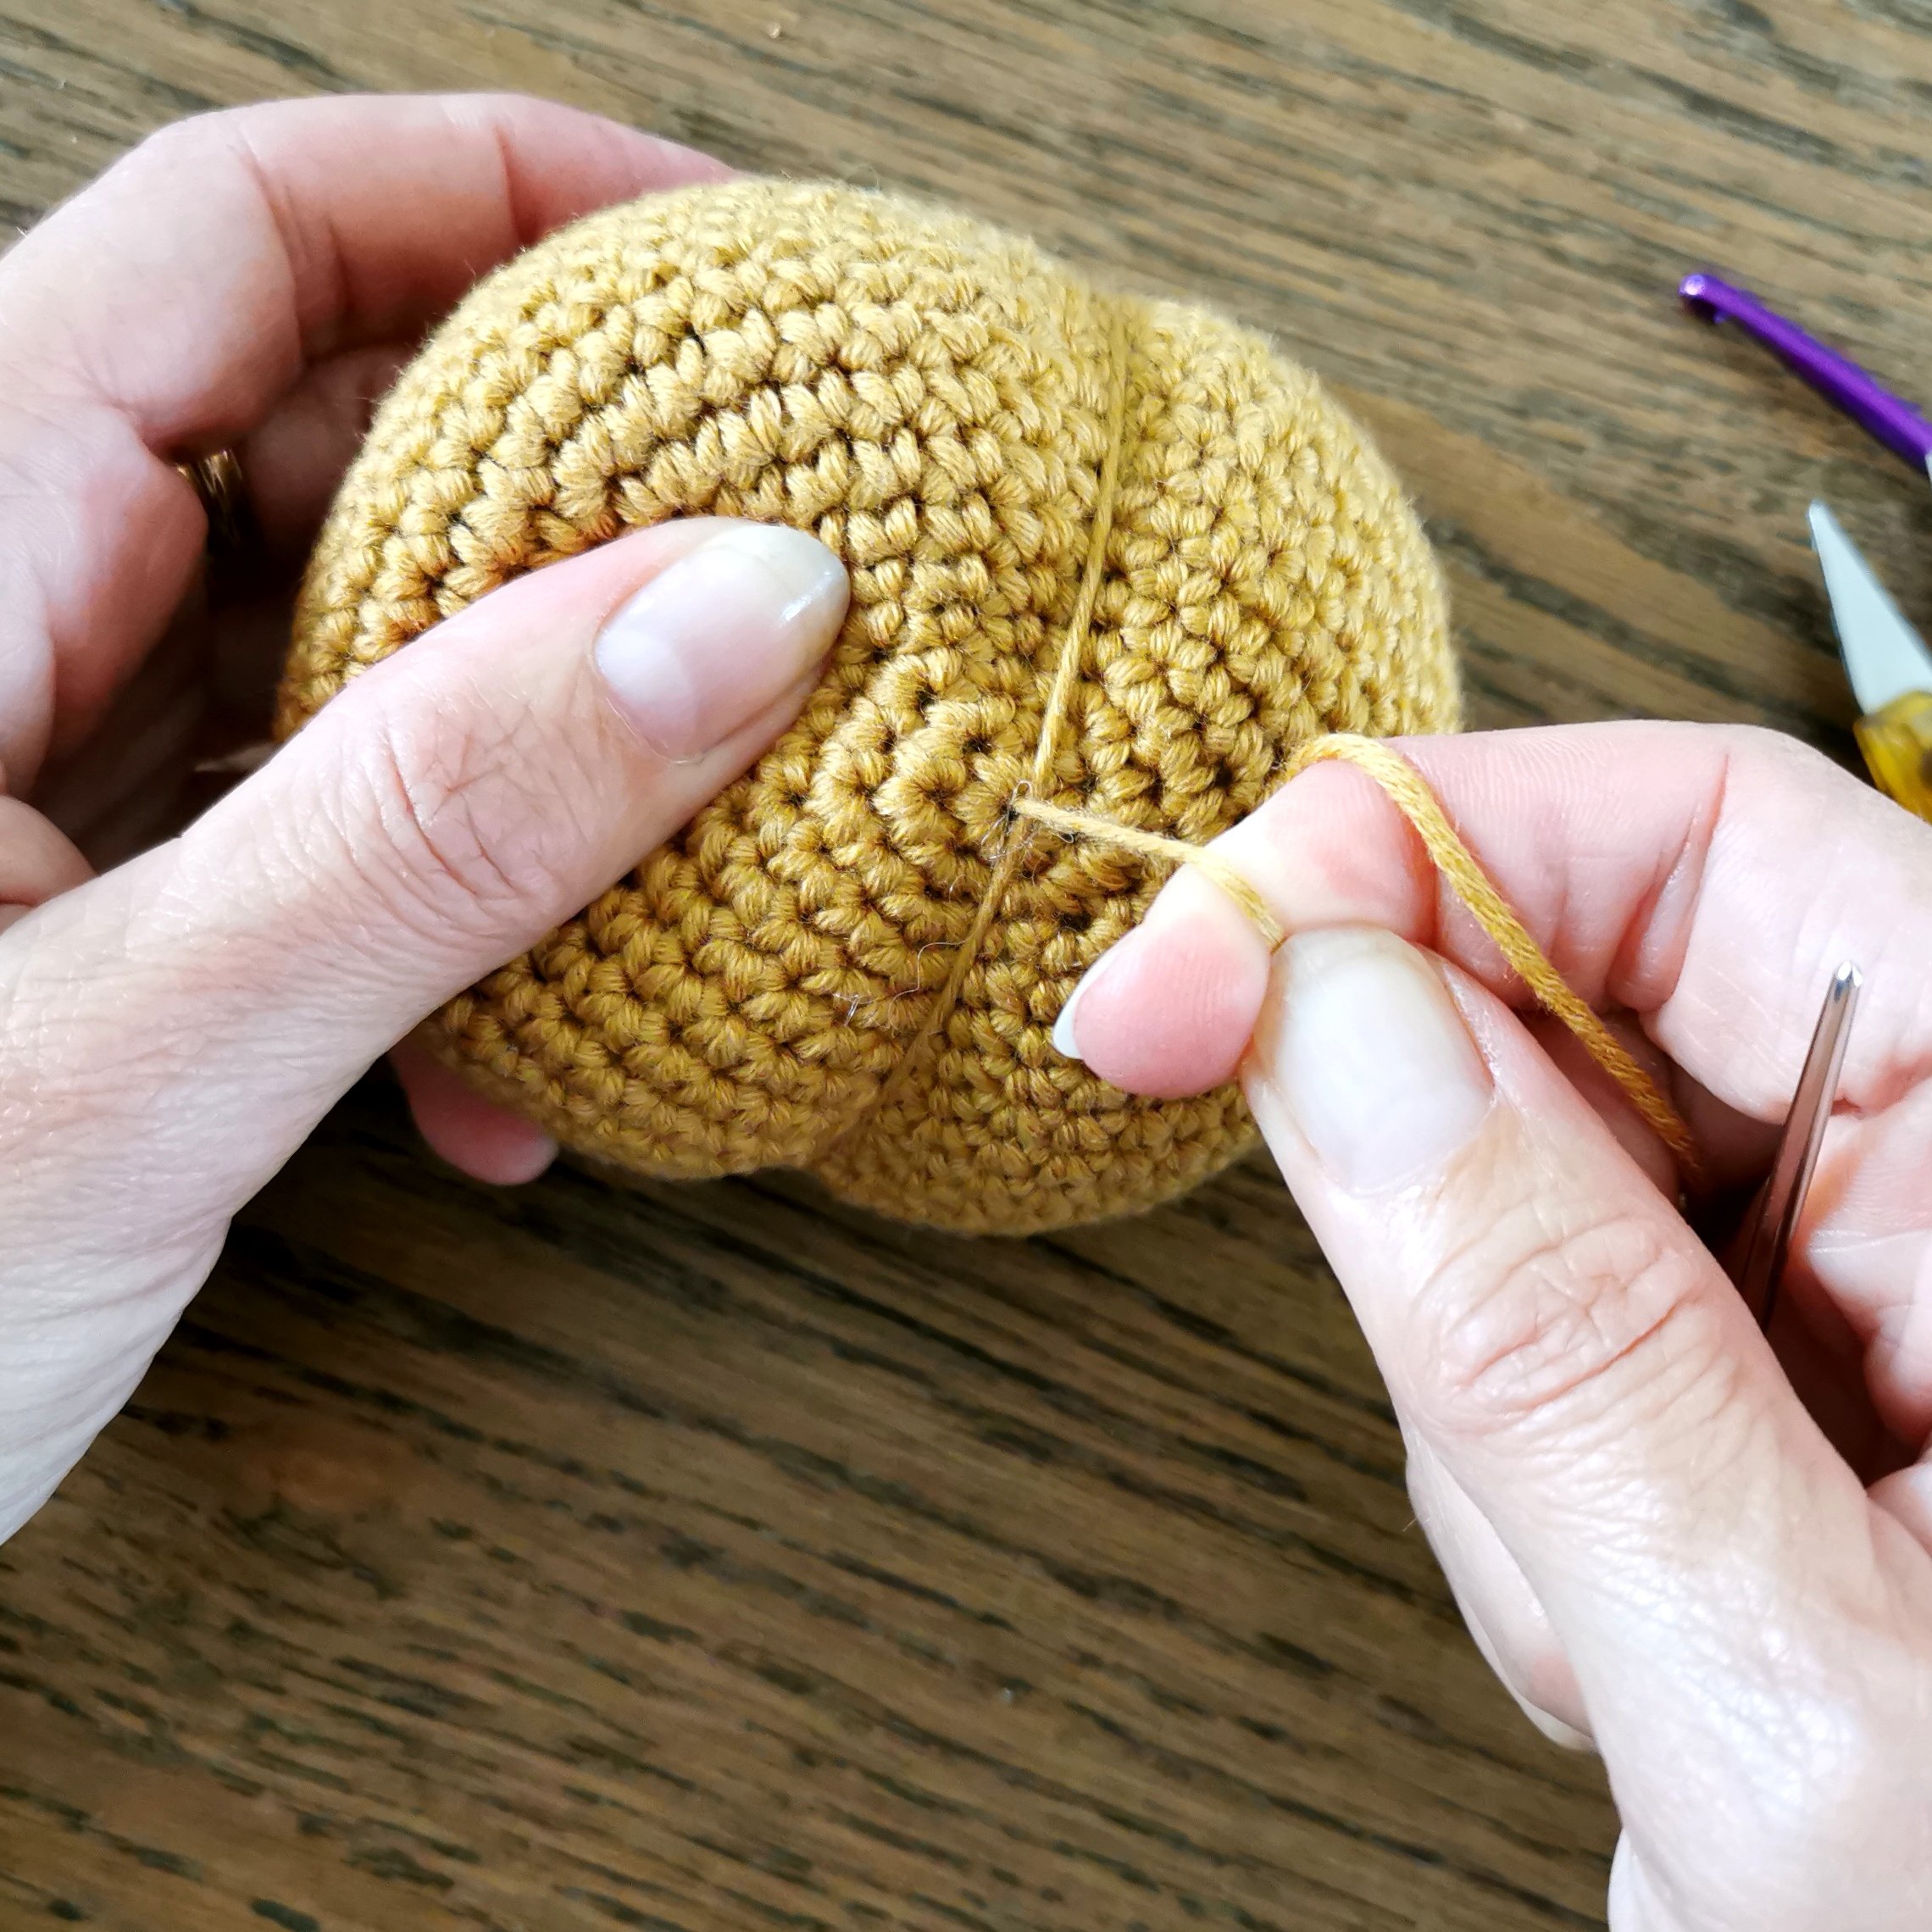
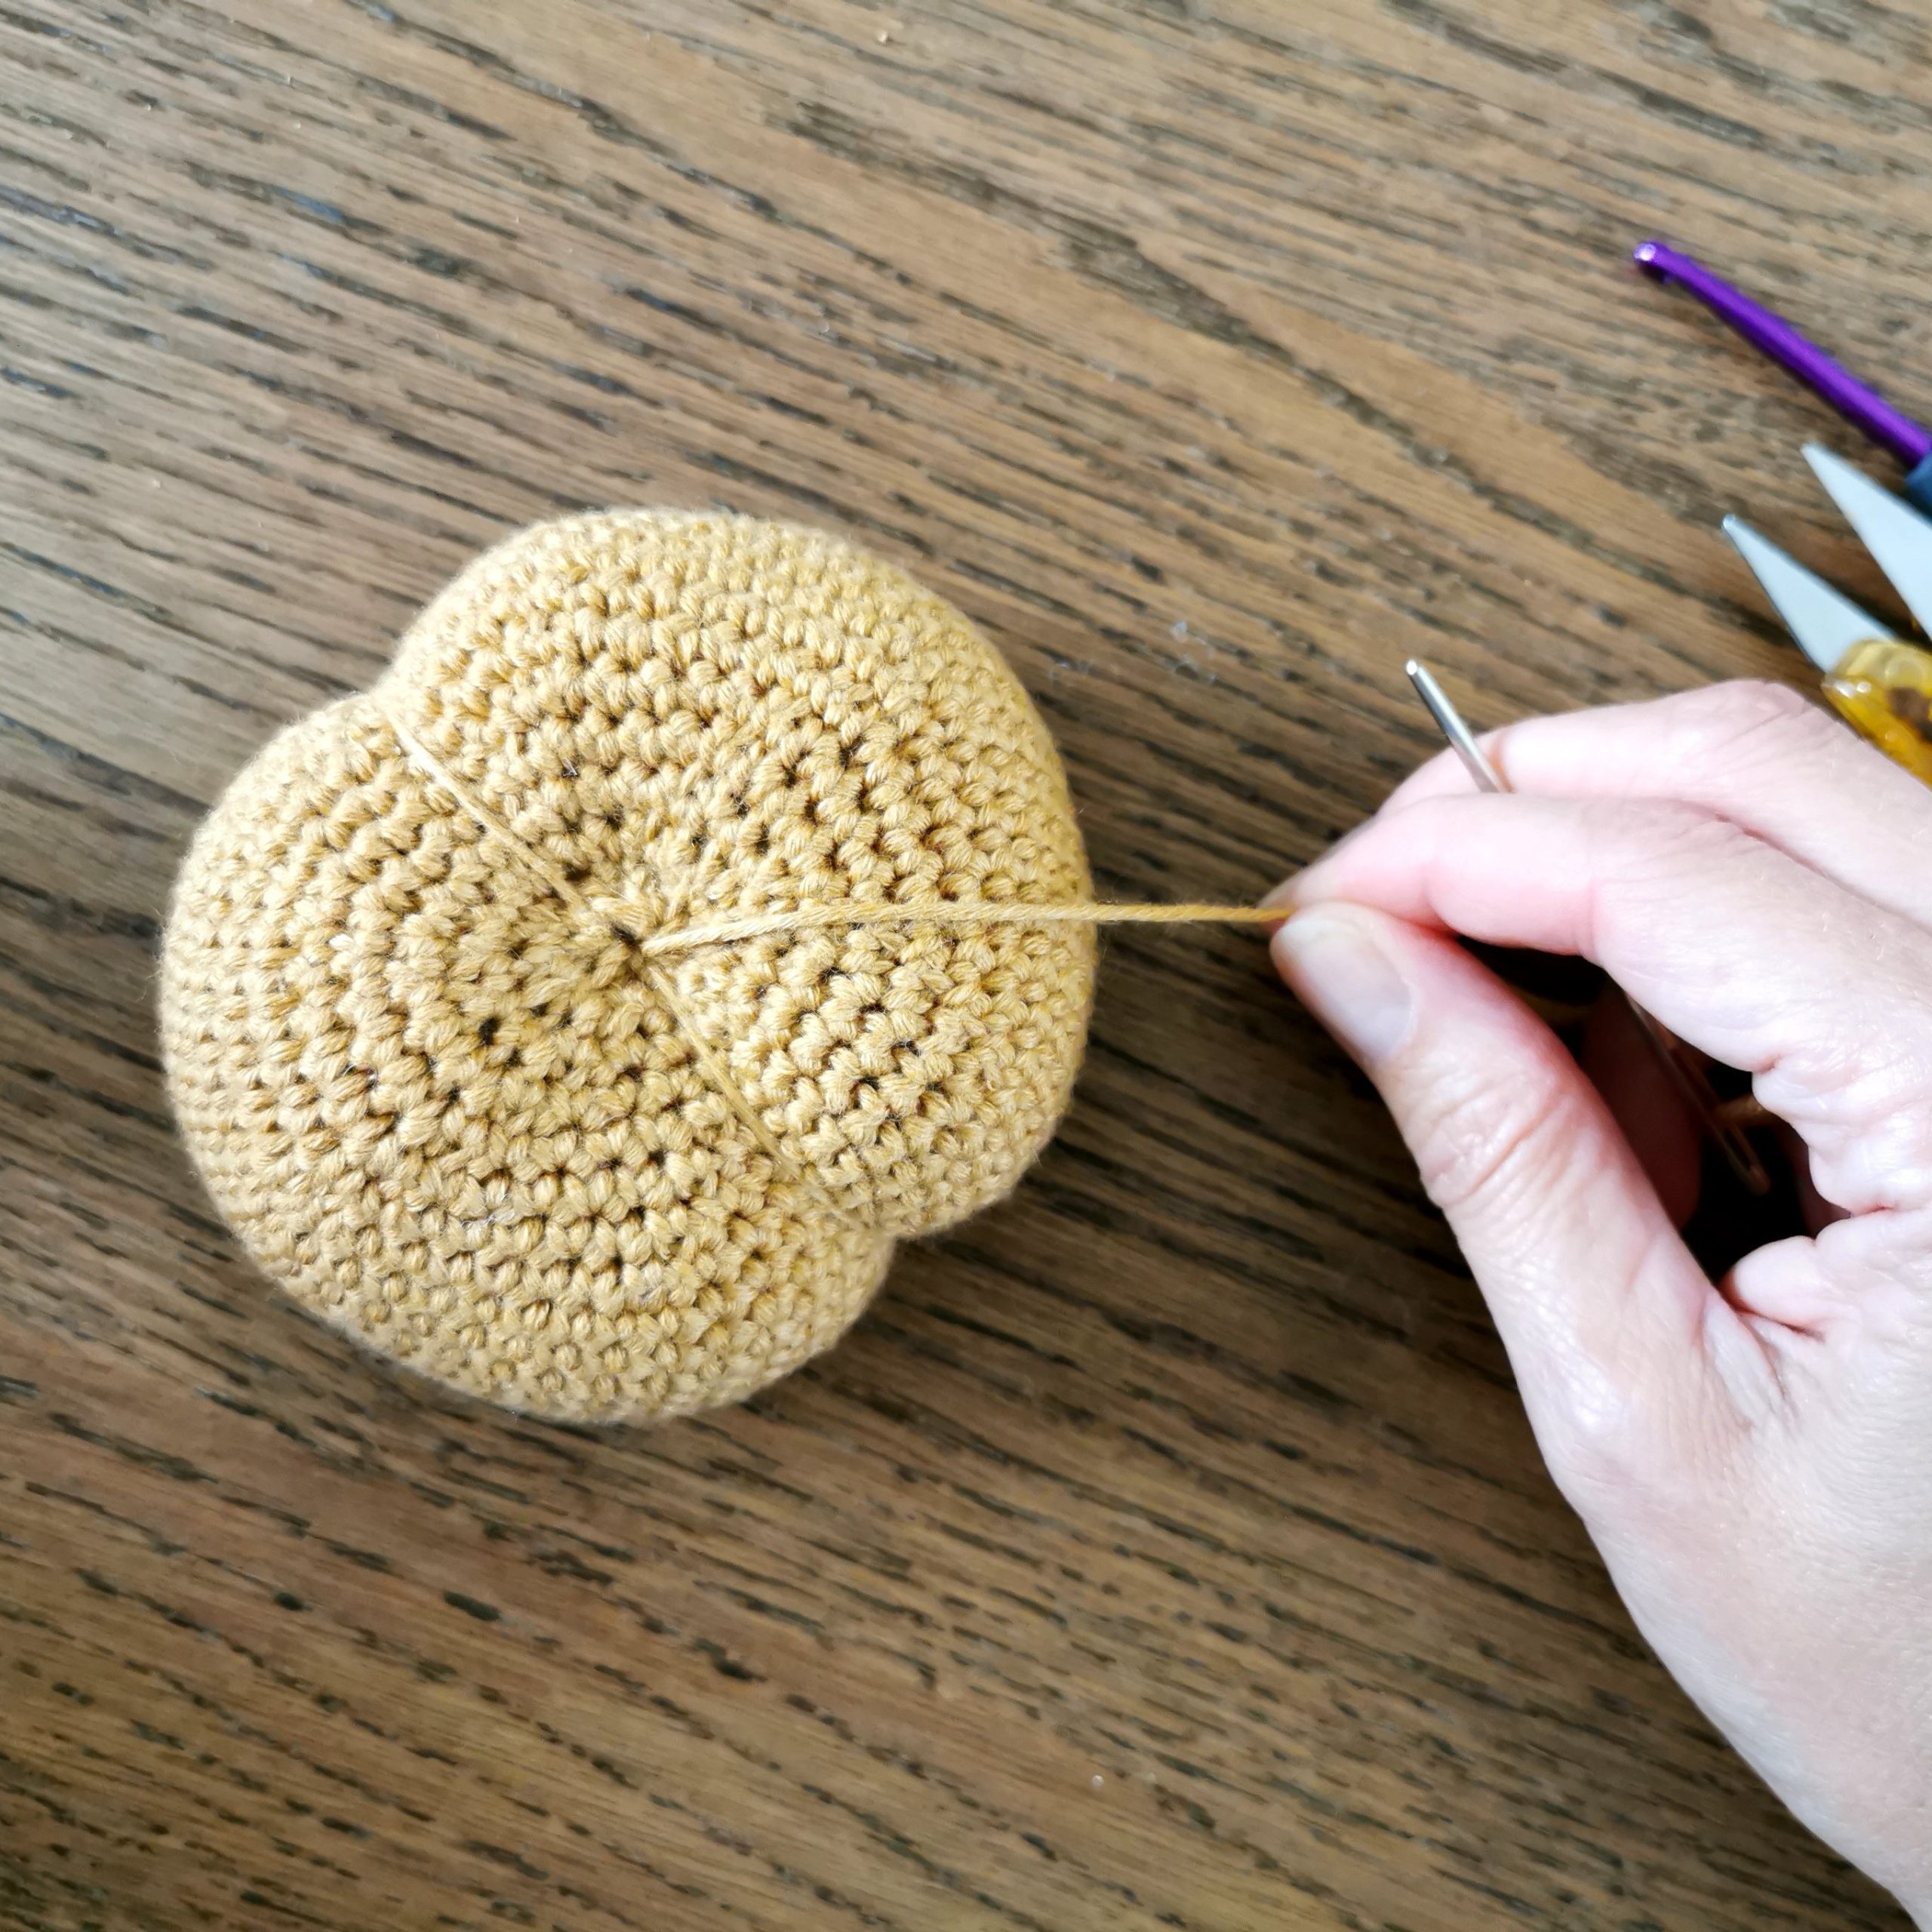
R25: *1 dc, 2 dc tog* (12 dc). Leave a long enough tail to shape the pumpkin (long enough to go around the ball about three times), cut the yarn and sew it through the remaining 12 dc, tighten together and fasten.

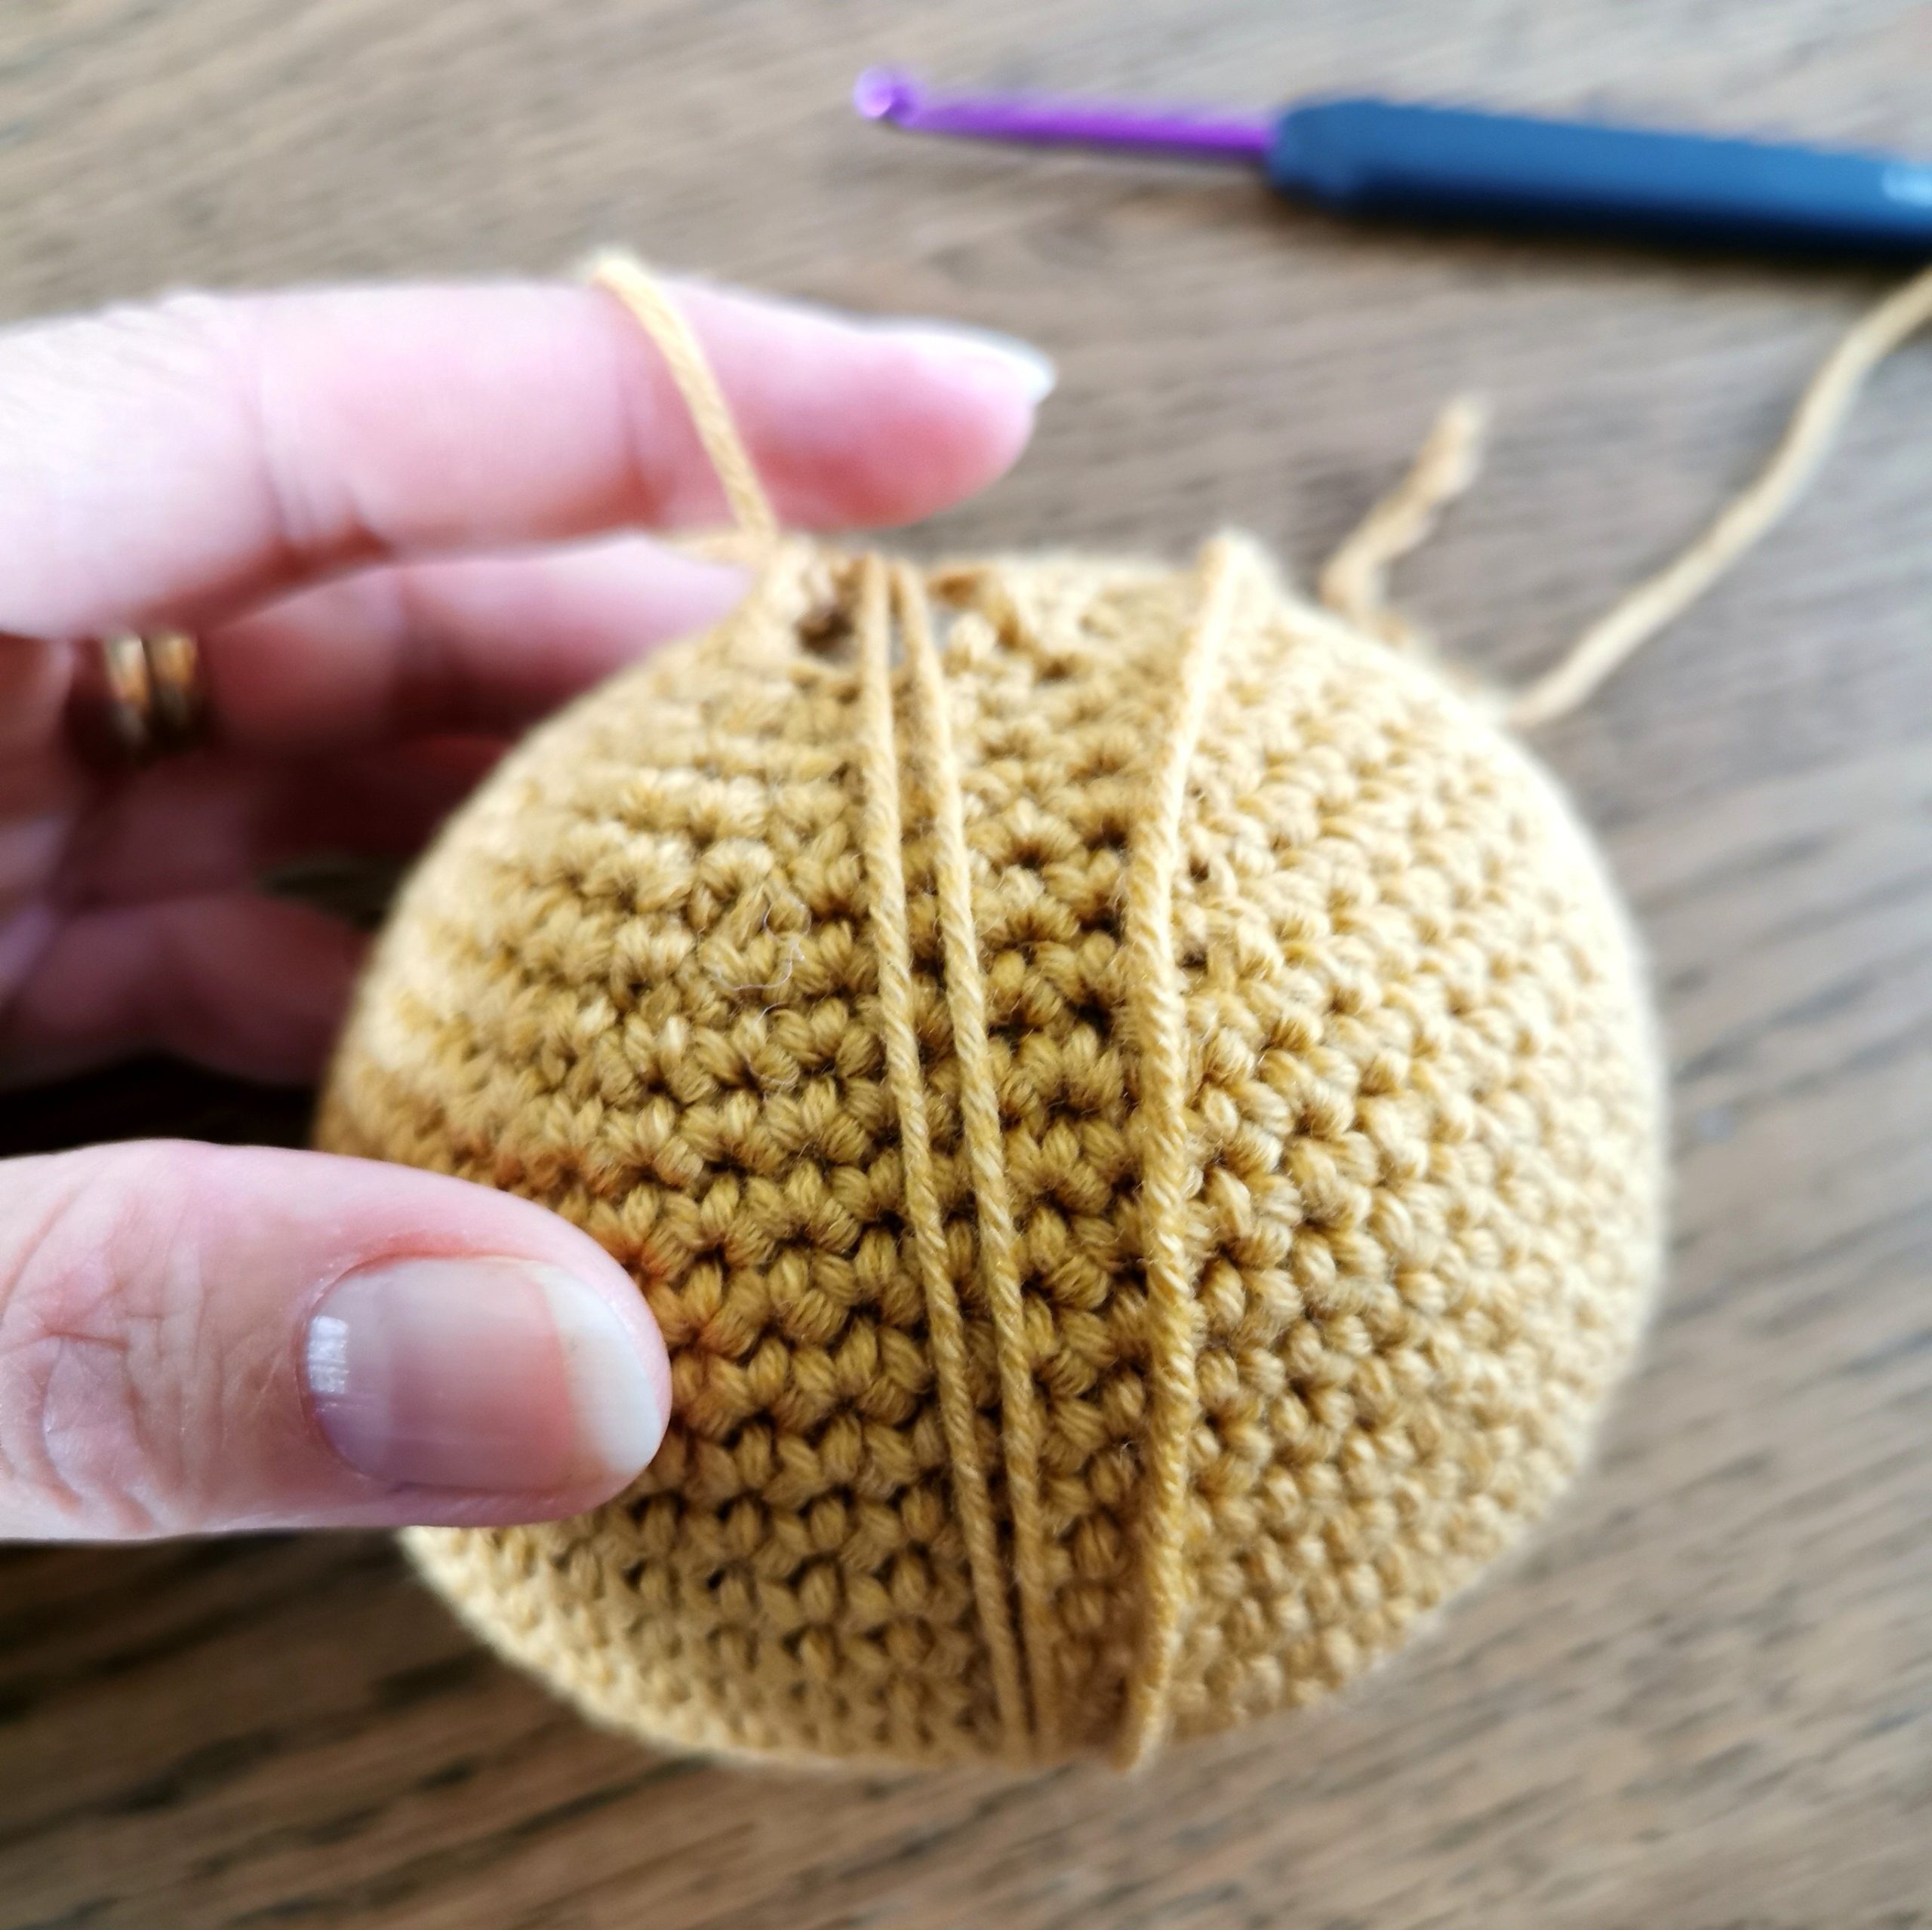
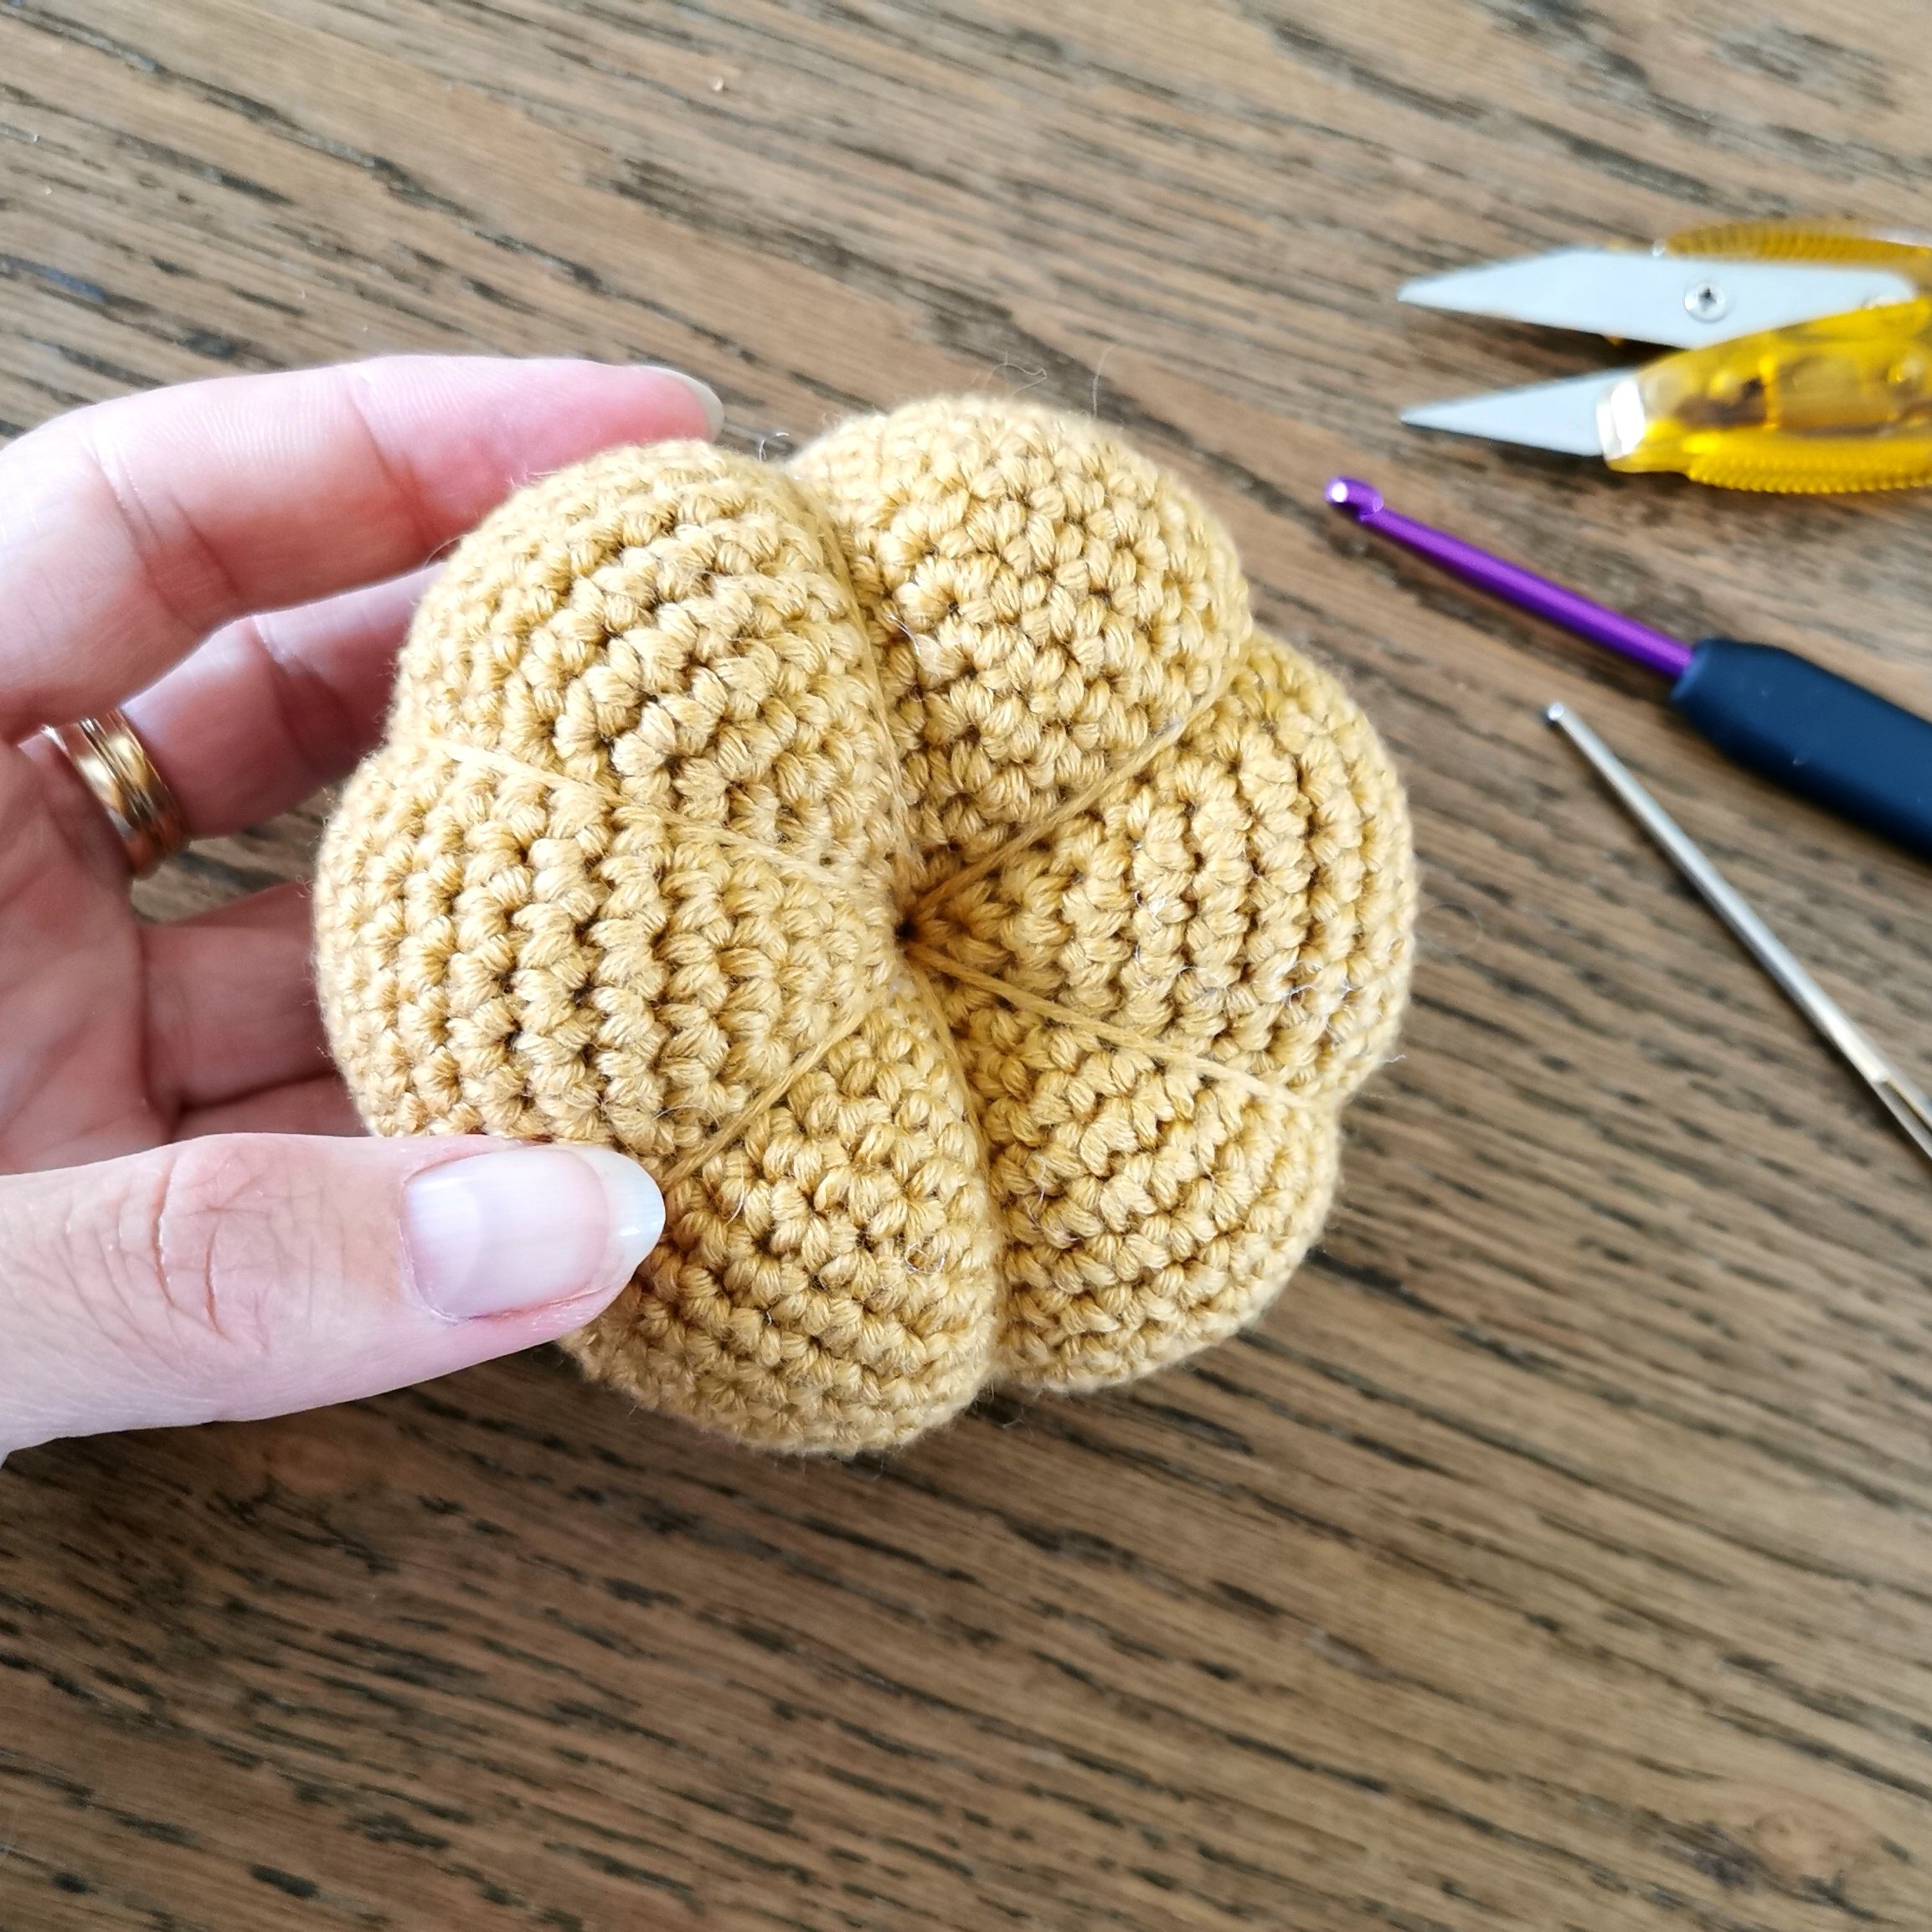
Shape the pumpkin as shown in the photos and video below.


CROCHET PUMPKIN – medium size

R1: 6 dc in MR (6 dc).
Tip: hold off tightening the ring until you’re done with R2.
R2: 2 dc in each st (12 dc)
R3: *1 dc, 2 dc in next st* Repeat from * to * til the end of the round (18 dc)
R4
: *2 dc, 2 dc in next st* (24 dc)
R5:
*3 dc, 2 dc in next st* (30 dc)
R6:
*4 dc, 2 dc in next st* (36 dc)
R7: *5 dc, 2 dc in next st* (42 dc)
R8: *6 dc, 2 dc in next st* (48 dc)
R9-R16: 1 dc in each st (48 dc) 
R17:  *6 dc, 2 dc tog* (42 dc)
R18: *5 dc, 2 dc tog* (36 dc)
R19: *4 dc, 2 dc tog* (30 dc)
R20: *3 dc, 2 dc tog* (24 dc)
R21: *2 dc, 2 dc tog* (18 dc). Stuff the pumpkin.
R22: *1 dc, 2 dc tog* (12 dc). Leave a long enough tail to shape the pumpkin (long enough to go around the ball about three times), cut the yarn and sew it through the remaining 12 dc, tighten together and fasten.

Shape the pumpkin as showed under the big size.


CROCHET PUMPKIN – small size

R1: 6 dc in MR (6 dc).
Tip: hold off tightening the ring until you’re done with R2.
R2: 2 dc in each st (12 dc)
R3: *1 dc, 2 dc in next st* Repeat from * to * til the end of the round (18 dc)
R4
: *2 dc, 2 dc in next st* (24 dc)
R5:
*3 dc, 2 dc in next st* (30 dc)
R6:
*4 dc, 2 dc in next st* (36 dc)
R7: *5 dc, 2 dc in next st* (42 dc)
R8-R14: 1 dc in each st (42 dc) 
R15:  *5 dc, 2 dc tog* (36 dc)
R16: *4 dc, 2 dc tog* (30 dc)
R17: *3 dc, 2 dc tog* (24 dc)
R18: *2 dc, 2 dc tog* (18 dc). Stuff the pumpkin.
R19: *1 dc, 2 dc tog* (12 dc). Leave a long enough tail to shape the pumpkin (long enough to go around the ball about three times), cut the yarn and sew it through the remaining 12 dc, tighten together and fasten.

Shape the pumpkin as showed under the big size.


STEM – make one for each size

Crochet hook: Use one size smaller than the one you used for the pumpkins.

Chain 5
R1: 1 dc in second chain from hook, 3 dc, turn (4 dc)
R2-R4: 1 ch, 4 dc, turn (4 dc)

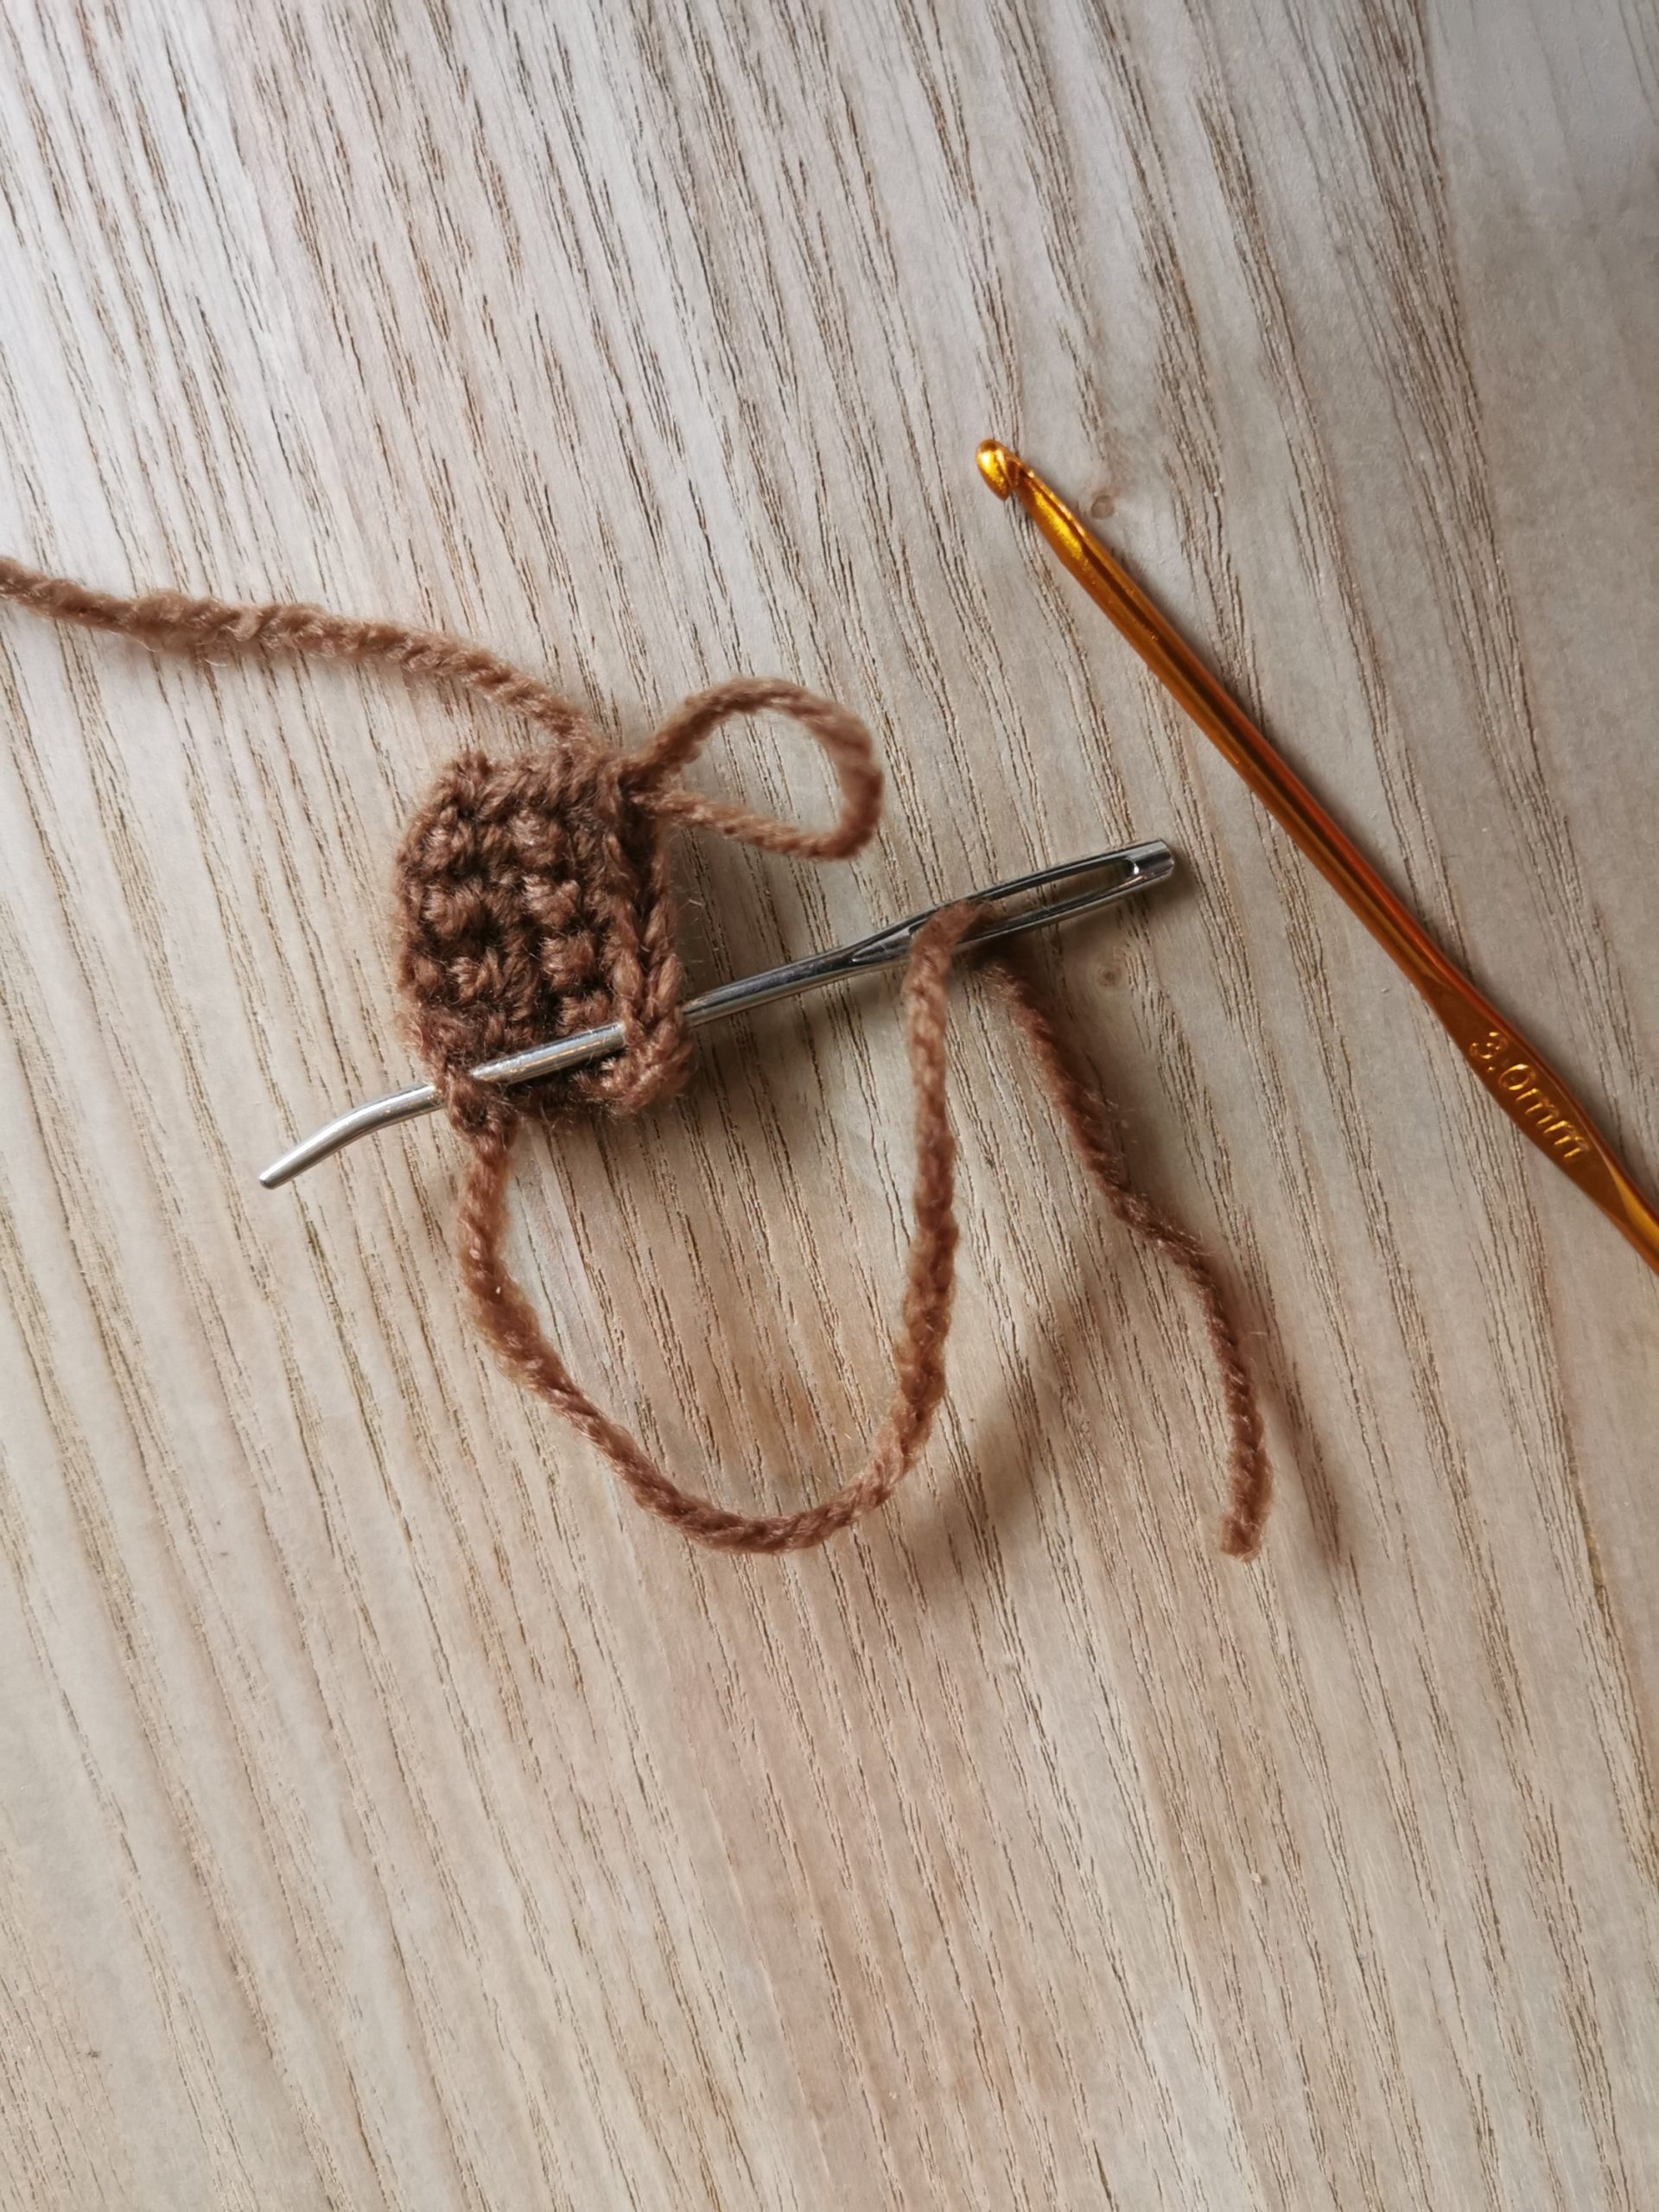
Don’t fasten the yarn, you’ll come back to it after you’re finished sewing the stem (photo 1). With the tail, sew 4 stitches down the side through the first and last row at the same time (photo 2). Weave in the end.

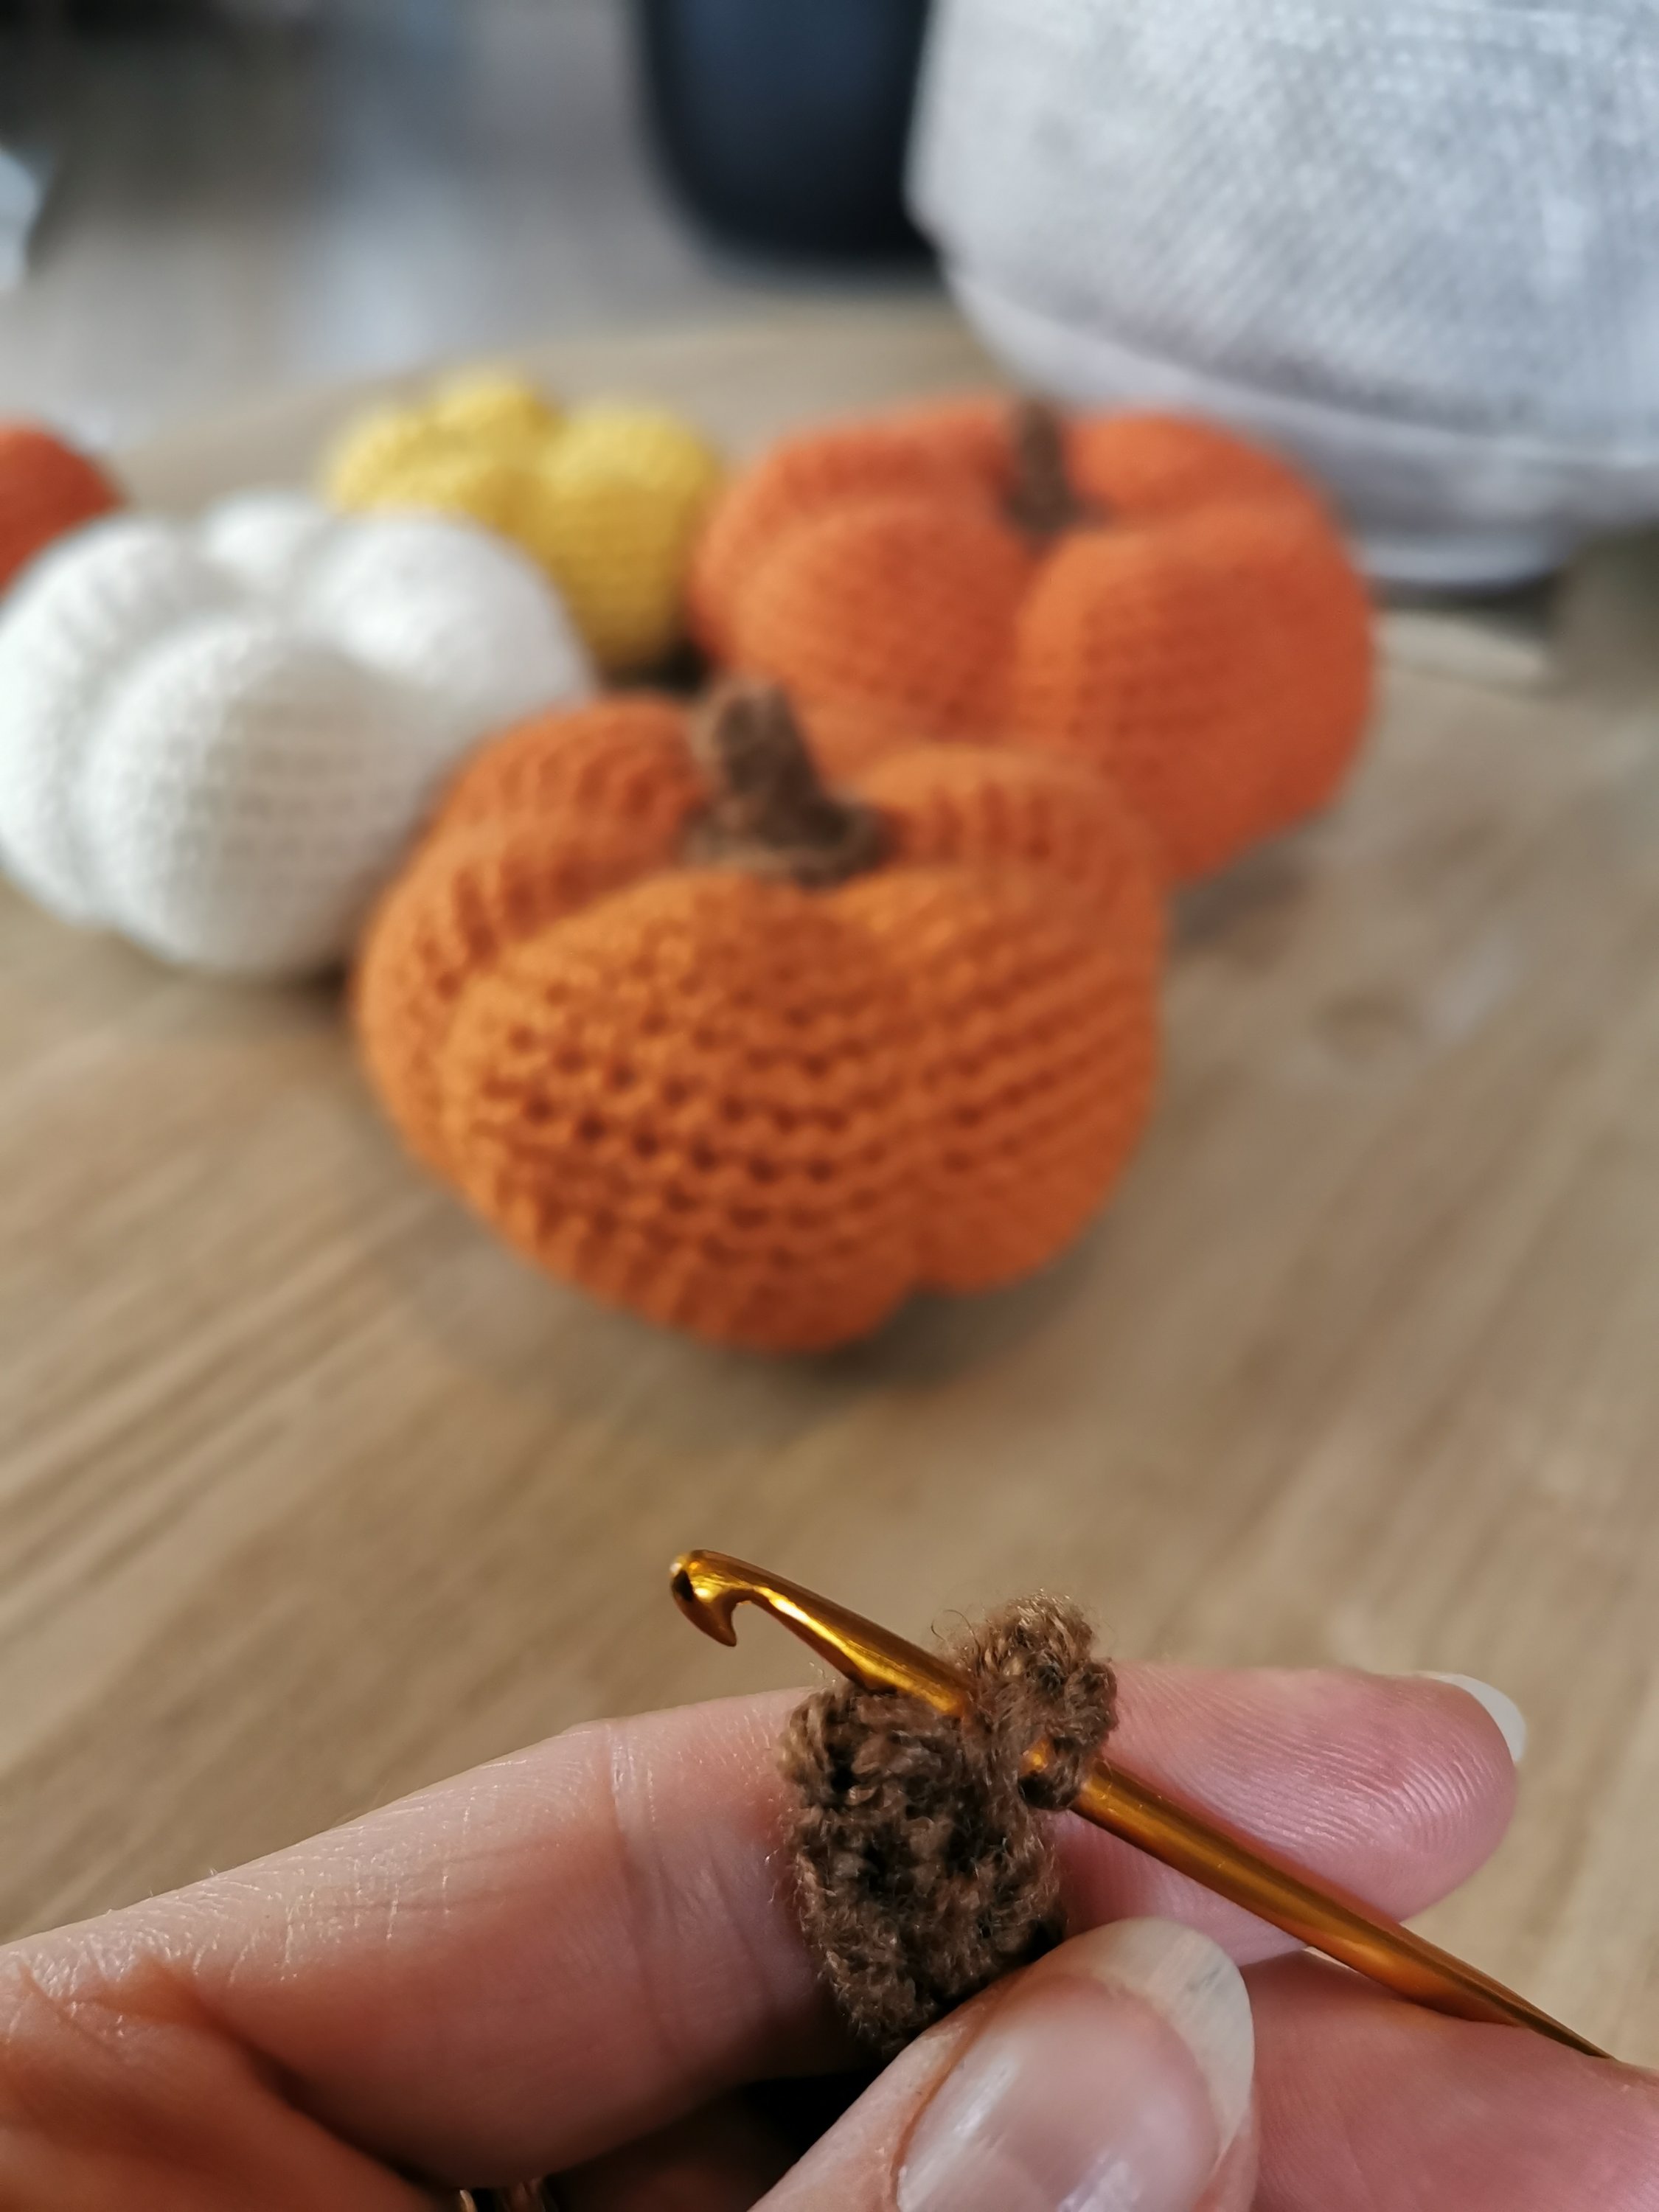
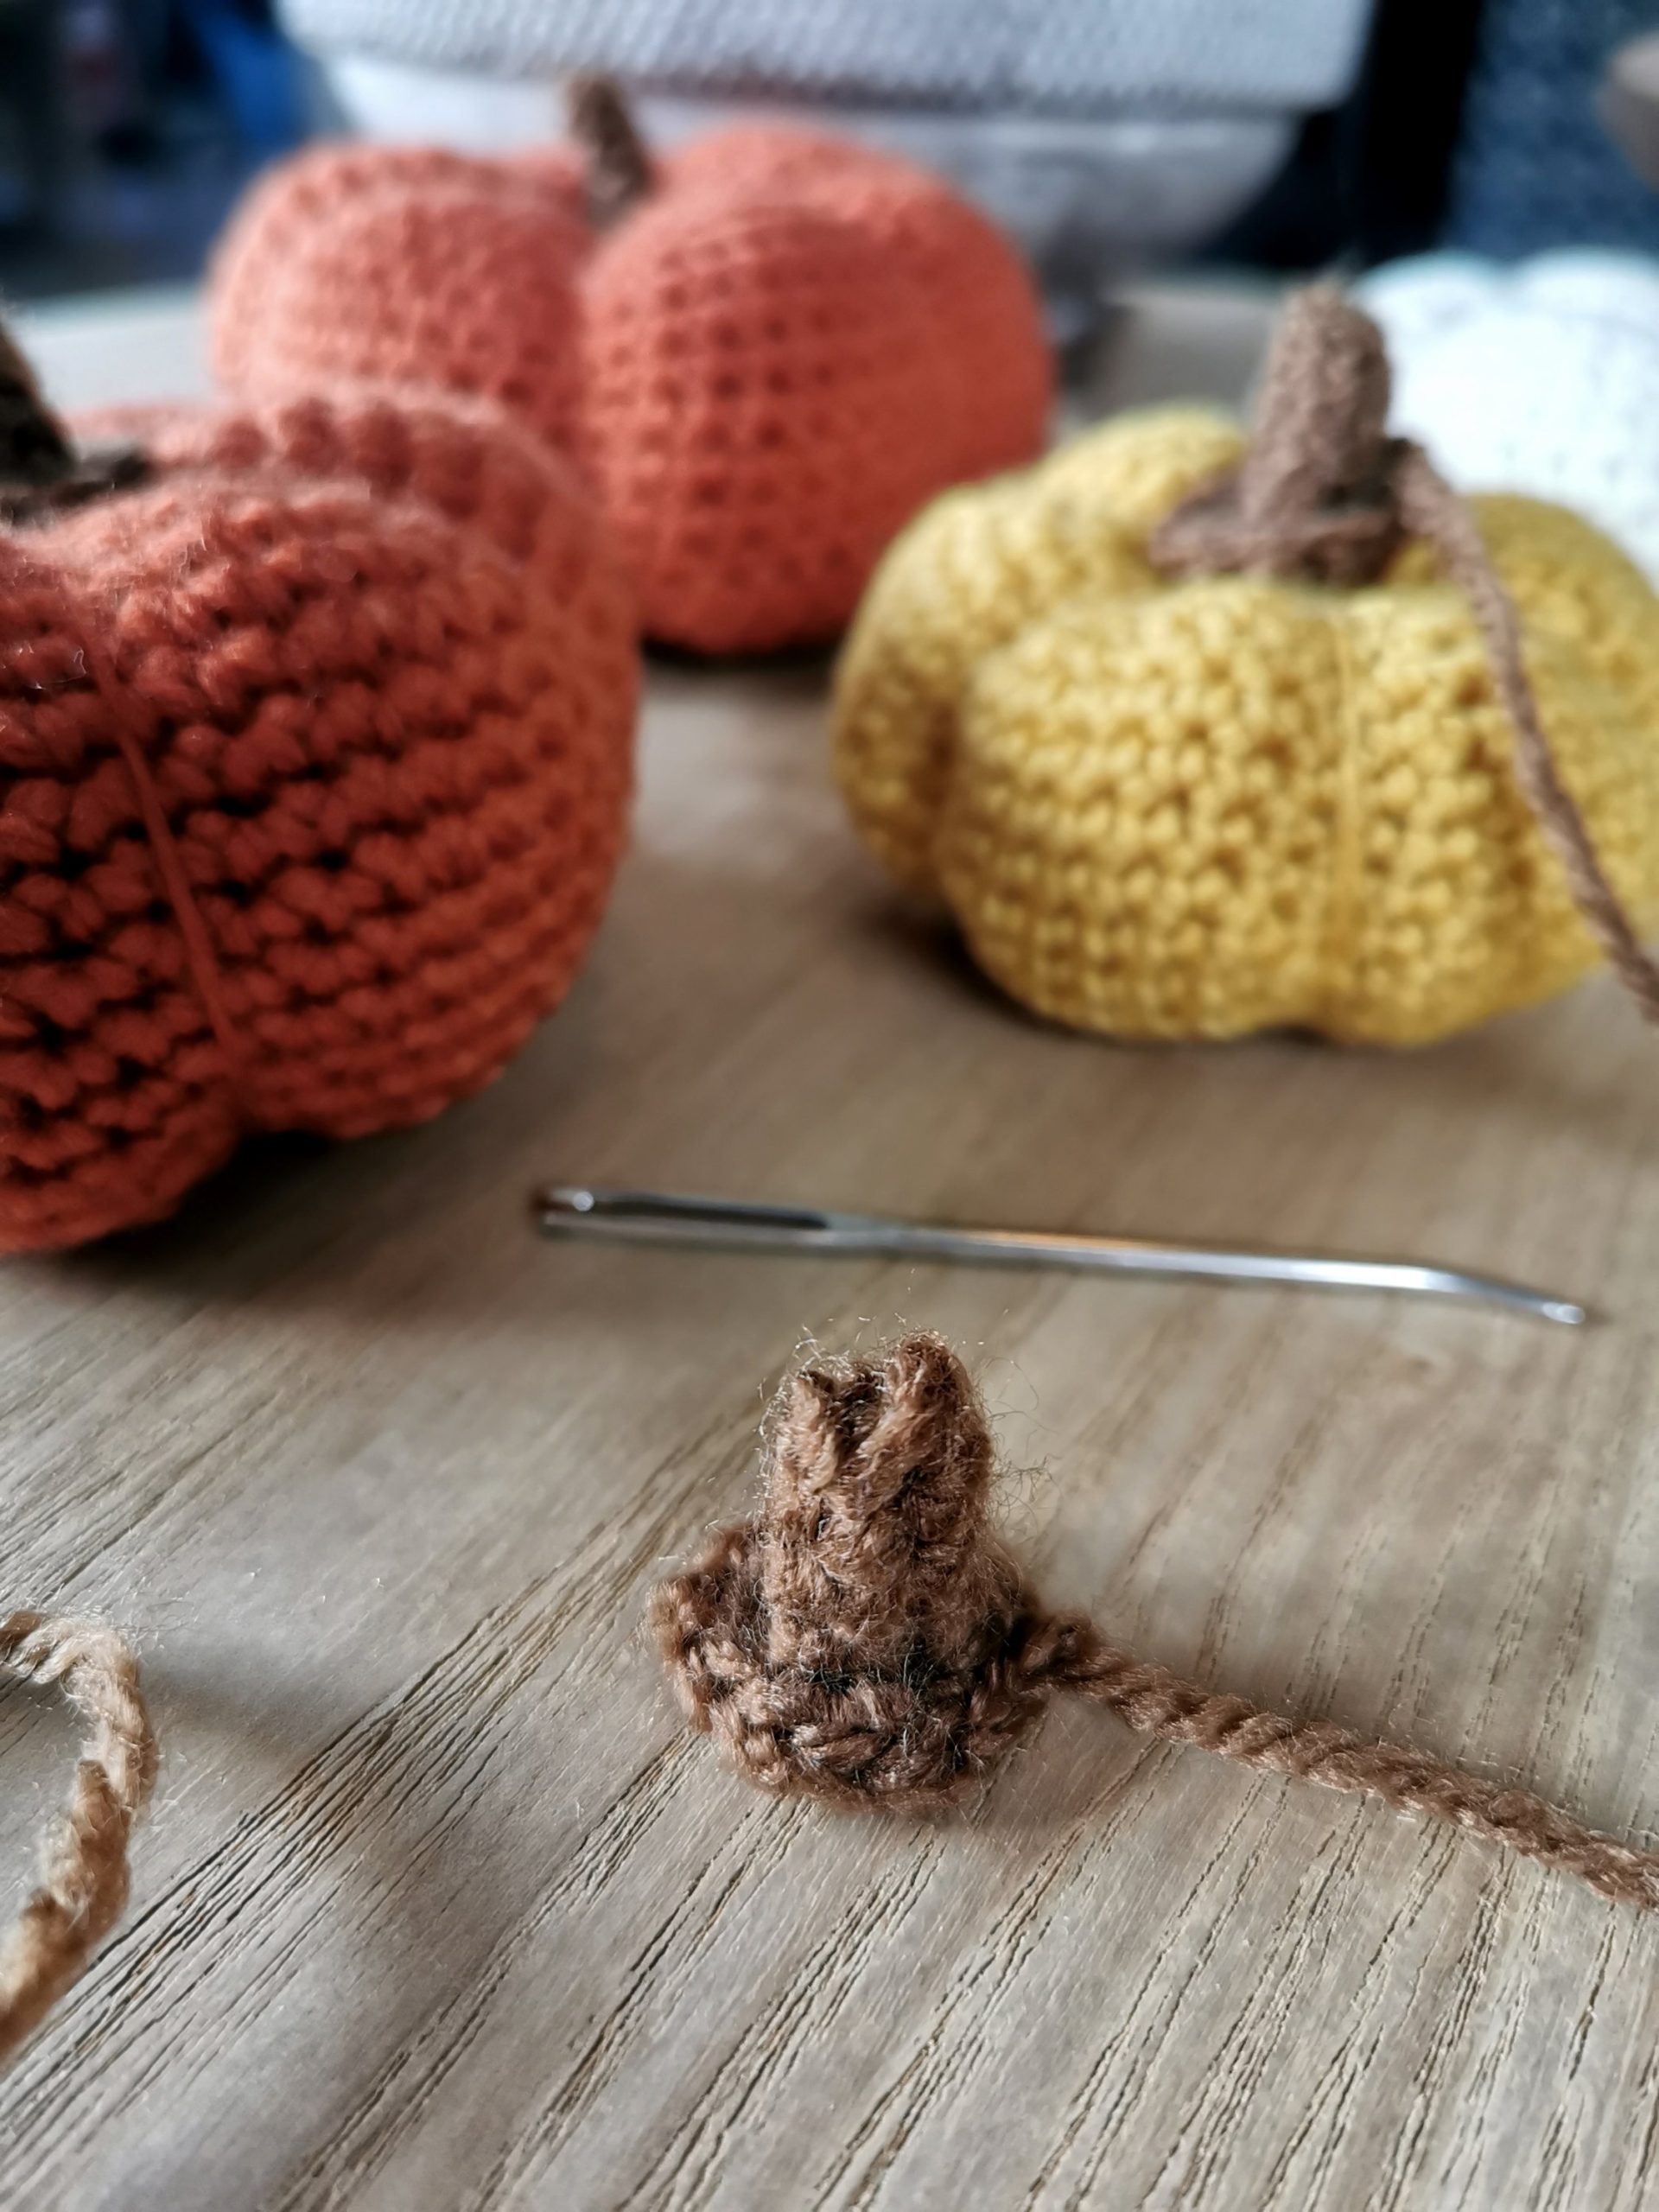
R5: Continue with the yarn from R4 (photo 3), 1 ch, 10 dc around the opening, fasten with sl st in first st (photo 4 and 5). Cut off the yarn, but leave a tail in order to sew the stem to the pumpkin (photo 6).


I hope you enjoyed my pattern, and that you now have one or more pumpkins to decorate your home with.


If you use my patterns please link back to www.HELdesign.com.
And I would love to see your finished pumpkins, so please tag me if you post on Instagram, with #heldesign_pattern and @heldesign_crochet 🙂


Please
contact me if you have any questions.

Enjoy your crocheting! 🙂

Dette bildet mangler alt-tekst; dets filnavn er cropped-heldesign_mint3-1-300x227.png

Would you like to learn how to crochet? 

Visit my YouTube channel, there you will find videos of the basic stitches and in time there will also come special stitches, various projects and requests.

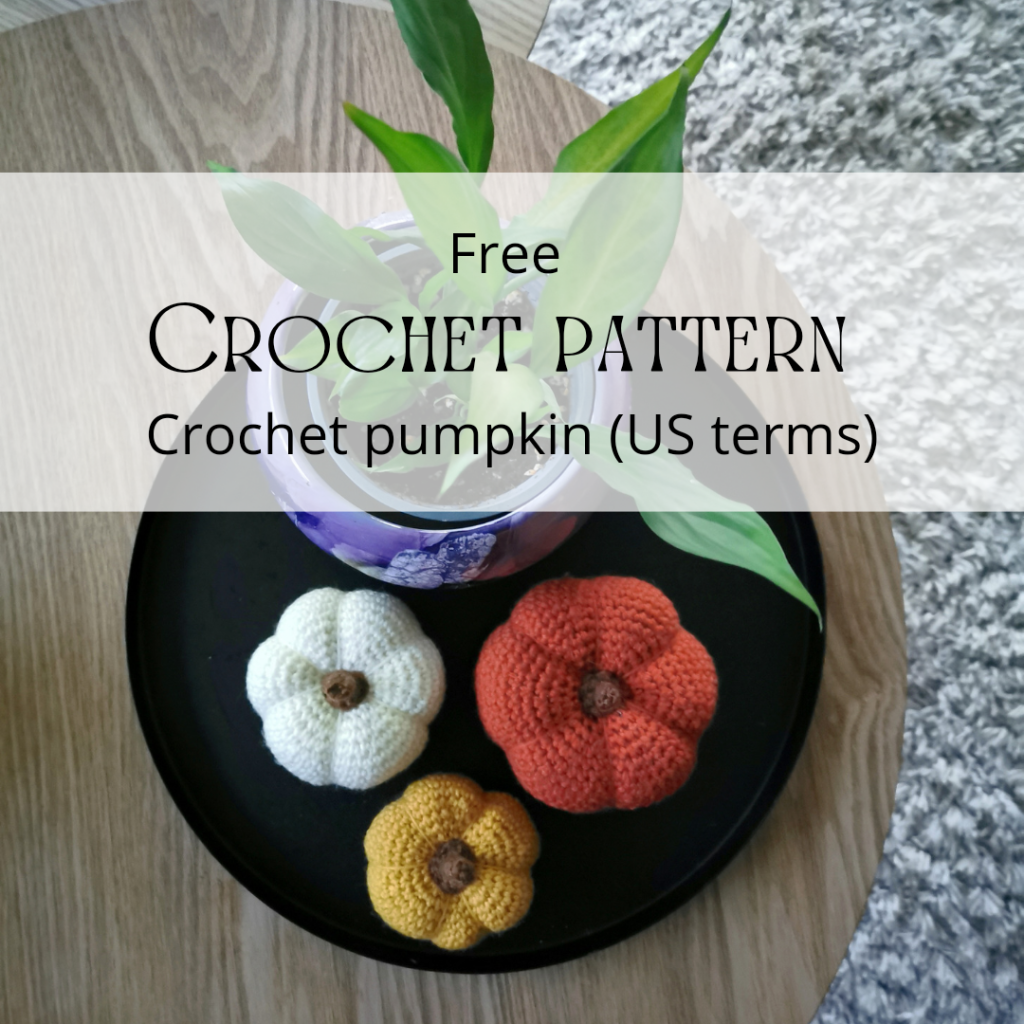
CROCHET PUMPKIN – Free crochet pattern (US terms)

CROCHET PUMPKIN – Free crochet pattern (US terms)


DESIGN AND PATTERN:  Hege Espeland Lygrewww.HELdesign.com
Please read the Terms of use for my crochet patterns.


CROCHET PUMPKIN- big, medium and small

When autumn arrives I like to decorate my home with pumpkins, and last year I made a simple crochet pattern for a crochet pumpkin in three different sizes. There are numerous patterns like this on the internet, but I thought I’d share my pattern with you anyways. The pumpkins can be made in any type of yarn, so play around with different colours, sizes and also thickness of the yarn. And instead of making a stem you can also use a tiny branch (as shown in photos further down on the page).

MATERIALS

  • Yarn – The pumpkin can be made in any type of yarn, so choose the yarn that suits you best.
  • Crochet Hook – The size that goes with the yarn you’re using, and one in a smaller size.
  • Filling / Wadding to stuff the pumpkins
  • Needle
  • Scissors

STITCHES / ABBREVIATIONS (US terms)

GAUGE

No gauge is necessary for this pattern, as it’s not a piece of clothing or something that requires exact measurments.

INFORMATION

  • Read through the whole pattern before you start.
  • Increase (example): When it says «2 sc, 2 sc in next st», it means that you make 1 sc in each of the two next stitches, and then 2 sc in the next stitch (you have then worked into 3 stitches in this example, ending up with 4 stitches).
  • Decrease (example): When it says «2 sc, 2sc tog», it means that you make 1 sc in each of the next two stitches, and then you decrease the next two stitches by crocheting them together (you have then worked into 4 stitches in this example, ending up with 3 stitches).
  • When you crochet in rounds it’s hard to see where the round ends and starts, so use a stitch marker or a piece of yarn to put a mark after each round.
  • ** – Repeat everything written between * to * as many times as the pattern says, or to the end of the round.

CROCHET PATTERN

Crochet hook: Use the size that fits the yarn you’ve chosen.

CROCHET PUMPKIN – big size

R1: 6 sc in MR (6 sc).
Tip: hold off tightening the ring until you’re done with R2.
R2: 2 sc in each st (12 sc)
R3: *1 sc, 2 sc in next st* Repeat from * to * til the end of the round (18 sc)
R4
: *2 sc, 2 sc in next st* (24 sc)
R5:
*3 sc, 2 sc in next st* (30 sc)
R6:
*4 sc, 2 sc in next st* (36 sc)
R7: *5 sc, 2 sc in next st* (42 sc)
R8: *6 sc, 2 sc in next st* (48 sc)
R9: *7 sc, 2 sc in next st* (54 sc)
R10-R18: 1 sc in each st (54 sc) 
R19: *7 sc, 2 sc tog* (48 sc)
R20:
 *6 sc, 2 sc tog* (42 sc)
R21: *5 sc, 2 sc tog* (36 sc)
R22: *4 sc, 2 sc tog* (30 sc)
R23: *3 sc, 2 sc tog* (24 sc)
R24: *2 sc, 2 sc tog* (18 sc). Stuff the pumpkin.
R25: *1 sc, 2 sc tog* (12 sc). Leave a long enough tail to shape the pumpkin (long enough to go around the ball about three times), cut the yarn and sew it through the remaining 12 sc, tighten together and fasten.

Shape the pumpkin as shown in the photos and video below.


CROCHET PUMPKIN – medium size

R1: 6 sc in MR (6 sc).
Tip: hold off tightening the ring until you’re done with R2.
R2: 2 sc in each st (12 sc)
R3: *1 sc, 2 sc in next st* Repeat from * to * til the end of the round (18 sc)
R4
: *2 sc, 2 sc in next st* (24 sc)
R5:
*3 sc, 2 sc in next st* (30 sc)
R6:
*4 sc, 2 sc in next st* (36 sc)
R7: *5 sc, 2 sc in next st* (42 sc)
R8: *6 sc, 2 sc in next st* (48 sc)
R9-R16: 1 sc in each st (48 sc) 
R17:  *6 sc, 2 sc tog* (42 sc)
R18: *5 sc, 2 sc tog* (36 sc)
R19: *4 sc, 2 sc tog* (30 sc)
R20: *3 sc, 2 sc tog* (24 sc)
R21: *2 sc, 2 sc tog* (18 sc). Stuff the pumpkin.
R22: *1 sc, 2 sc tog* (12 sc). Leave a long enough tail to shape the pumpkin (long enough to go around the ball about three times), cut the yarn and sew it through the remaining 12 sc, tighten together and fasten.

Shape the pumpkin as showed under the big size.


CROCHET PUMPKIN – small size

R1: 6 sc in MR (6 sc).
Tip: hold off tightening the ring until you’re done with R2.
R2: 2 sc in each st (12 sc)
R3: *1 sc, 2 sc in next st* Repeat from * to * til the end of the round (18 sc)
R4
: *2 sc, 2 sc in next st* (24 sc)
R5:
*3 sc, 2 sc in next st* (30 sc)
R6:
*4 sc, 2 sc in next st* (36 sc)
R7: *5 sc, 2 sc in next st* (42 sc)
R8-R14: 1 sc in each st (42 sc) 
R15:  *5 sc, 2 sc tog* (36 sc)
R16: *4 sc, 2 sc tog* (30 sc)
R17: *3 sc, 2 sc tog* (24 sc)
R18: *2 sc, 2 sc tog* (18 sc). Stuff the pumpkin.
R19: *1 sc, 2 sc tog* (12 sc). Leave a long enough tail to shape the pumpkin (long enough to go around the ball about three times), cut the yarn and sew it through the remaining 12 sc, tighten together and fasten.

Shape the pumpkin as showed under the big size.


STEM – make one for each size

Crochet hook: Use one size smaller than the one you used for the pumpkins.

Chain 5
R1: 1 sc in second chain from hook, 3 sc, turn (4 sc)
R2-R4: 1 ch, 4 sc, turn (4 sc)

Don’t fasten the yarn, you’ll come back to it after you’re finished sewing the stem (photo 1). With the tail, sew 4 stitches down the side through the first and last row at the same time (photo 2). Weave in the end.

R5: Continue with the yarn from R4 (photo 3), 1 ch, 10 sc around the opening, fasten with sl st in first st (photo 4 and 5). Cut off the yarn, but leave a tail in order to sew the stem to the pumpkin (photo 6).


I hope you enjoyed my pattern, and that you now have one or more pumpkins to decorate your home with.


If you use my patterns please link back to www.HELdesign.com.
And I would love to see your finished pumpkins, so please tag me if you post on Instagram, with #heldesign_pattern and @heldesign_crochet 🙂


Please
contact me if you have any questions, or if you find any mistakes in the pattern.

Enjoy your crocheting!
Best regards, Hege 🙂

Dette bildet mangler alt-tekst; dets filnavn er cropped-heldesign_mint3-1-300x227.png

Would you like to learn how to crochet? 

Visit my YouTube channel, there you will find videos of the basic stitches and in time there will also come special stitches, various projects and requests.

CROCHET HEART for Valentine´s Day card – Free crochet pattern (UK terms)

CROCHET HEART for Valentine´s Day card – Free crochet pattern (UK terms)

Free crochet pattern UK - crochet heart - HELdesign

DESIGN AND PATTERN:  Hege Espeland Lygrewww.HELdesign.com
Please read the Terms of use for my crochet patterns.


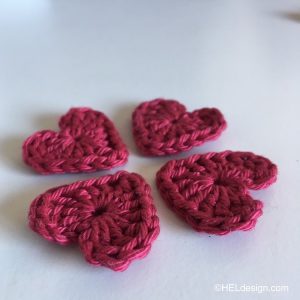
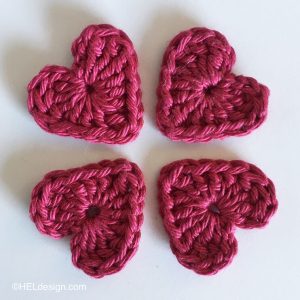
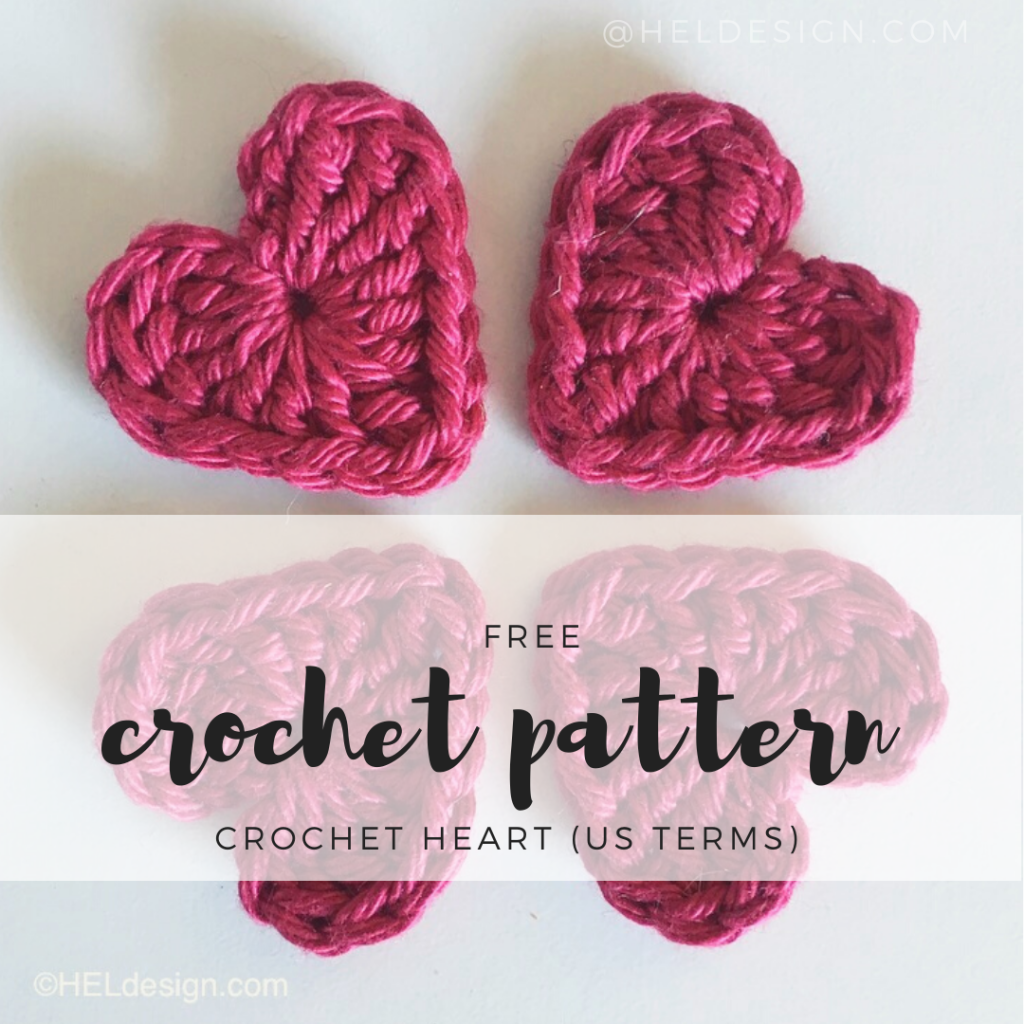
With a crochet hook and some scrap yarn you´ll make these cute, tiny crochet hearts in a few minutes. And with Valentine´s Day right around the corner, they´re perfect as decorations on a homemade card. 

MATERIALS

  • Scrap yarn
  • Crochet hook that goes with your yarn (check the label)

STITCHES / ABBREVIATIONS (UK terms)


PATTERN

Make MR. Tighten it until the ring is about 1 cm (about half an inch).
Then you crochet the following stitches in the MR:

(3 ch, 3 dbtr, 3 tr, 1 ch, 1 dbtr, 1 ch, 3 tr, 3 dbtr, 3 ch, 1 sl st)

Tighten the magic ring until the opening is closed. Cut off and sew in the ends.

heklet hjerte2_hegeespelandlygre
heklet hjerte3_hegeespelandlygre

With some thick paper (I used watercolor paper), a pen and some glue you can easily make your own card for your mom on Mother´s Day or for your love on Valentine´s Day.
I recommend using a pencil to sketch out the words before you go over it with a pen/marker. Glue on as many hearts as you want, and voila – you have your own homemade card.

IMG_1078
Crochet Heart by HELdesign

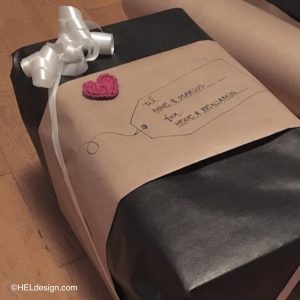
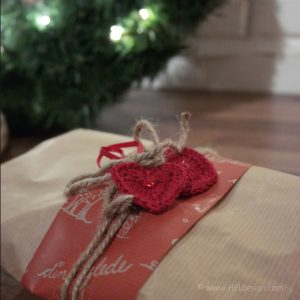
The hearts can also be used to decorate presents. On the photos they´re used on Christmas presents, but they´re just as perfect on birthday gifts and other type of presents.

IMG_1081
julehjerte_hegeespelandlygre

Good luck! 🙂 

If you use my patterns please link back to www.HELdesign.com.
And if you post on Instagram please tag photos with #heldesign_pattern and @heldesign_crochet (that way I can find you and see what you made) 🙂


Would you like to learn how to crochet? Visit my YouTube channel, there you´ll find videos of the basic stitches and with time there will also be special stitches, various projects and requests.
Contact me if you have any questions 🙂

DIY EASTER BUNNY AND CHICKEN

DIY EASTER BUNNY AND CHICKEN


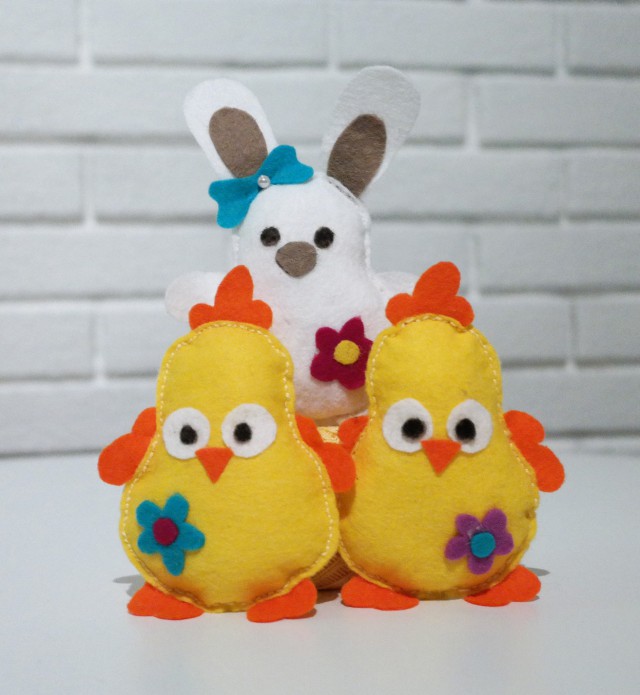
MAKE CUTE EASTER FELTIES WITH YOUR CHILDREN – COMES WITH A PRINTABLE TEMPLATE

Photo: Hege Espeland Lygre

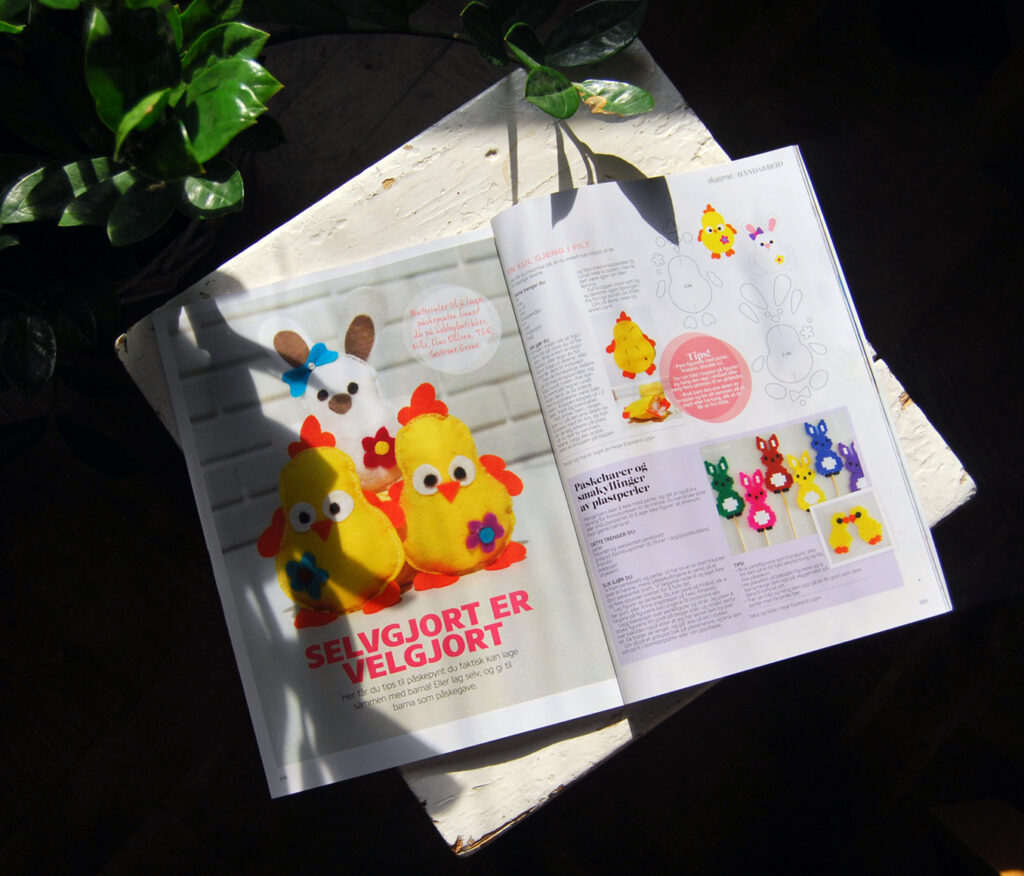
PUBLISHED IN A NORWEGIAN MAGAZINE

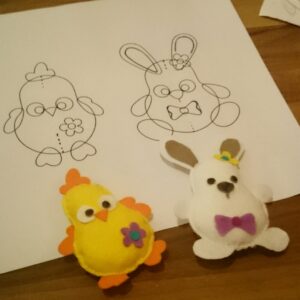
In 2016 I designed these easter felties for a Norwegian magazine called «Foreldre & Barn» (meaning «Parents & Children»). Every year since then I’ve always remembered them after Easter has already passed, but finally I managed to got them out prior to Easter.

Maybe they can become a fun project for you and your kids this Easter? 🙂


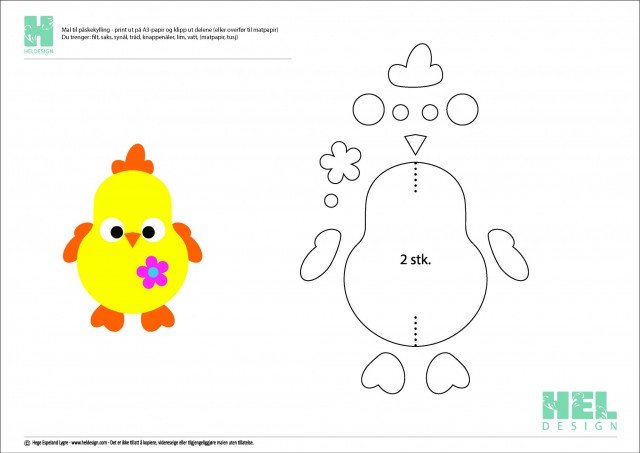
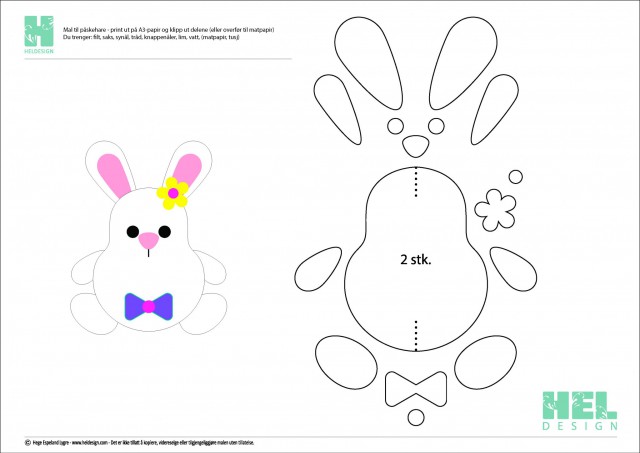
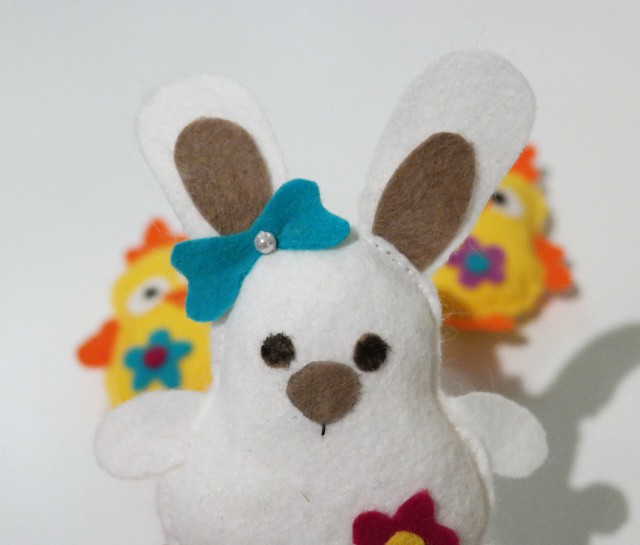
To help you make these cute easter bunnies and chickens I made you a free template which makes it easy for you to cut out the different parts. Eyes, nose and other decor is then glued on, before you sew the body together. A fun easter activity for children and adults to do together.

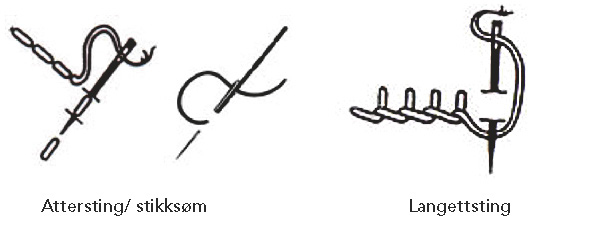
The assembling of the body can be done on a sewing machine by an adult, or it can be sewed together by hand with back stitch or blanket stitch (scroll down for illustrations on how to sew the different stitches).
Older children can do this on their own, and it doesn’t matter if the stitches are a bit wobbly, cause these felt figures look charming either way. Both the cutting and sewing are also good exercises for developing the childrens fine movements, and with a little bit of help from an adult this project is suitable for children from the age of 4 and up.


YOU’LL NEED:
• Felt
• Scissors
• Sewing needle
• Sewing thread
Pins
• Glue
Stuffing / Polyester filling
Greeseproof paper
• Marker

INSTRUCTIONS:
1. Print out the template on paper size A3 (297×420 mm) and cut out the parts or transfer them to a greeseproof paper.

2. Fasten the cut out templates with pins on the felt and use the scissors to cut around them (you can also draw around the template straight onto the felt, but remember then to not use the sides with the marker lines as the front). The body is cut out in 2 parts, front and back.

3. Fasten arms, legs, wings, ears etc. with some glue on one part of the body, then they will more easily stay in place when you sew the parts together.

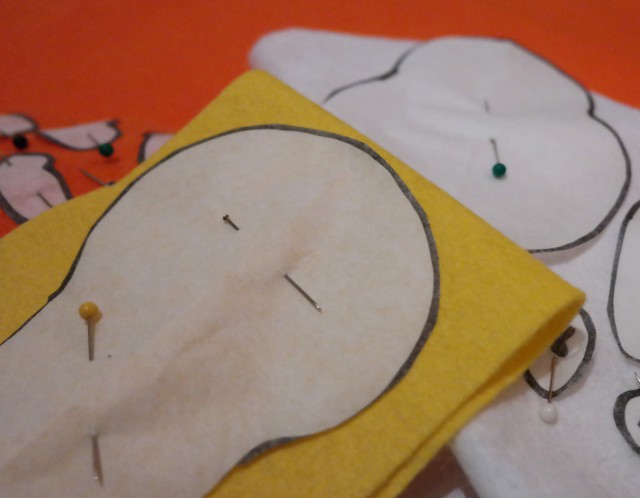
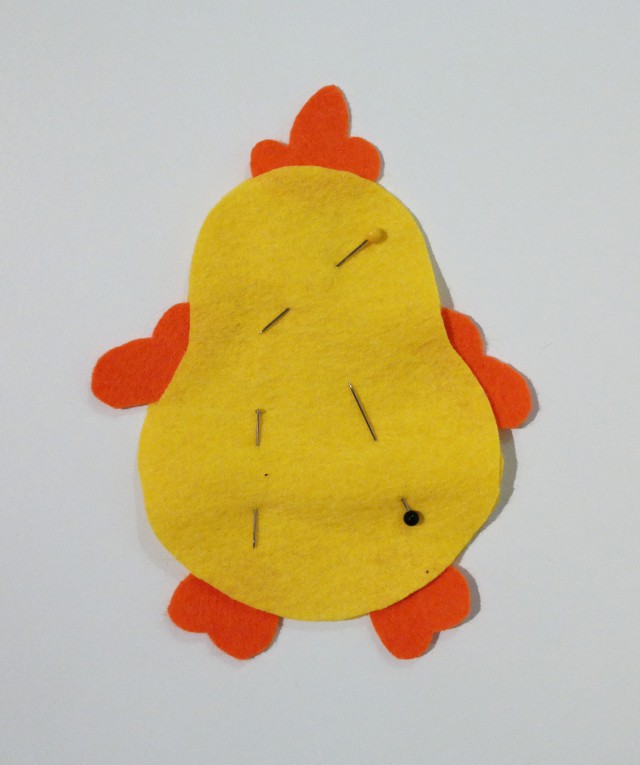
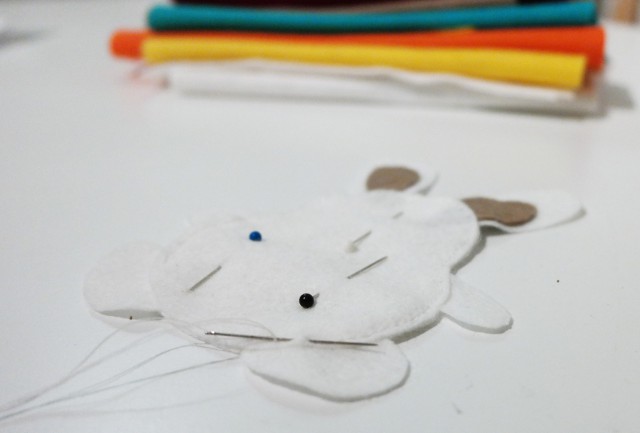
4. Put the other part of the body on top and fasten with pins (look at photo below).

5. Sew around the whole body with back stitch or blanket stitch (or any stitch of your choosing). You can also use a sewing machine, but either way remember to leave a small opening to make room to stuff it with filling.

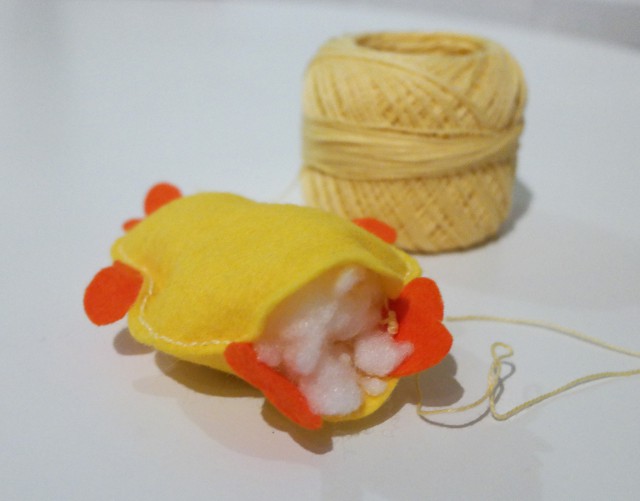
6. Stuff the body with filling and sew together the little opening from the previous step.

7. Attach eyes, nose and other decorations with glue.


TIPS!
• Decorate the felties with beads, buttons, lace etc.
• If you don’t have black felt for the eyes you can draw them directly onto the felt with a black marker.
• Fasten a thread from the top of the head and hang them in the window or hang several together in a garland.
• Use only one part of the body and glue it onto a piece of paper or cardboard and turn it into a nice picture, or maybe an easter postcard that you can send to someone you love.

TEMPLATES IN SIZE A3 – CLICK ON THE PICTURES TO OPEN UP THE PDF

(The instructions on the template is in Norwegian but it’s the same as described in this post).


YOU CAN TRY ONE OF THESE STITCHES TO HANDSEW THE BODY TOGETHER (back stitch on the left and blanket stitch on the right)


HAPPY EASTER!


CROCHET HEART for Valentine´s Day card – Free crochet pattern (US terms)

CROCHET HEART for Valentine´s Day card – Free crochet pattern (US terms)

Free crochet pattern US - crochet heart - HELdesign

DESIGN AND PATTERN:  Hege Espeland Lygre
Please read the Terms of use for my crochet patterns.


With a crochet hook and some scrap yarn you´ll make these cute, tiny crochet hearts in a few minutes. And with Valentine´s Day right around the corner, they´re perfect as decorations on a homemade card. 

MATERIALS

  • Scrap yarn
  • Crochet hook that goes with your yarn (check the label)

STITCHES / ABBREVIATIONS (US terms)


PATTERN

Make MR. Tighten it until the ring is about 1 cm (about half an inch).
Then you crochet the following stitches in the MR:

(3 ch, 3 tr, 3 dc, 1 ch, 1 tr, 1 ch, 3 dc, 3 tr, 3 ch, 1 sl st)

Tighten the magic ring until the opening is closed. Cut off and sew in the ends.

heklet hjerte2_hegeespelandlygre
heklet hjerte3_hegeespelandlygre

With some thick paper (I used watercolor paper), a pen and some glue you can easily make your own card for your mom on Mother´s Day or for your love on Valentine´s Day.
I recommend using a pencil to sketch out the words before you go over it with a pen/marker. Glue on as many hearts as you want, and voila – you have your own homemade card.

IMG_1078
Crochet Heart by HELdesign

The hearts can also be used to decorate presents. On the photos they´re used on Christmas presents, but they´re just as perfect on birthday gifts and other type of presents.

IMG_1081
julehjerte_hegeespelandlygre

Good luck! 🙂 

If you use my patterns please link back to www.HELdesign.com.
And if you need any help just leave me a comment in the comment box below or e-mail me at: hege@heldesign.com.


Would you like to learn how to crochet? Visit my YouTube channel, there you´ll find videos of the basic stitches and with time there will also be special stitches, various projects and requests.

Contact me if you have any questions 🙂