Kategori: Crochet

CROCHET EASTER EGG – Free crochet pattern (US terms)

CROCHET EASTER EGG – Free crochet pattern (US terms)

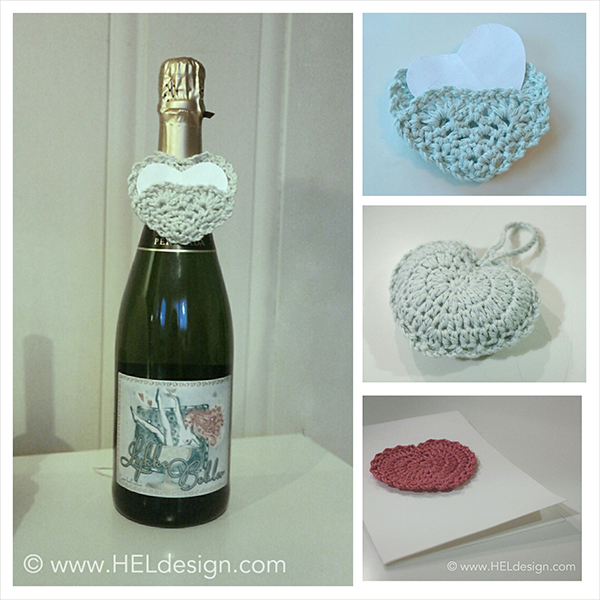
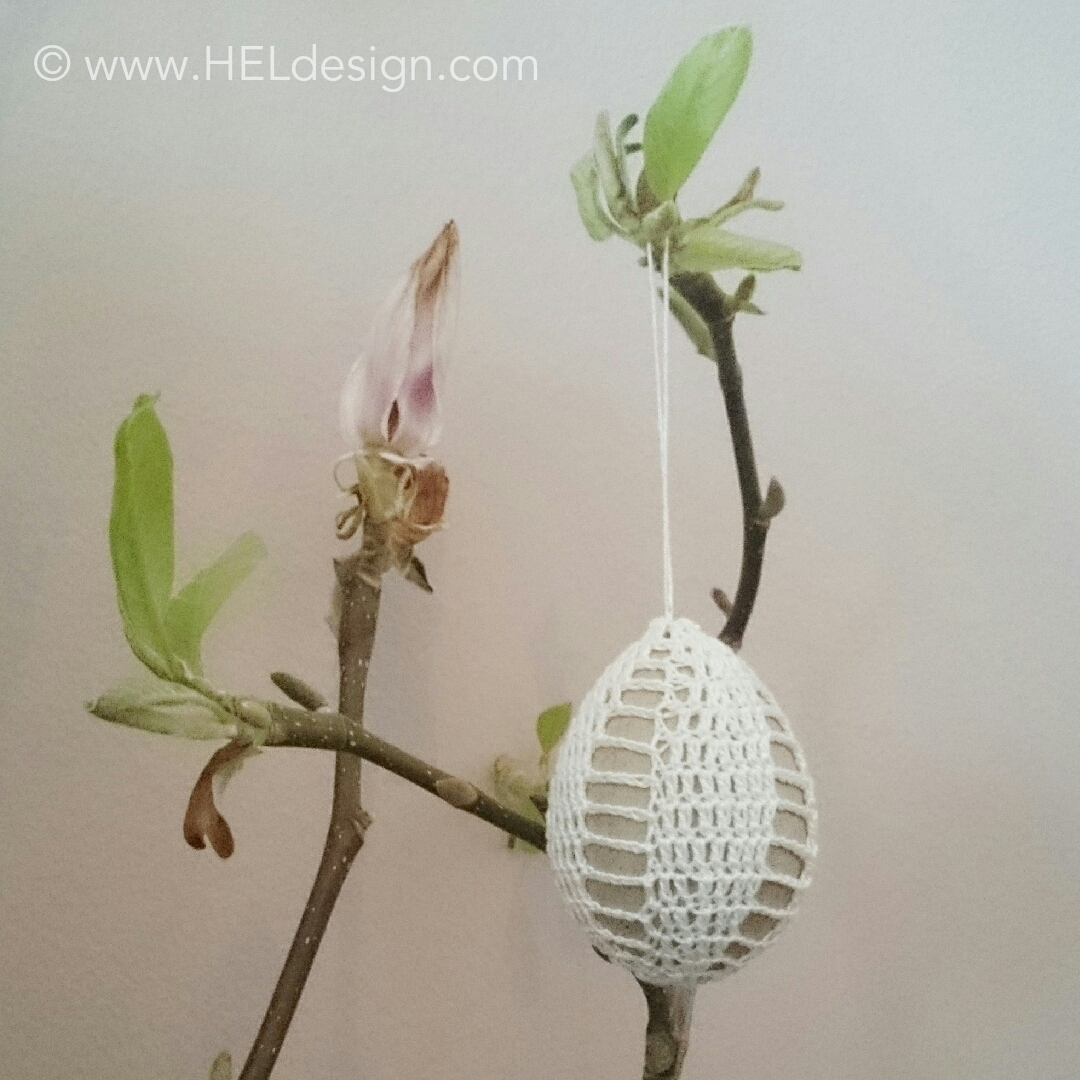
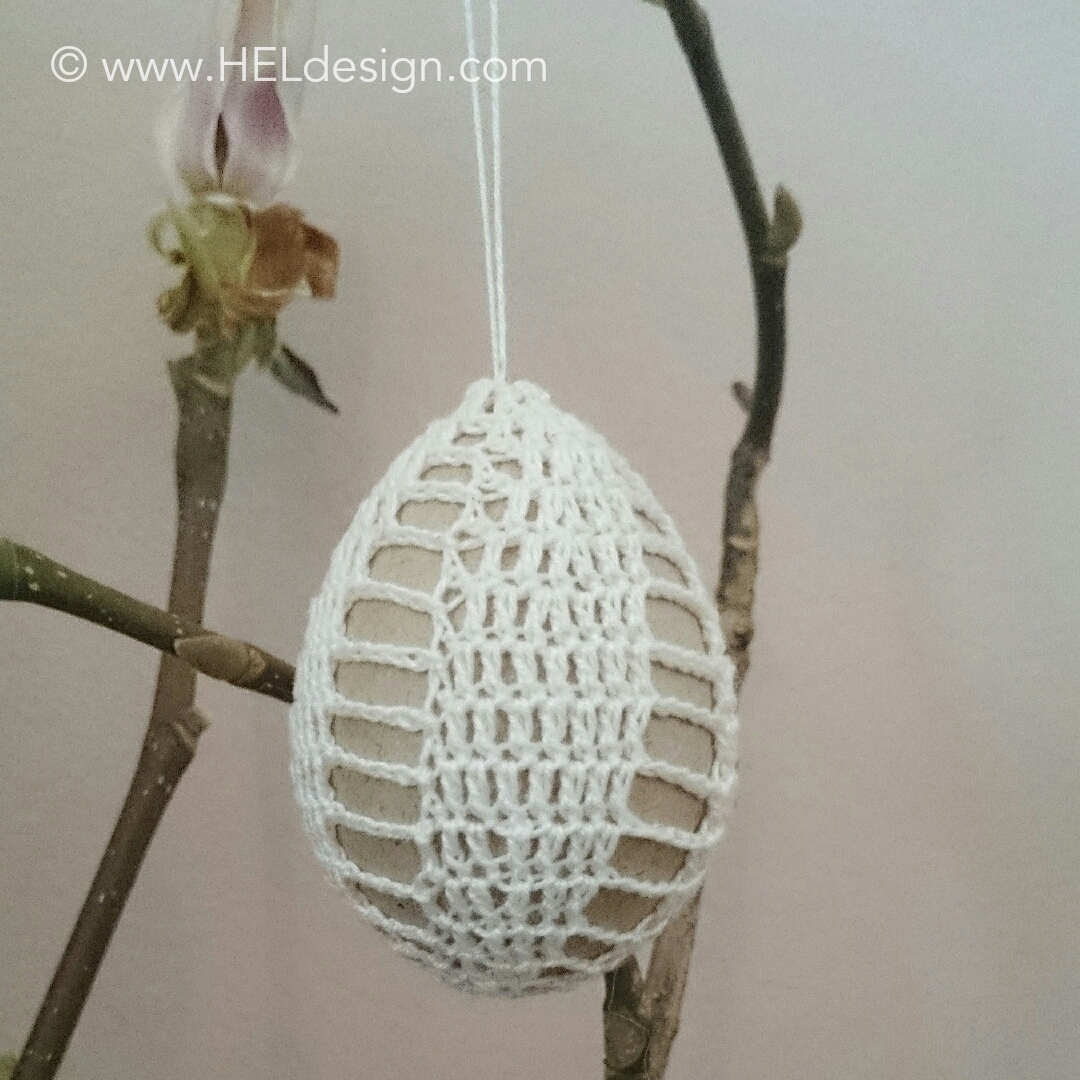
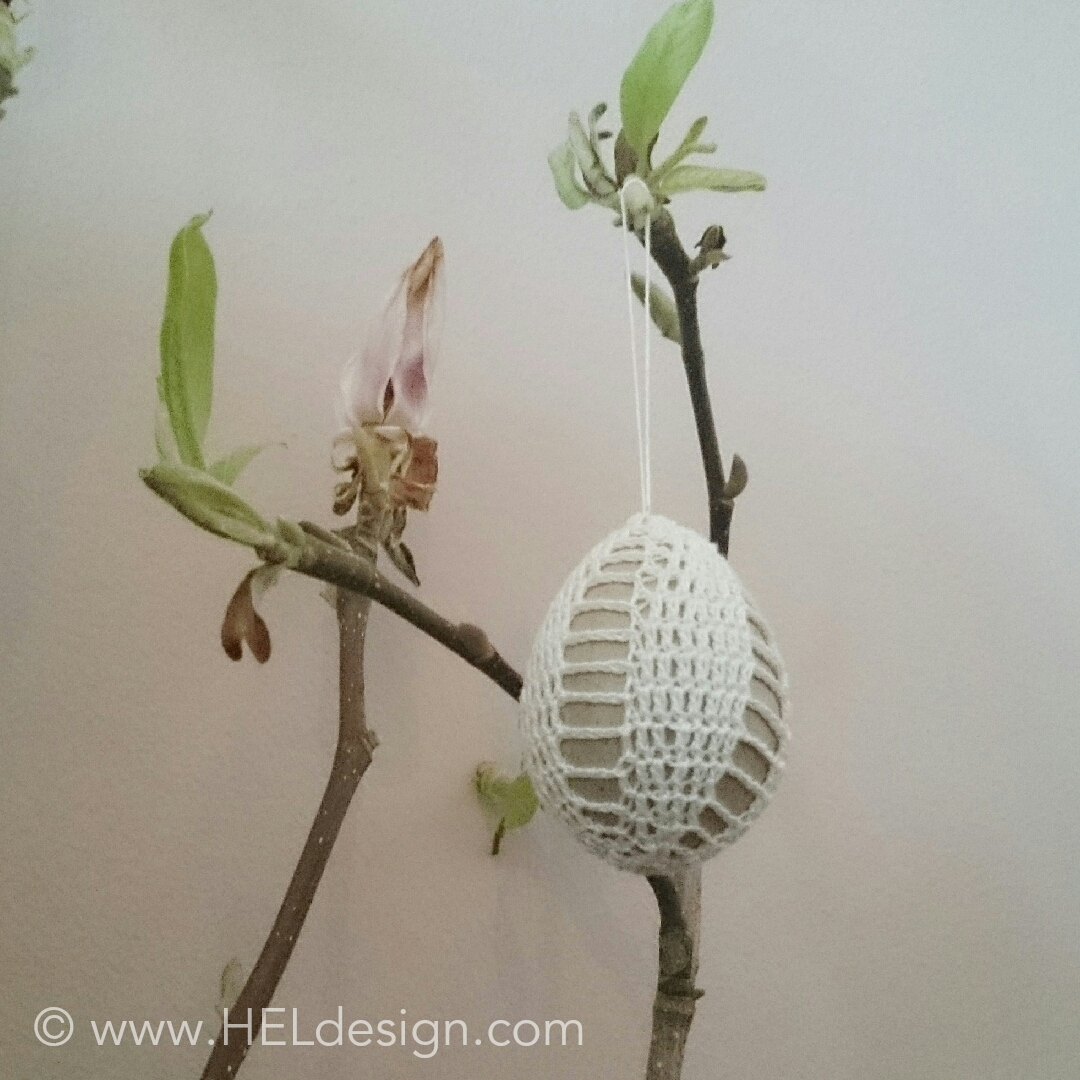
Easter is coming up but there is still time to make more Easter decorations. Here´s a pattern for some cute and simple crochet eggs that you can make in one evening!


DESIGN AND PATTERN: HEGE ESPELAND LYGRE
Please read the Terms of use for my crochet patterns.


IMG_20150322_230832

What you´ll need:

  • Yarn – thin cotton (the type you use on doilys)
  • Steel crochet hook – I used a hook with metric size 1,25 mm. I couldn´t find the exact US measure but a 1,15 mm is a steel hook 10 and a 1,3 mm is a steel hook 9
  • Easter egg – 3.5 inches/9 cm (height) x 2.4 inches/6 cm (thickness)

Stitches/Abbreviations:

  • ch(s) (chain(s)
  • sl st (slip stitch)
  • sc (single crochet)
  • dc (double crochet)
  • ch sp (chain space)
  • st(s) (stitch(es)
  • rnd (round)
  • 2 dc tog (2 double crochet together/decrease)
  • Here you can watch my videos on how to crochet the different stitches

Misc

  • Every rnd starts with 3 chs, they count as the first dc.
  • I haven´t tested the gauge for this pattern, if the «cover» is too big or too small for the egg you can try changing to a smaller og bigger steel crochet hook, or you can make one or two more or less rounds before you begin decreasing on rnd 10.

PATTERN

Chain 6, make a ring by joining with a sl st in the first ch. Start with 3 chs on each round (count as the first dc).

Rnd 1: The entire rnd is crocheted inside the ring: (3 dc, ch 2) x 4 = 3 dc + ch sp x 4

Rnd 2: (1 dc, 2 dc in next, 1 dc, ch 2) x 4 = 4 dc + ch sp x 4

Rnd 3: (2 dc (means that you make 1 dc in each of the next two st), 1 dc between second and third st, 2 dc, ch 3) x 4 = 5 dc + ch sp x 4

Rnd 4: (2 dc, 2 dc in next, 2 dc, ch 4) x 4 = 6 dc + ch sp x 4

Rnd 5: (3 dc, 1 dc between third and forth st, 3 dc, ch 5,) x 4 = 7 dc + ch sp x 4

6. omg: (3 dc, 2 dc in next, 3 dc, ch 5) x 4 = 8 dc + ch sp x4

7. – 9. omg: (8 dc, ch 5) x 4 = 8 dc + ch sp x 4

10. omg: (3 dc, 2 dc tog, 3 dc, ch 4) x 4 = 7 dc + ch sp x 4

11. omg: (3 dc, 2 dc tog, 2 dc, ch 3) x 4 = 6 dc + ch sp x 4. After this rnd you must continue working on the egg.

12. omg: (2 dc, 2 dc tog, 2 dc, ch 3) x 4 = 5 dc + ch sp x 4

13. omg: (2 dc, 2 dc tog, 1 dc, ch 2) x 4 = 4 dc + ch sp x 4

14. omg: (1 dc, 2 dc tog, 1 dc) x 4 = 12 dc

Make a string if you want to hang up the egg.

IMG_20150322_230957

IMG_20150322_230743


Good luck! 🙂 

If you use my patterns please link back to www.HELdesign.com.
And if you need any help just leave me a comment in the comment box below or e-mail me at: hege@heldesign.com.


Would you like to learn how to crochet? Visit my YouTube channel, there you´ll find videos of the basic stitches and with time there will also be special stitches, various projects and requests.

Contact me if you have any questions 🙂


CROCHET HEART 3 in 1 pattern – Free crochet pattern (US terms)

CROCHET HEART 3 in 1 pattern – Free crochet pattern (US terms)

3 hearts in 1 pattern!
Make one as an application, make two as a stuffed heart or make a cute crochet heart pocket for the wine bottle, with room for a heart shaped card. Just as perfect for your loved one on Valentines day as it is for a friend´s birthday!


DESIGN AND PATTERN: HEGE ESPELAND LYGRE

Please read the Terms of use for my crochet patterns.


hjerte_hegeespelandlygre

What you´ll need:

  • Yarn (I used cotton)
  • Crochet Hook – Size D

Stitches/Abbreviations:

  • ch(s) (chain(s)
  • sl st (slip stitch)
  • sc (single crochet)
  • hdc (half double crochet)
  • dc (double crochet)
  • ch sp (chain space)
  • st(s) (stitch(es)
  • rnd (round)
  • tog (together)
  • Here you can watch my videos on how to crochet the different stitches.

Special stitches

  • Magic ring
  • Here you can watch my video on how you crochet a magic ring.

PATTERN

IMG_20150201_161915PART 1
Rnd 1: 
Make 10 sc in a magic ring, join with sl st in the first st. Tip: don´t tighten the ring until you´re done with the second rnd.

Rnd 2: 1 sc, 1 sc in the same st that you made the sl st, (hdc, dc) in the next, 2 dc in the next 2 sts, hdc in the next, (hdc, dc, hdc) in the next, hdc in the next, 2 dc in the next 2 sts, (dc, hdc) in the next, join with sl st in the first st.

Rnd 3: On this round you´re not doing anything in the first st so you´ll start with (sc, hdc) in the second st, 2 dc in the next 5 sts, hdc in the next 2 sts, (hdc, sc) in the next, join with sl st in the first st.

4. omg: Start like you did on rnd 3 with sc in the second st, (sc, hdc) in the next, 2 dc in the next 6 sts, hdc in the next 7 sts, 3 sc in the next, hdc in the next 7 sts, 2 dc in the next 6 sts, (hdc, sc) in the next, sc in the next, join with sl st in the first st.

5. omg: Don´t make this round until you´ve finished part 2!
*Ch 3, skip 1 st, sl st in the next* – repeat from * til * all the way around. When you come down to part 2 (after approx. 6 ch sp) you crochet through both parts/layers at the same time. Join with sl st in the first st, ch 30 (loop), sl st in the same st. Cut the yarn and weave in the ends.

PART 2 

Rnd 1: Ch 3, 2 dc in the first st, turn = 3 dc

Rnd 2: Ch 1, 2 sc in the first st, sc in the next, 2 sc in the last st, turn = 5 sc

Rnd 3: Ch 1, sc in the first st, (ch 3, skip 1 st, sc in the next) x 2, turn.

Rnd 4: Ch 1, sc in the first st, (ch 3, sc in the next ch sp) x 2, ch 3, sc in the last st, turn.

Rnd 5: Ch 1, sc in the first st, (ch 3, sc in the next ch sp) x 3, ch 3, sc in the last st, turn.

Rnd. 6: Ch 1, sc in the first st, (ch 1, dc) in the next ch sp x 5, skip the next ch sp, sl st in sc between the 2nd and 3rd ch sp on rnd 5, skip the next ch sp, (dc, ch 1) in the next ch sp x 5, sc in the last st, don´t turn!

Rnd 7: Edge around part 2
Ch 1, 6 sc down the side, 3 sc in the bottom/point, 6 sc up the side, sc i the first sc on rnd 6, (ch 2, skip the next st, sc in the next) x 5, sl st in the next, sc in the next, (ch 2, skip the next st, sc in the next) x 4, ch 2, skip the next st, join with sl st in the first sc on rnd 6.

Rnd 8: Put the wrong side of part 2 facing the right side of part 1 with the bottom part of the heart (the points) joining each other. Crochet the two parts together as explained on part 1, rnd 5.

Cut out a heart in paper or card board that fits the heart pocket. Write something nice on the card, put it in the pocket and hang it on the wine bottle, bear bottle or whatever you want, then give it to a loved one!

hjerte_hegeespelandlygre

SAMSUNG CSC


A few variations!

SAMSUNG CSC

Stuffed heart
Make two pieces of part 1, but only rnd 1-4 (don´t make rnd 5). Put one on top of the other with wrong sides facing each other. Now you make rnd 5, but you crochet through both parts at the same time. When you have about 10 sts left you fill it with some sort of stuffing before you finish the last 10 sts. After joining with sl st in the first st, ch 30 (loop) and join again with sl st in the same st.

SAMSUNG CSC

Card with crochet heart
Cut out a rectangle in paper or card board, fold it in half and glue a heart (part 1) on the front.


Good luck! 🙂 

If you use my patterns please link back to www.HELdesign.com.
And if you need any help just leave me a comment in the comment box below or e-mail me at: hege@heldesign.com.


Would you like to learn how to crochet? Visit my YouTube channel, there you´ll find videos of the basic stitches and with time there will also be special stitches, various projects and requests.

Contact me if you have any questions 🙂


CROCHET BASKET – Free crochet pattern (US terms)

CROCHET BASKET – Free crochet pattern (US terms)

Make a cute little basket! Perfect for your keys, pocket change or other small items. You can also make it larger and use it as a bowl, a cover for your plants etc. The ways to use it are endless!


DESIGN AND PATTERN: HEGE ESPELAND LYGRE
Please read the Terms of use for my crochet patterns.


What you´ll need:

  • Scrap yarn
  • Crochet hook – Size D or whatever hook you´ll need to get a stiff basket, that means a smaller hook than you´d normally use.

Stitches/Abbreviations

Special stitches

Misc

  • The basket is crocheted in rounds, that means that you do not join after each round, you continue to crochet in the next stitch on the next round. It might be a good idea to use some yarn or a stitch marker to show where each round ends.
  • Increase: 2 sc in same stitch.
  • Decrease: 2 sc together: Insert hook into stitch, yarn over hook, pull yarn through one loop, insert hook into next stitch, yarn over hook, pull yarn through one loop, yarn over hook, pull yarn through all three loops on hook.

PATTERN

IMG_20140817_232807Rnd 1: Make 10 sc in a magic ring, don´t fasten with sl st in the first st. Tip: don´t tighten the ring until you´re done with the second rnd.

Rnd 2: 2 sc in each st all the way around = 20 sc

Rnd 3: *1 sc, 2 sc in next st*. Repeat from * to * all the way around = 30 sc  

Rnd 4: 1 sc in each st all the way around = 30 sc

Rnd 5: *2 sc, 2 sc in next st*. Repeat from * to * all the way around = 40 sc  

Rnd 6: 1 sc in each st all the way around = 40 sc

Rnd 7: *3 sc, 2 sc in next st*. Repeat from * to * all the way around = 50 sc  

Rnd 8: 1 sc in each st all the way around = 50 sc

Rnd 9: *4 sc, 2 sc in next st*. Repeat from * to * all the way around = 60 sc

Rnd 10: *5 sc, 2 sc in next st*. Repeat from * to * all the way around = 70 sc

Rnd 11: Decrease: *5 sc, next 2 sts tog*. Repeat from * to * all the way around = 60 sc  

Rnd 12 – 18: 1 sc in each st all the way around = 60 sc

Rnd 19: sl st in next st, ch 1, 1 sc in the same st as sl st. 1 sc in each of the remaining sts all the way around, join with sl st in the first st.

Cut the yarn and weave in the ends!

Tip! If you want a bigger basket you just continue to increase after rnd 10 until you get the size that you want. The same goes for the height, if you want the basket to be lower you crochet less than 19 rounds and if you want it to be taller you crochet more than 19 rounds.

IMG_20140818_075820

If you use my patterns please link back to www.HELdesign.com.


Good luck! 
If you need any help just leave me a comment in the comment box below or e-mail me at: hege@heldesign.com.


Would you like to learn how to crochet? Visit my YouTube channel, there you´ll find videos of the basic stitches and with time there will also be special stitches, various projects and requests.

Contact me if you have any questions 🙂